Photos
From Sunday 😎💖

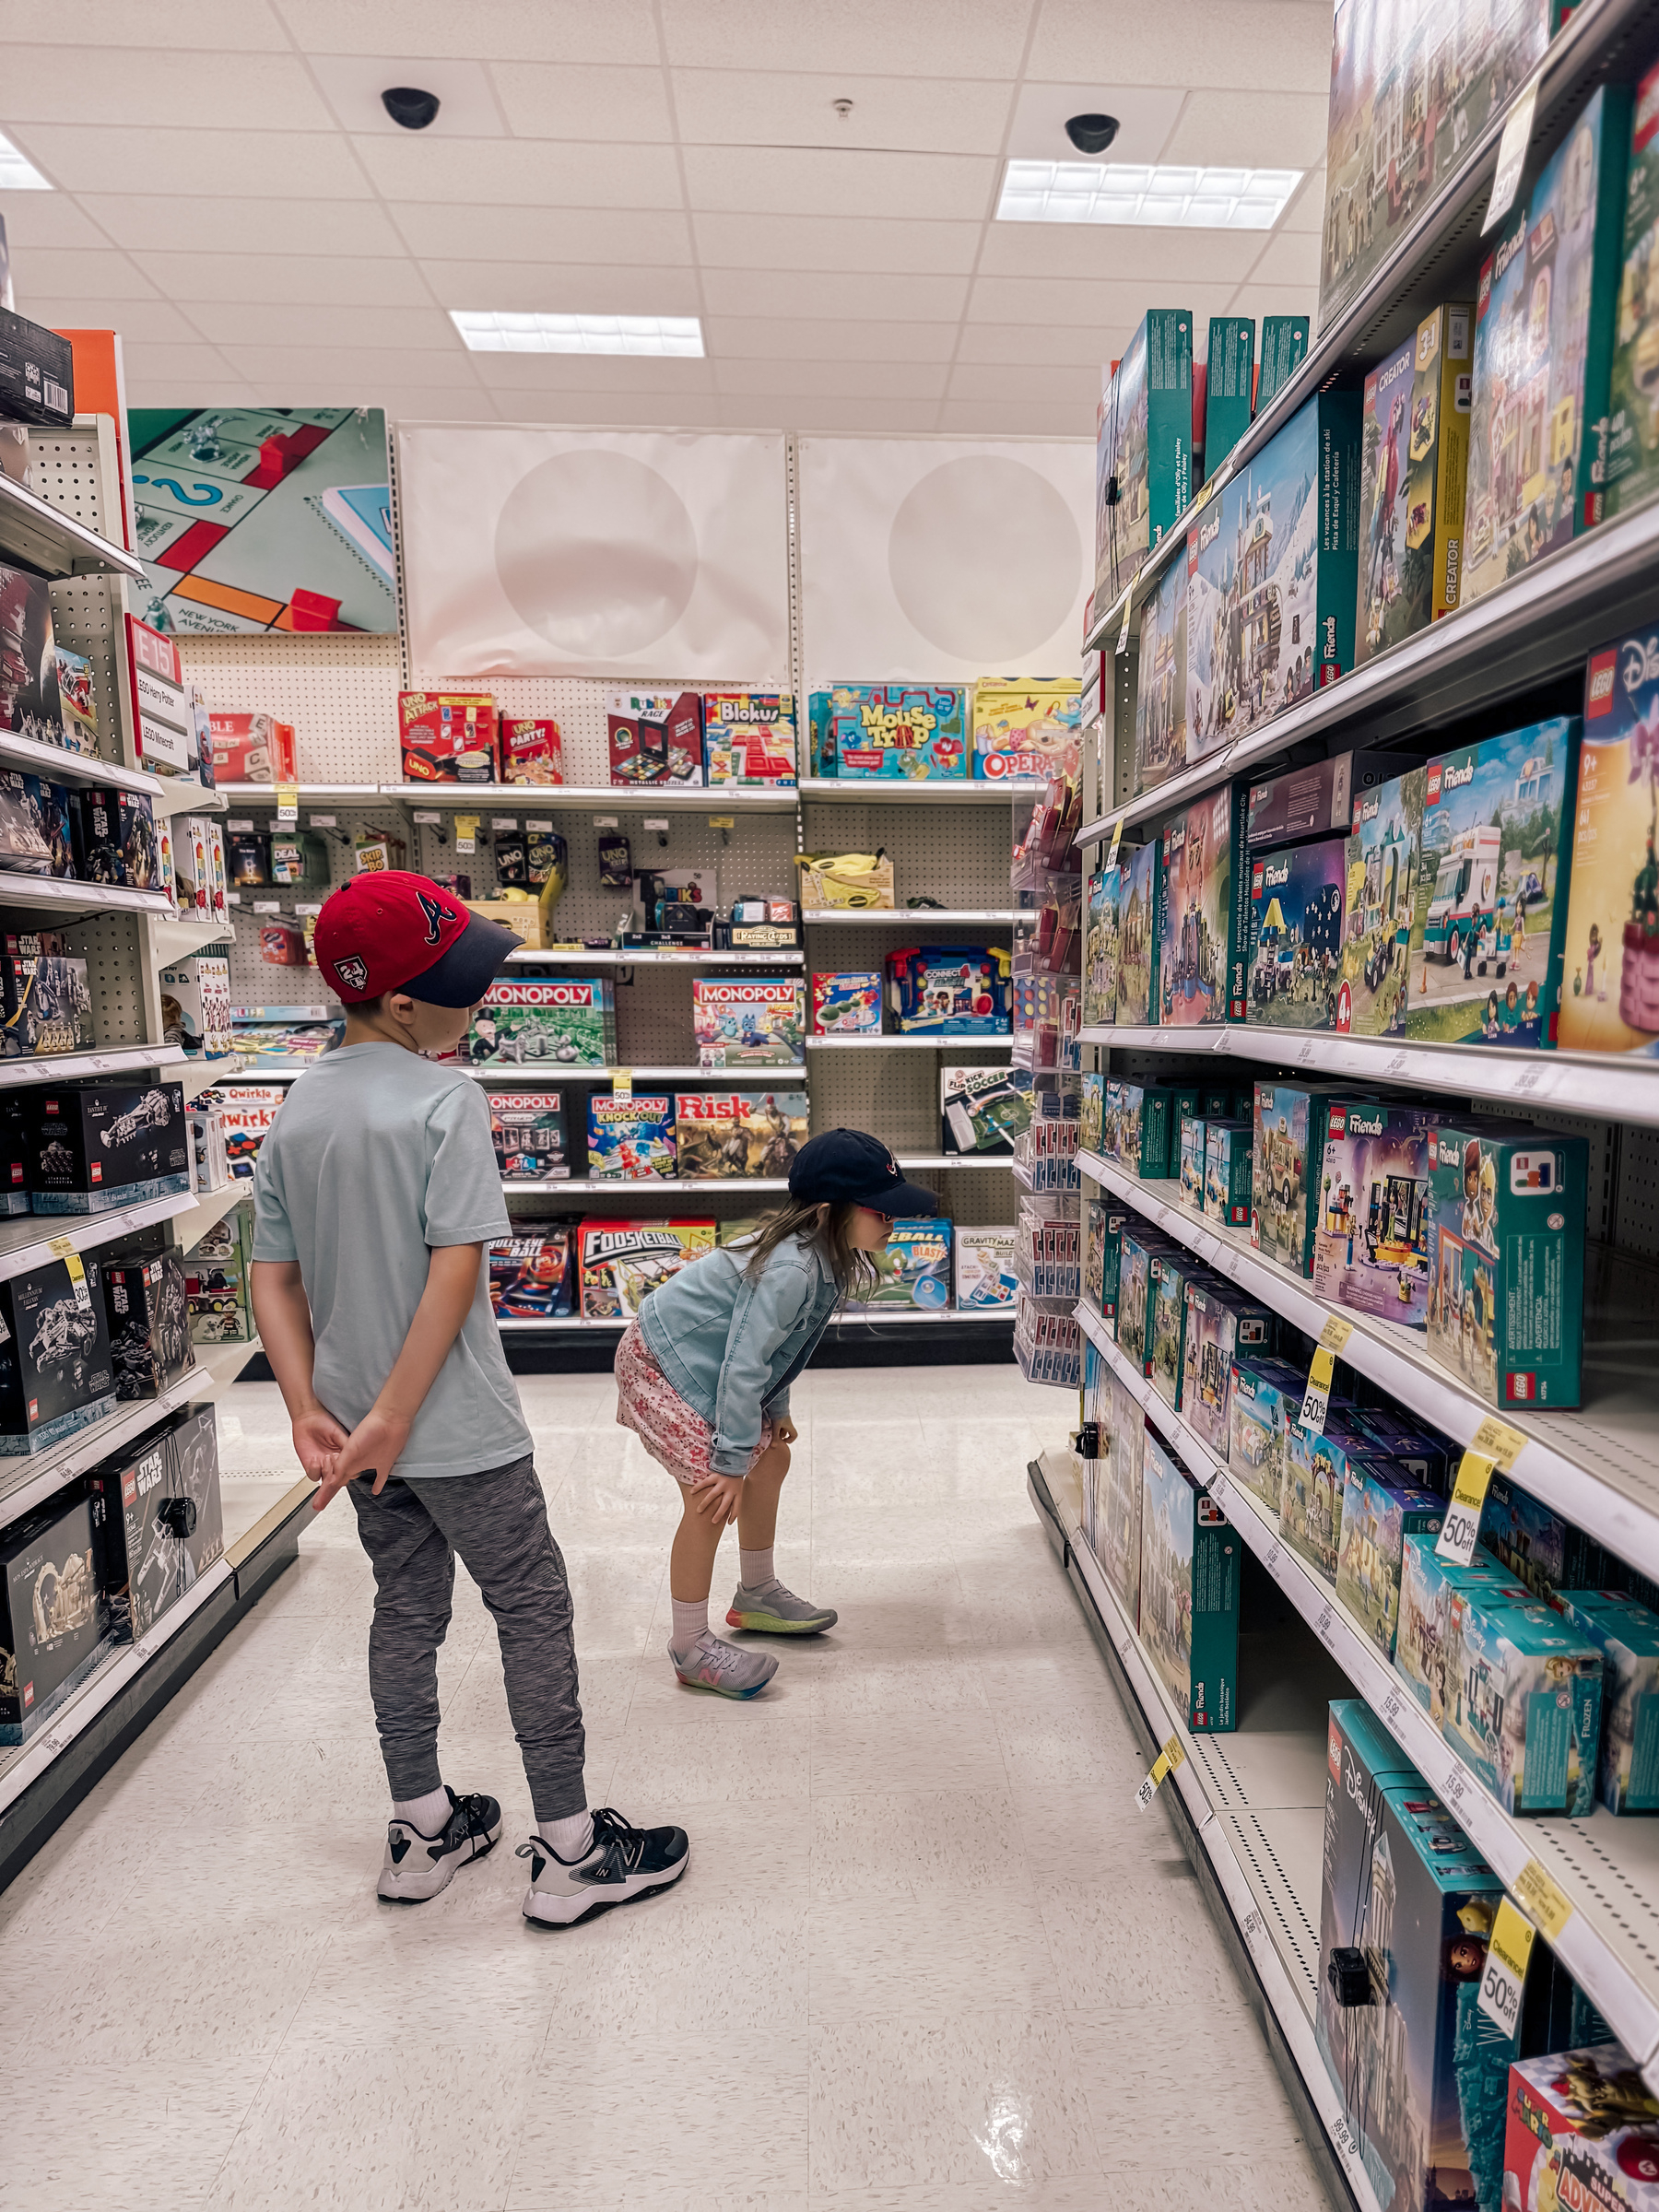
Lego shopping yesterday. Buddy bought his little sister a Lego with his own money. Because he was proud of her for handling a hard week well. 💛
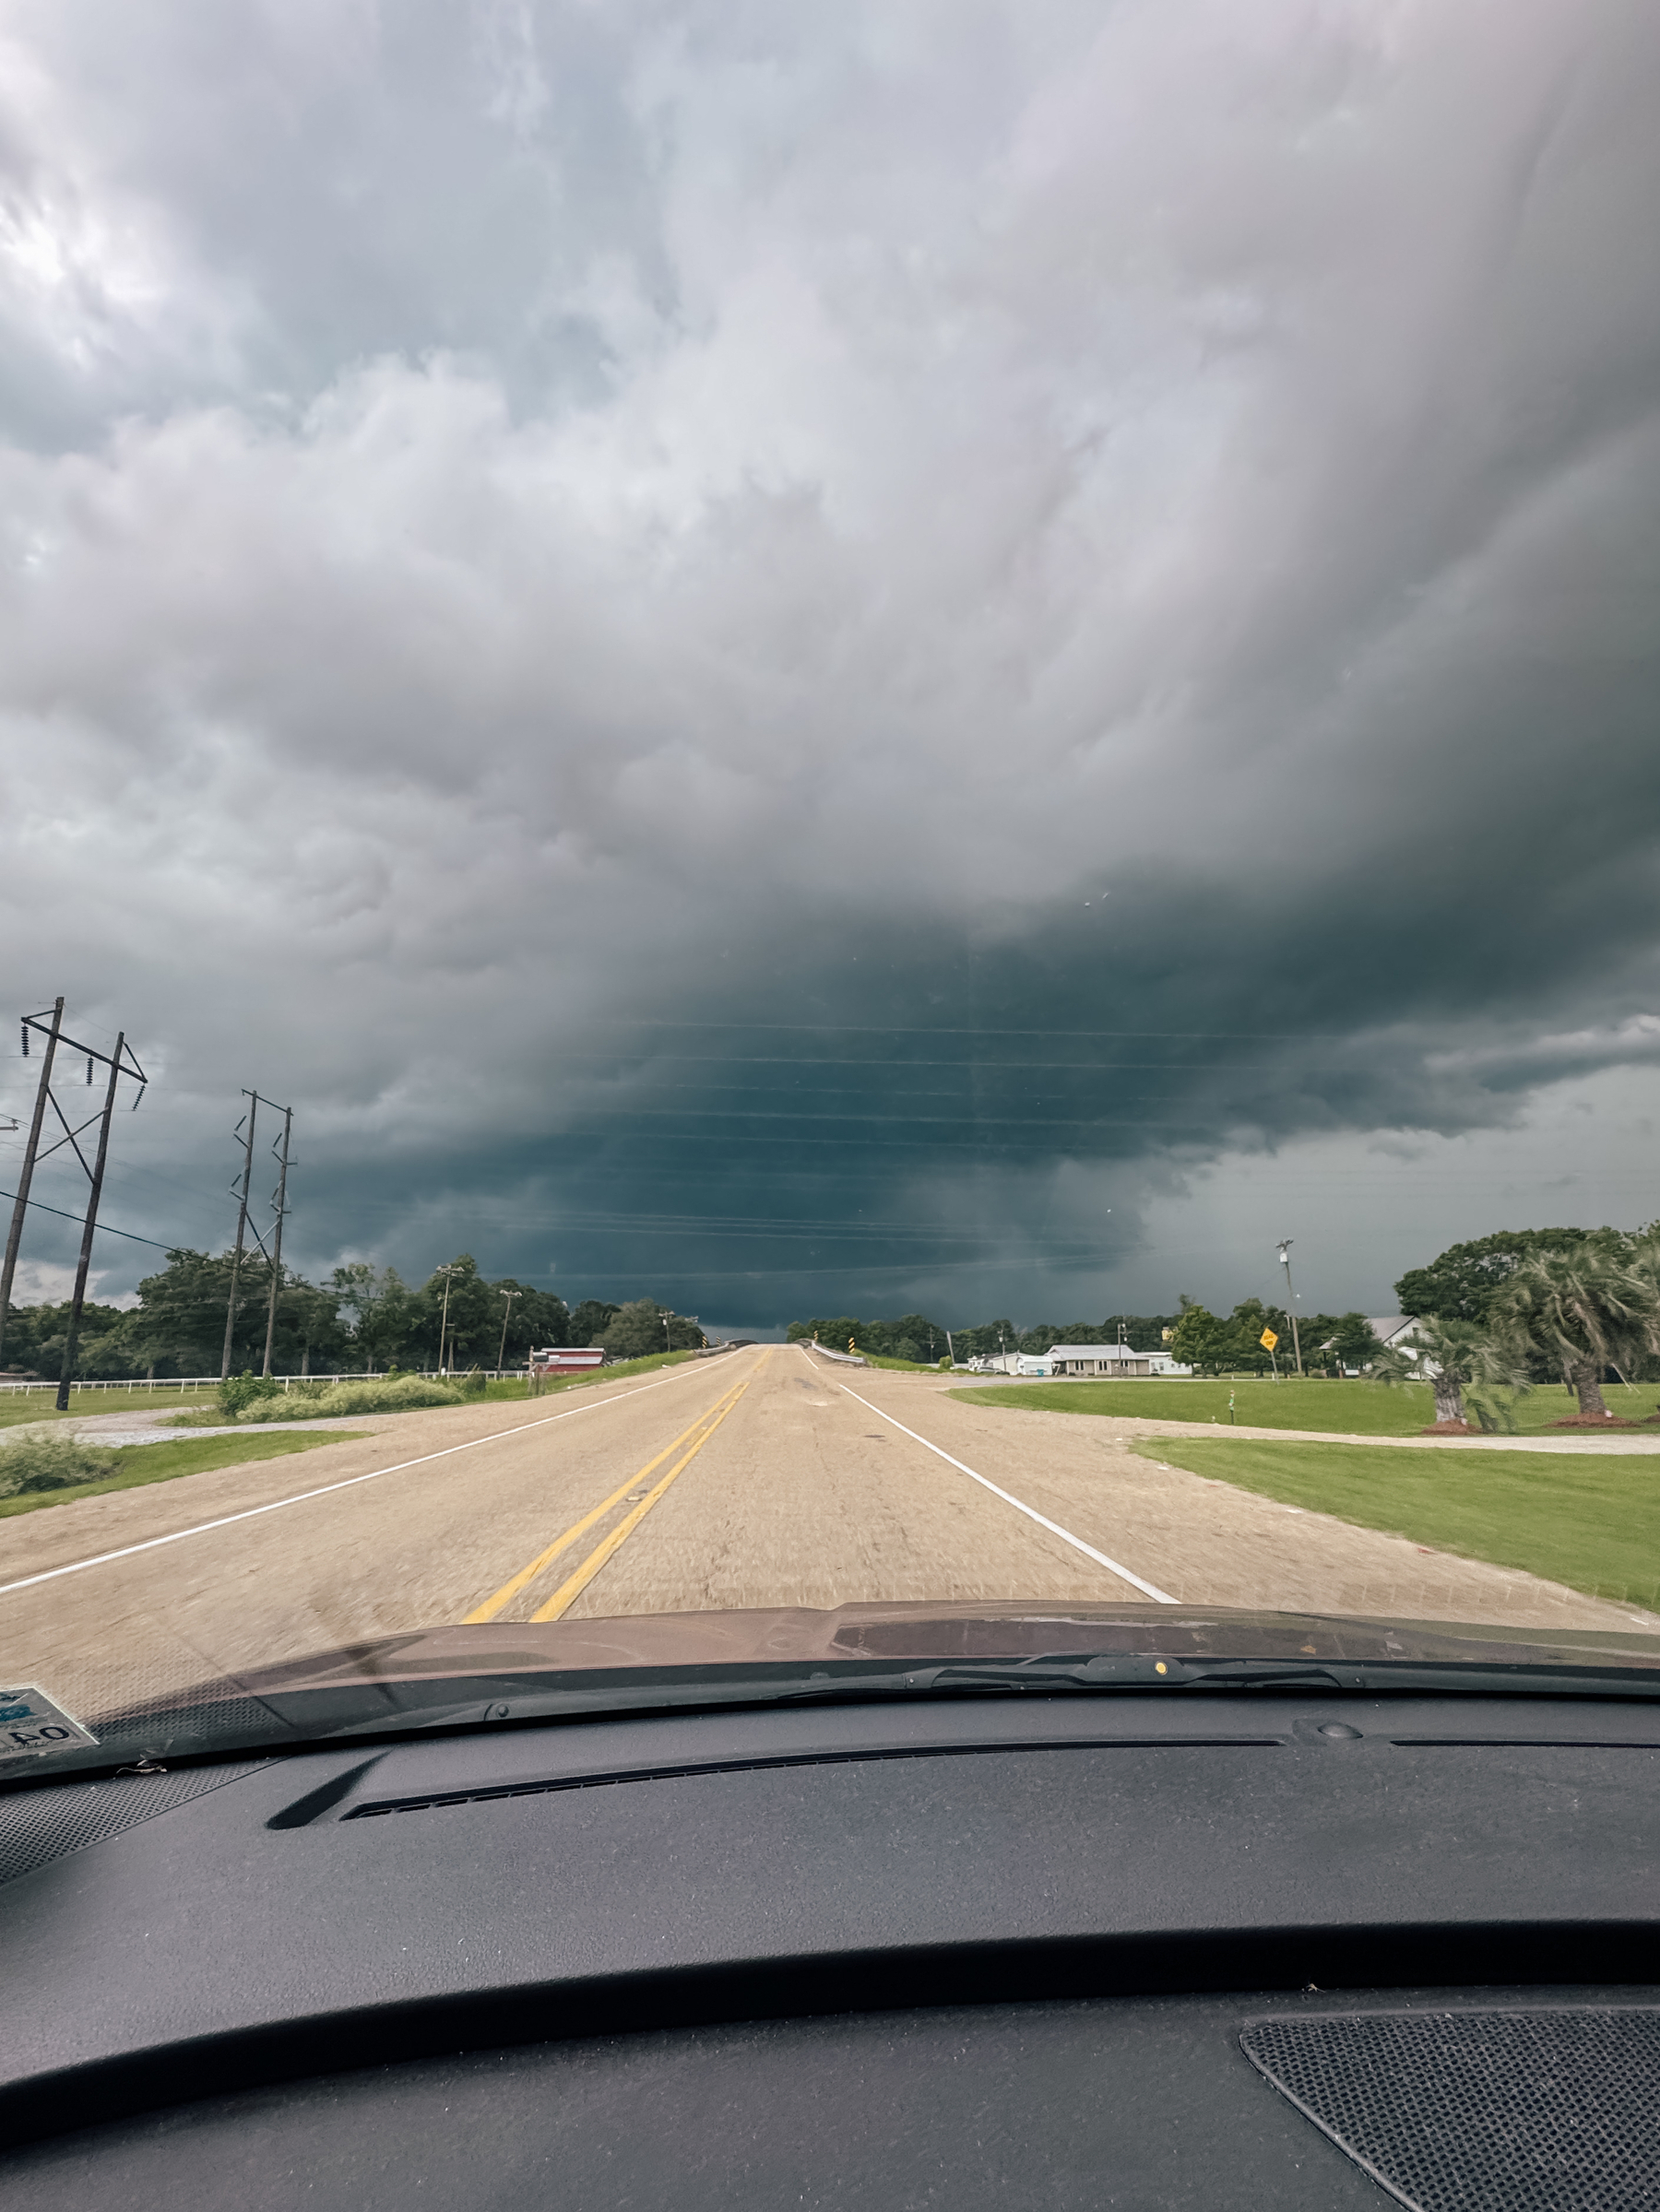
Drive home this afternoon
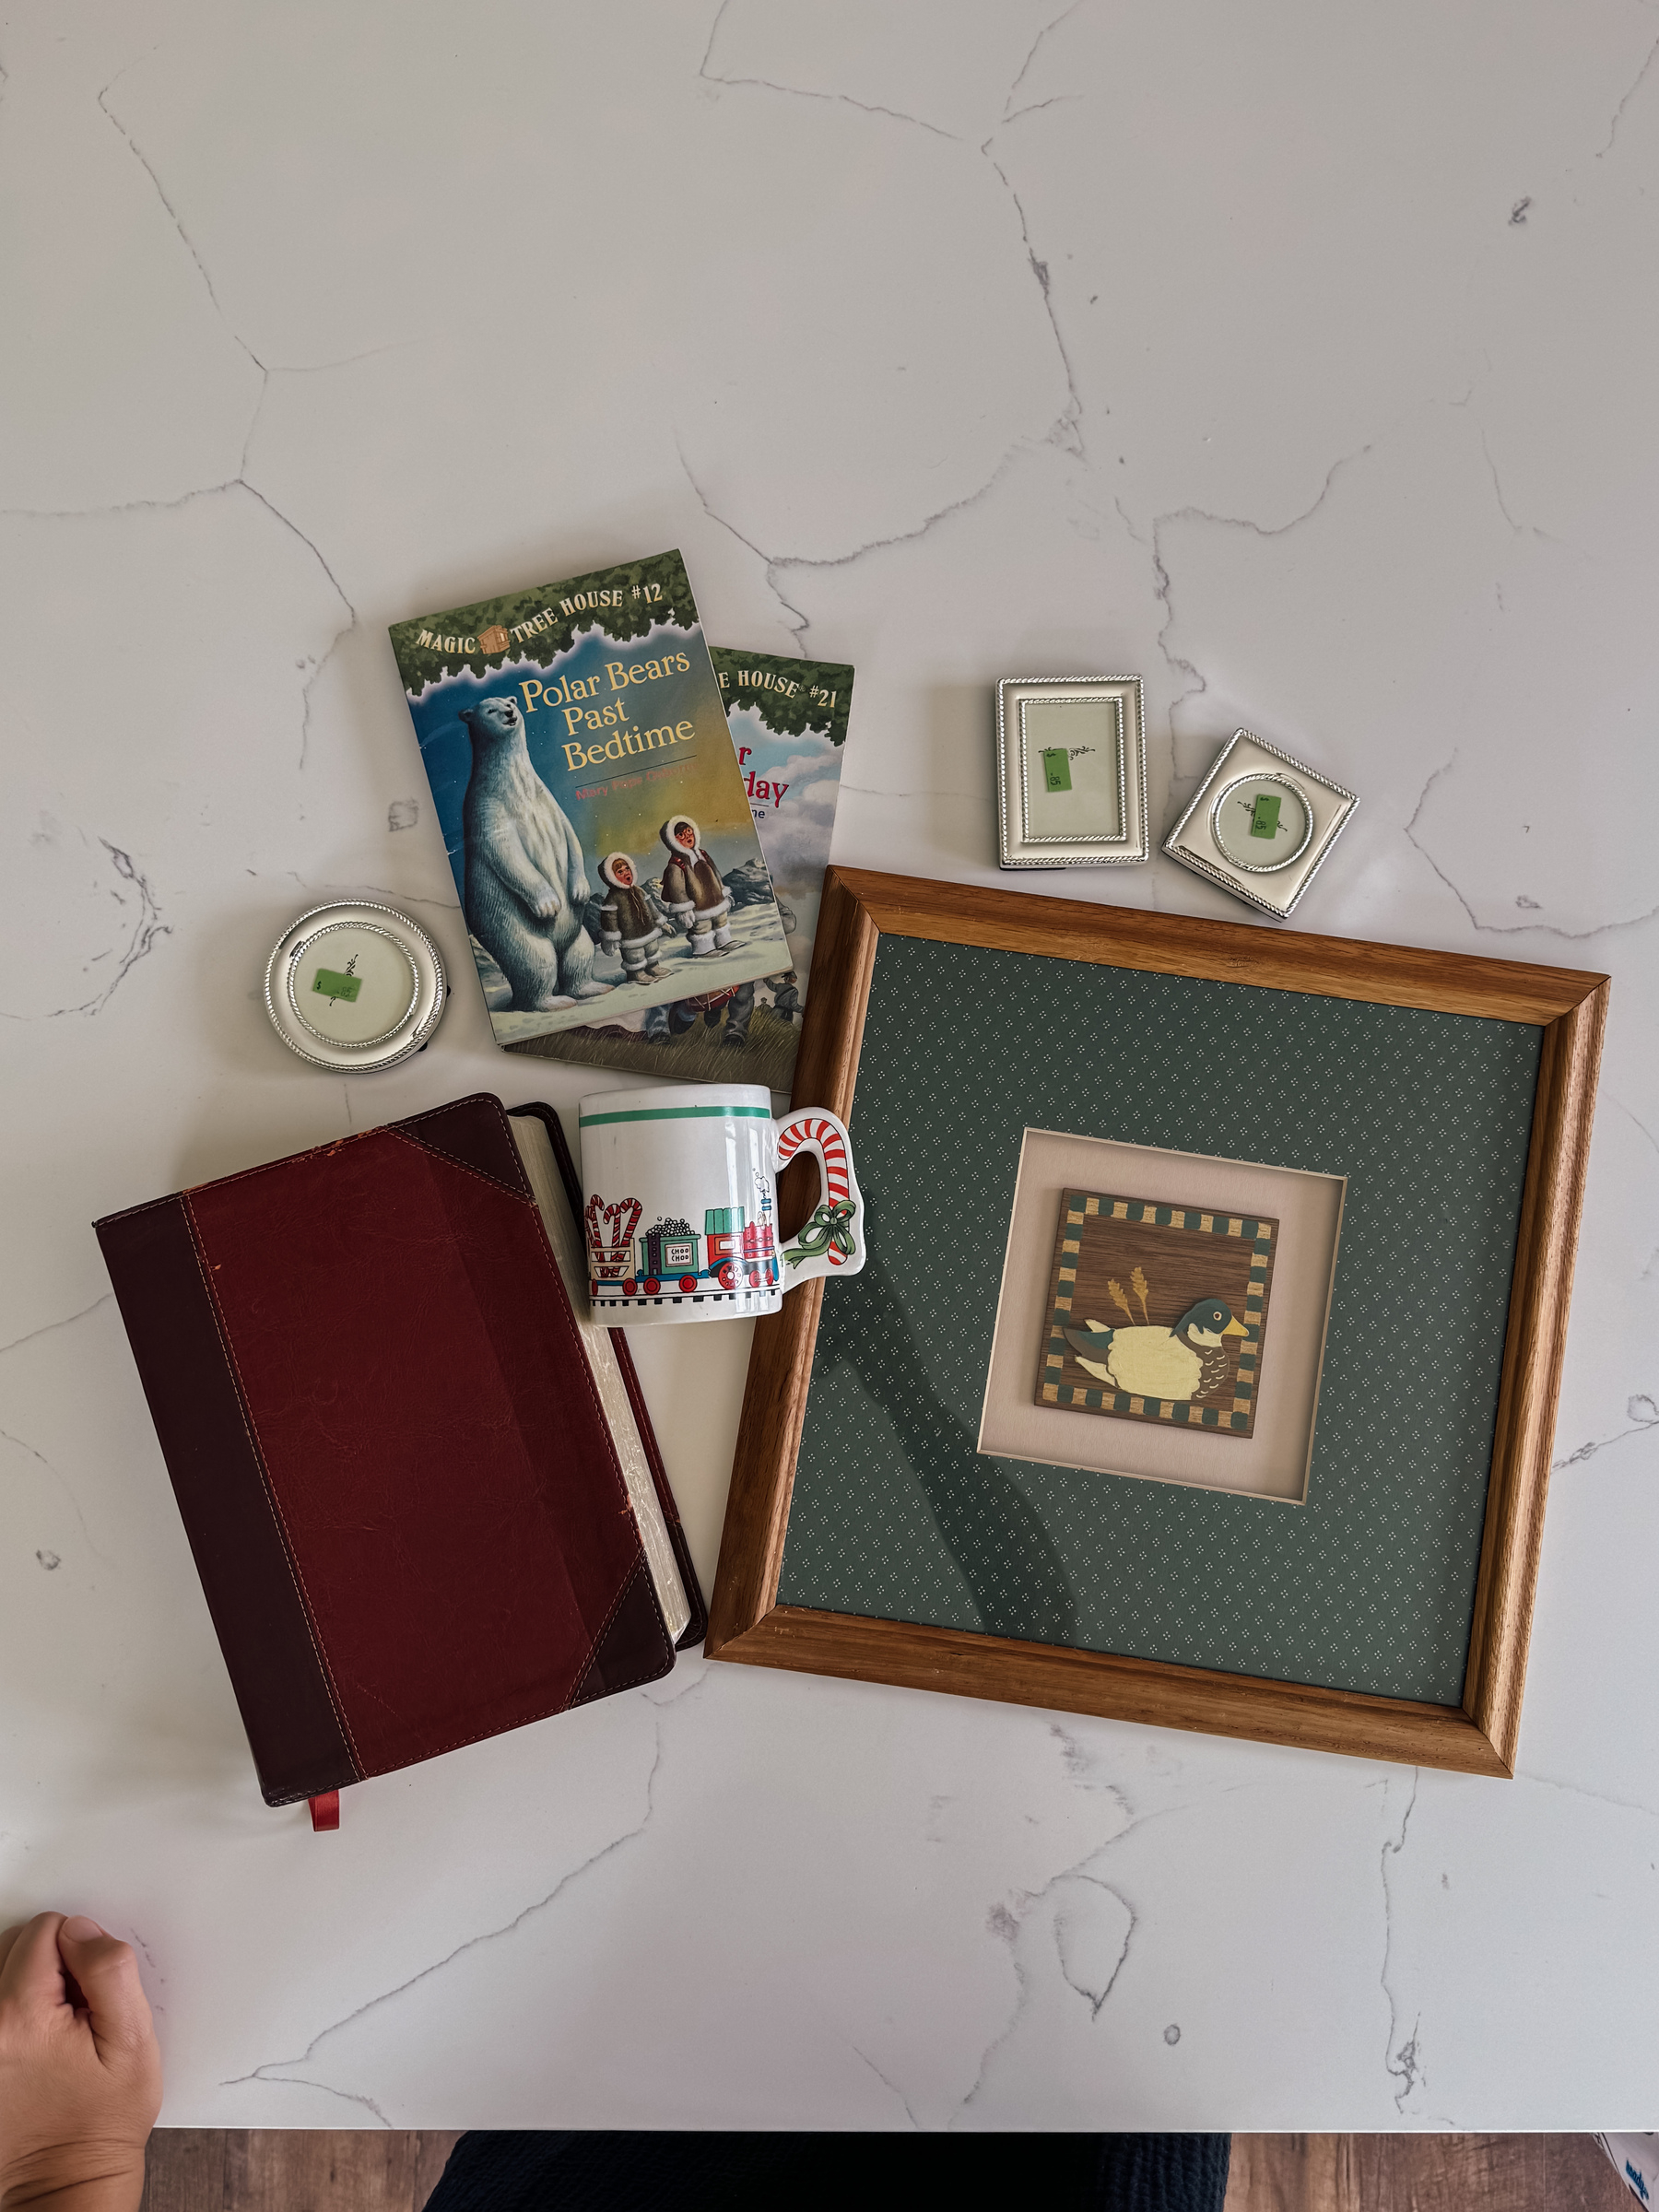
Thrift finds from last week in Natchitoches:
2 Magic Treehouse books to add to our library
3 tiny photo frames to make into ornaments
A Christmas train mug because I thought the kids would like it
A duck picture thing for the bird wall in our guest bathroom
A Study Bible in really great condition
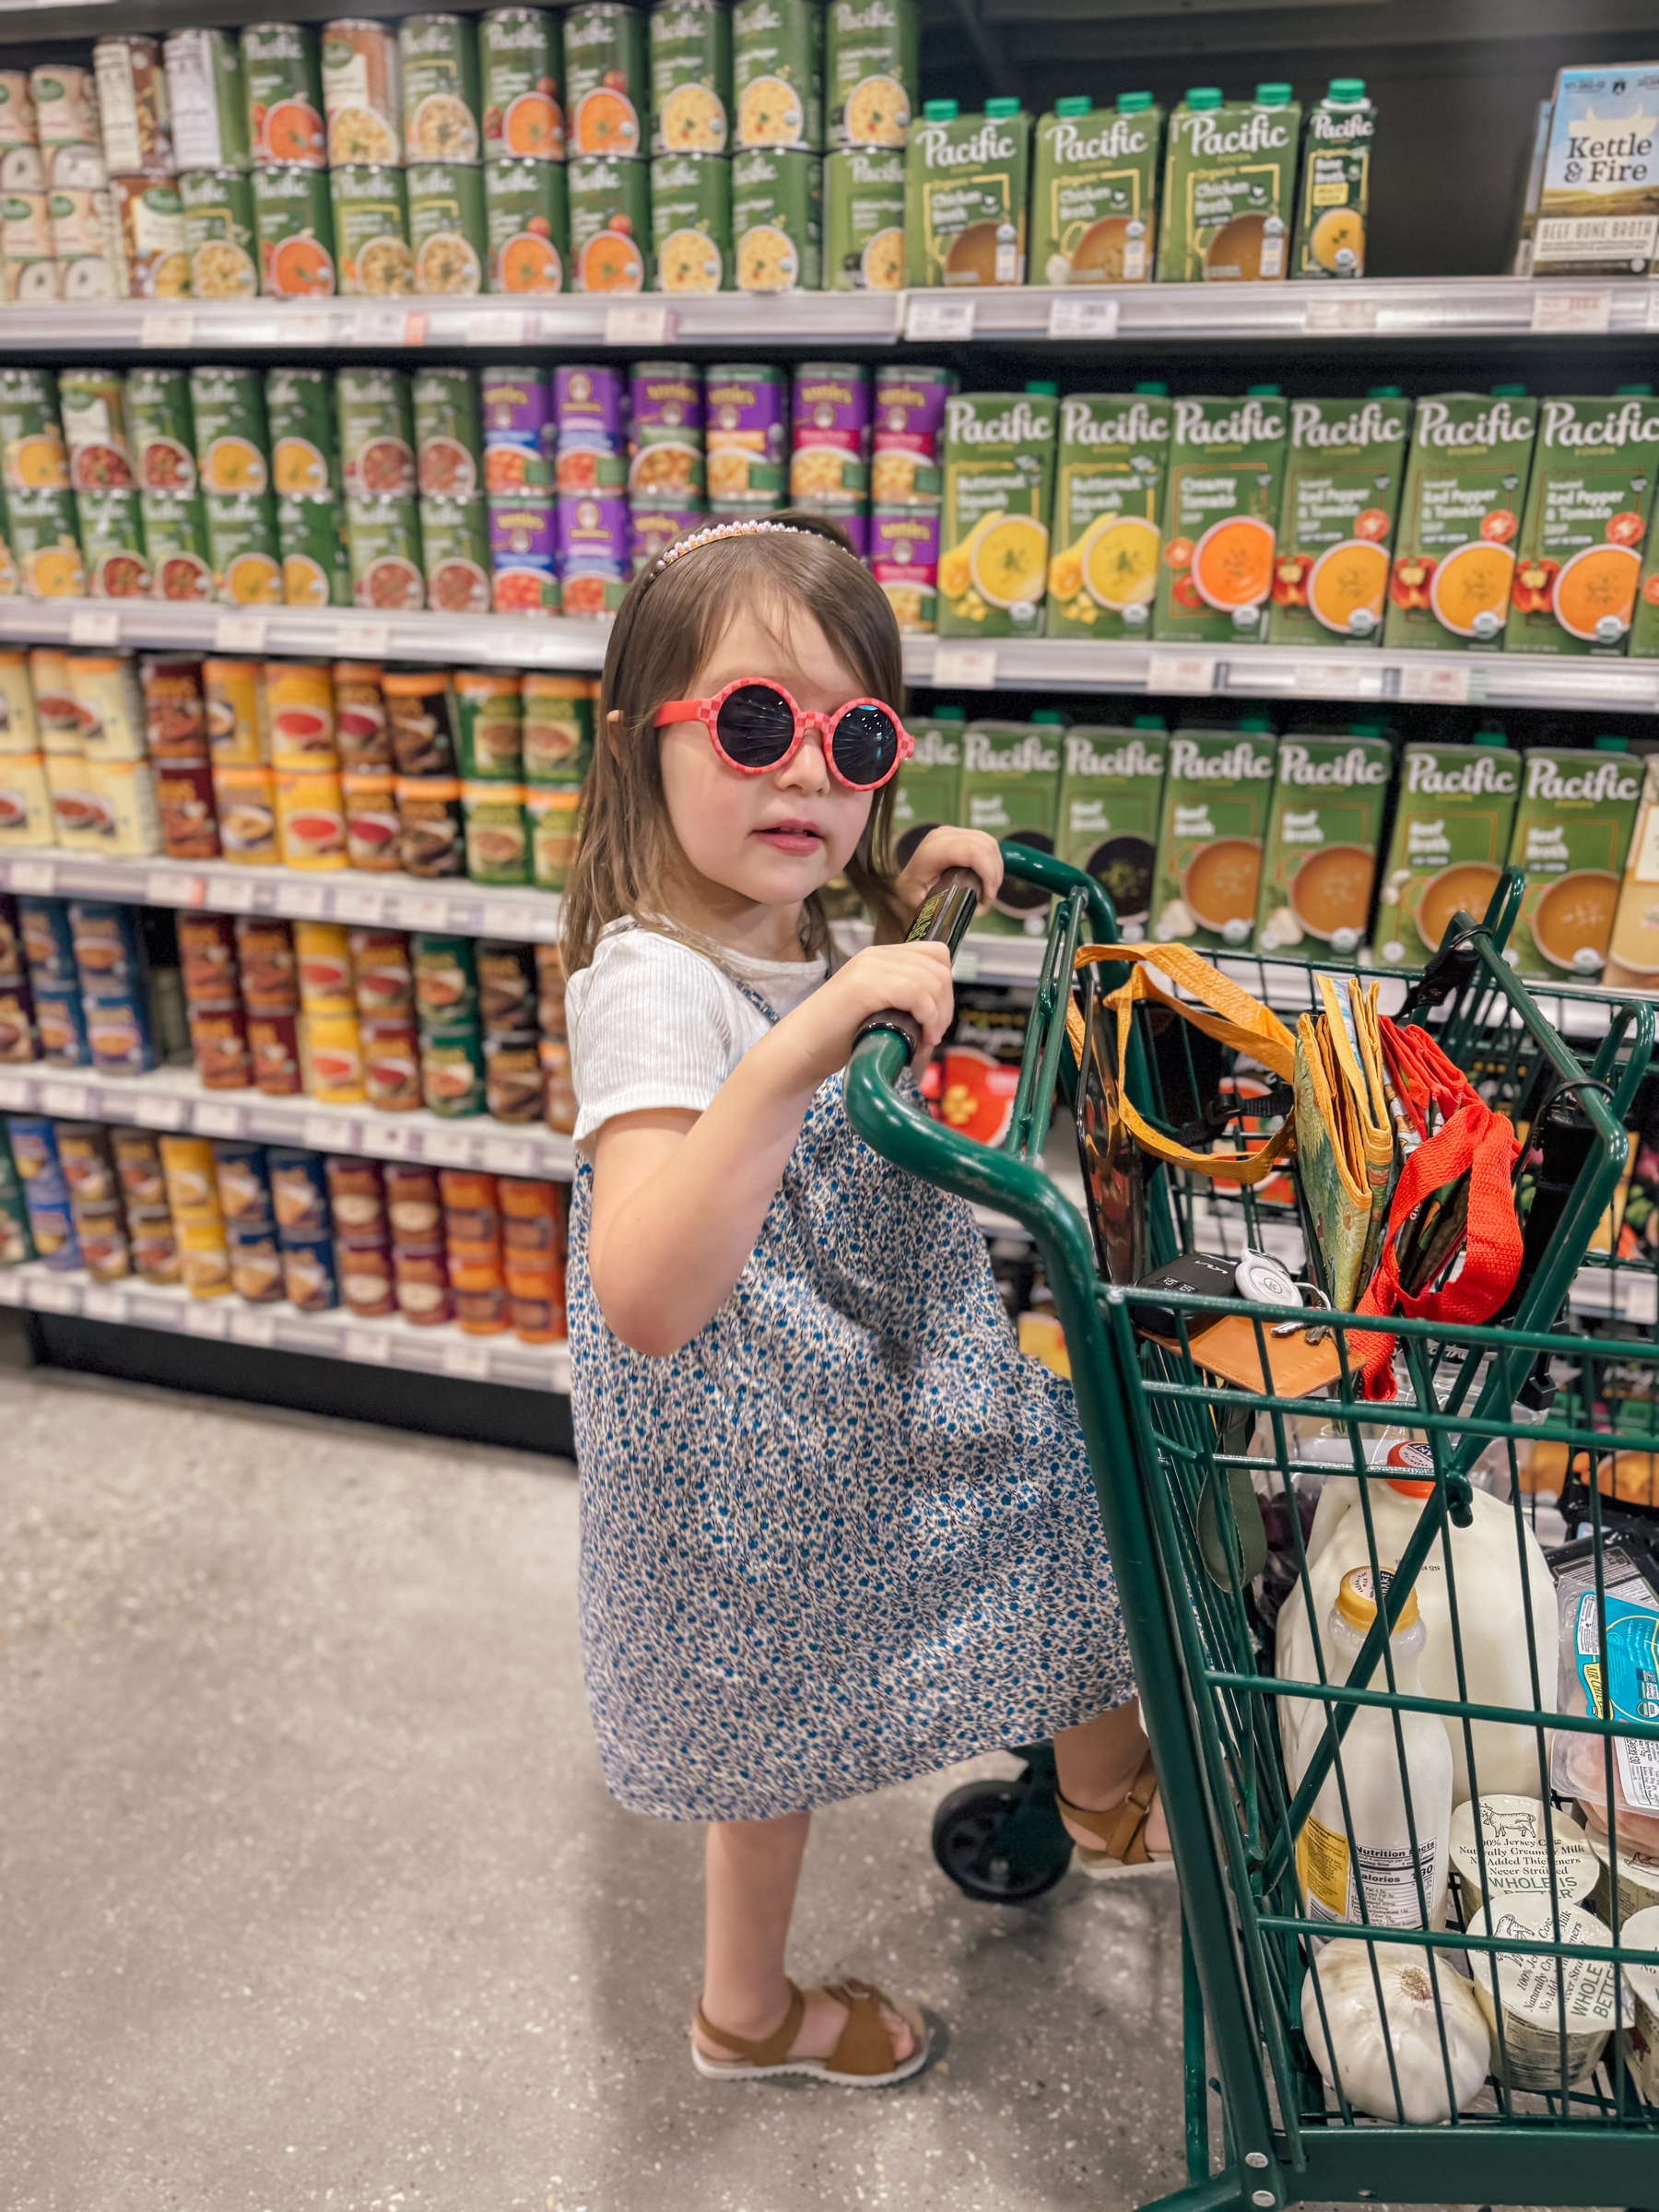
Grocery shopping with my girl
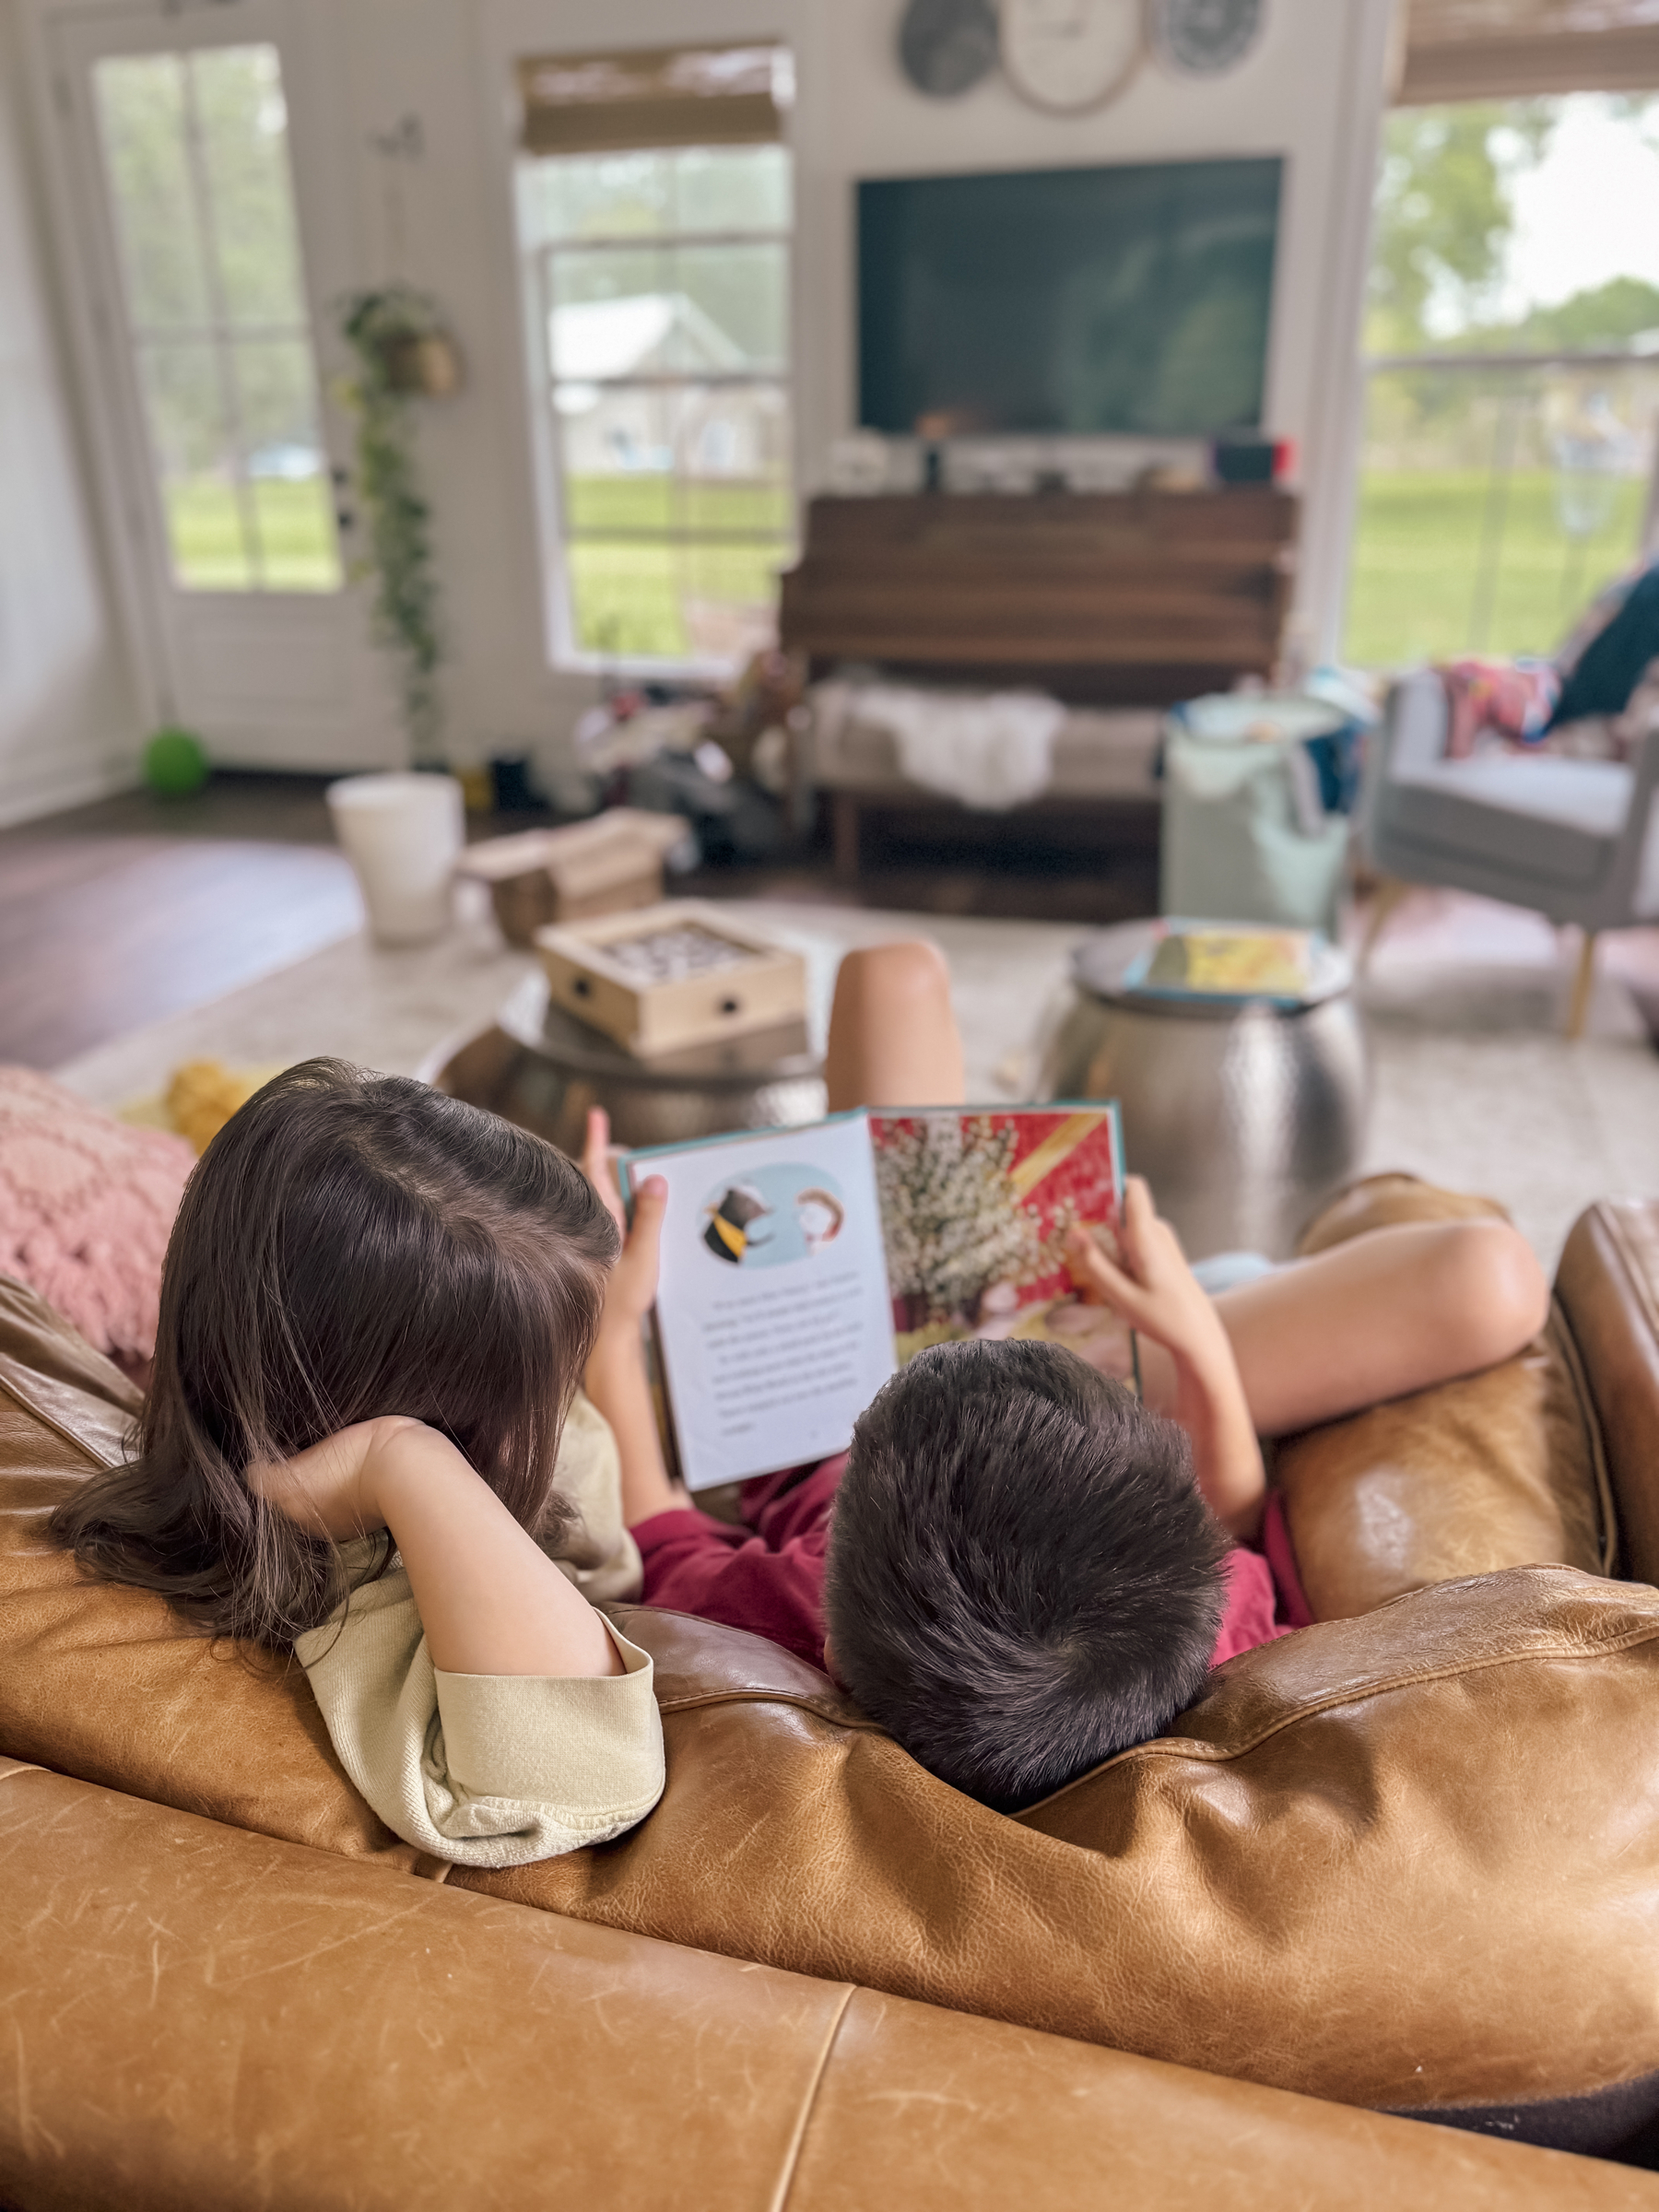
One of my favorite pictures from June: Him reading Sydney and Taylor Explore the Whole Wide World (a cute and funny short chapter 3-book series about a skunk and a hedgehog) to her
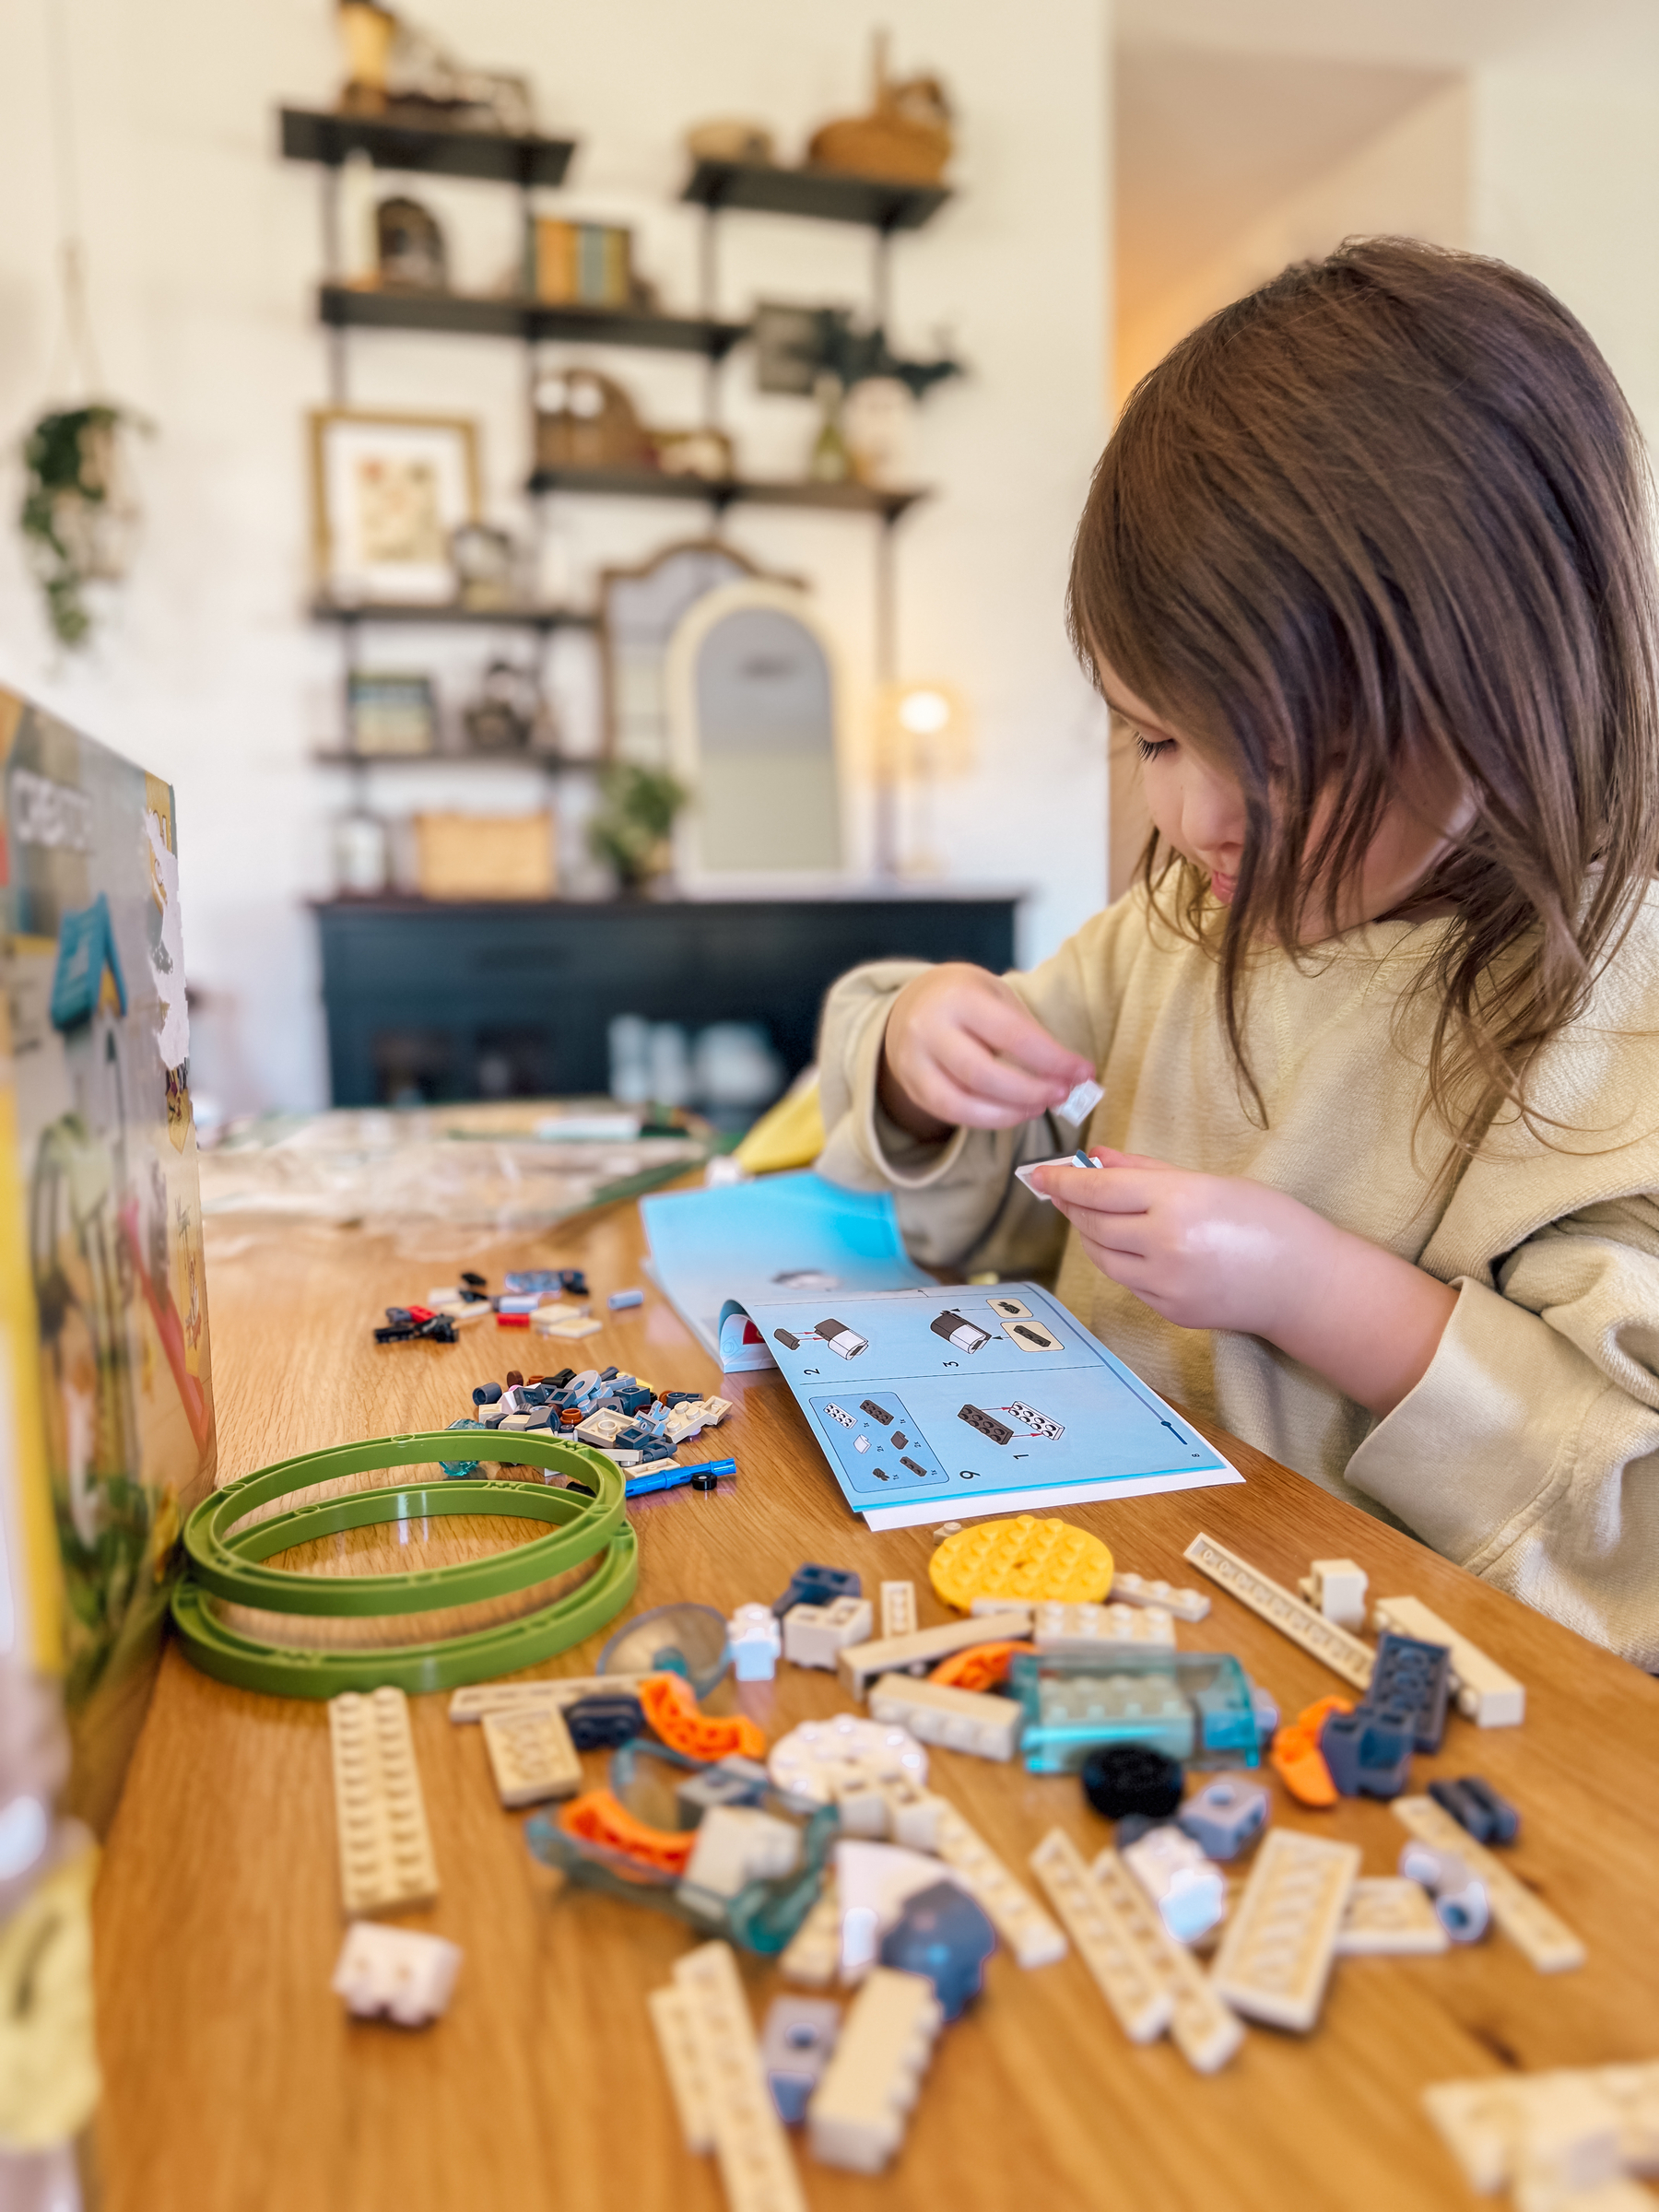
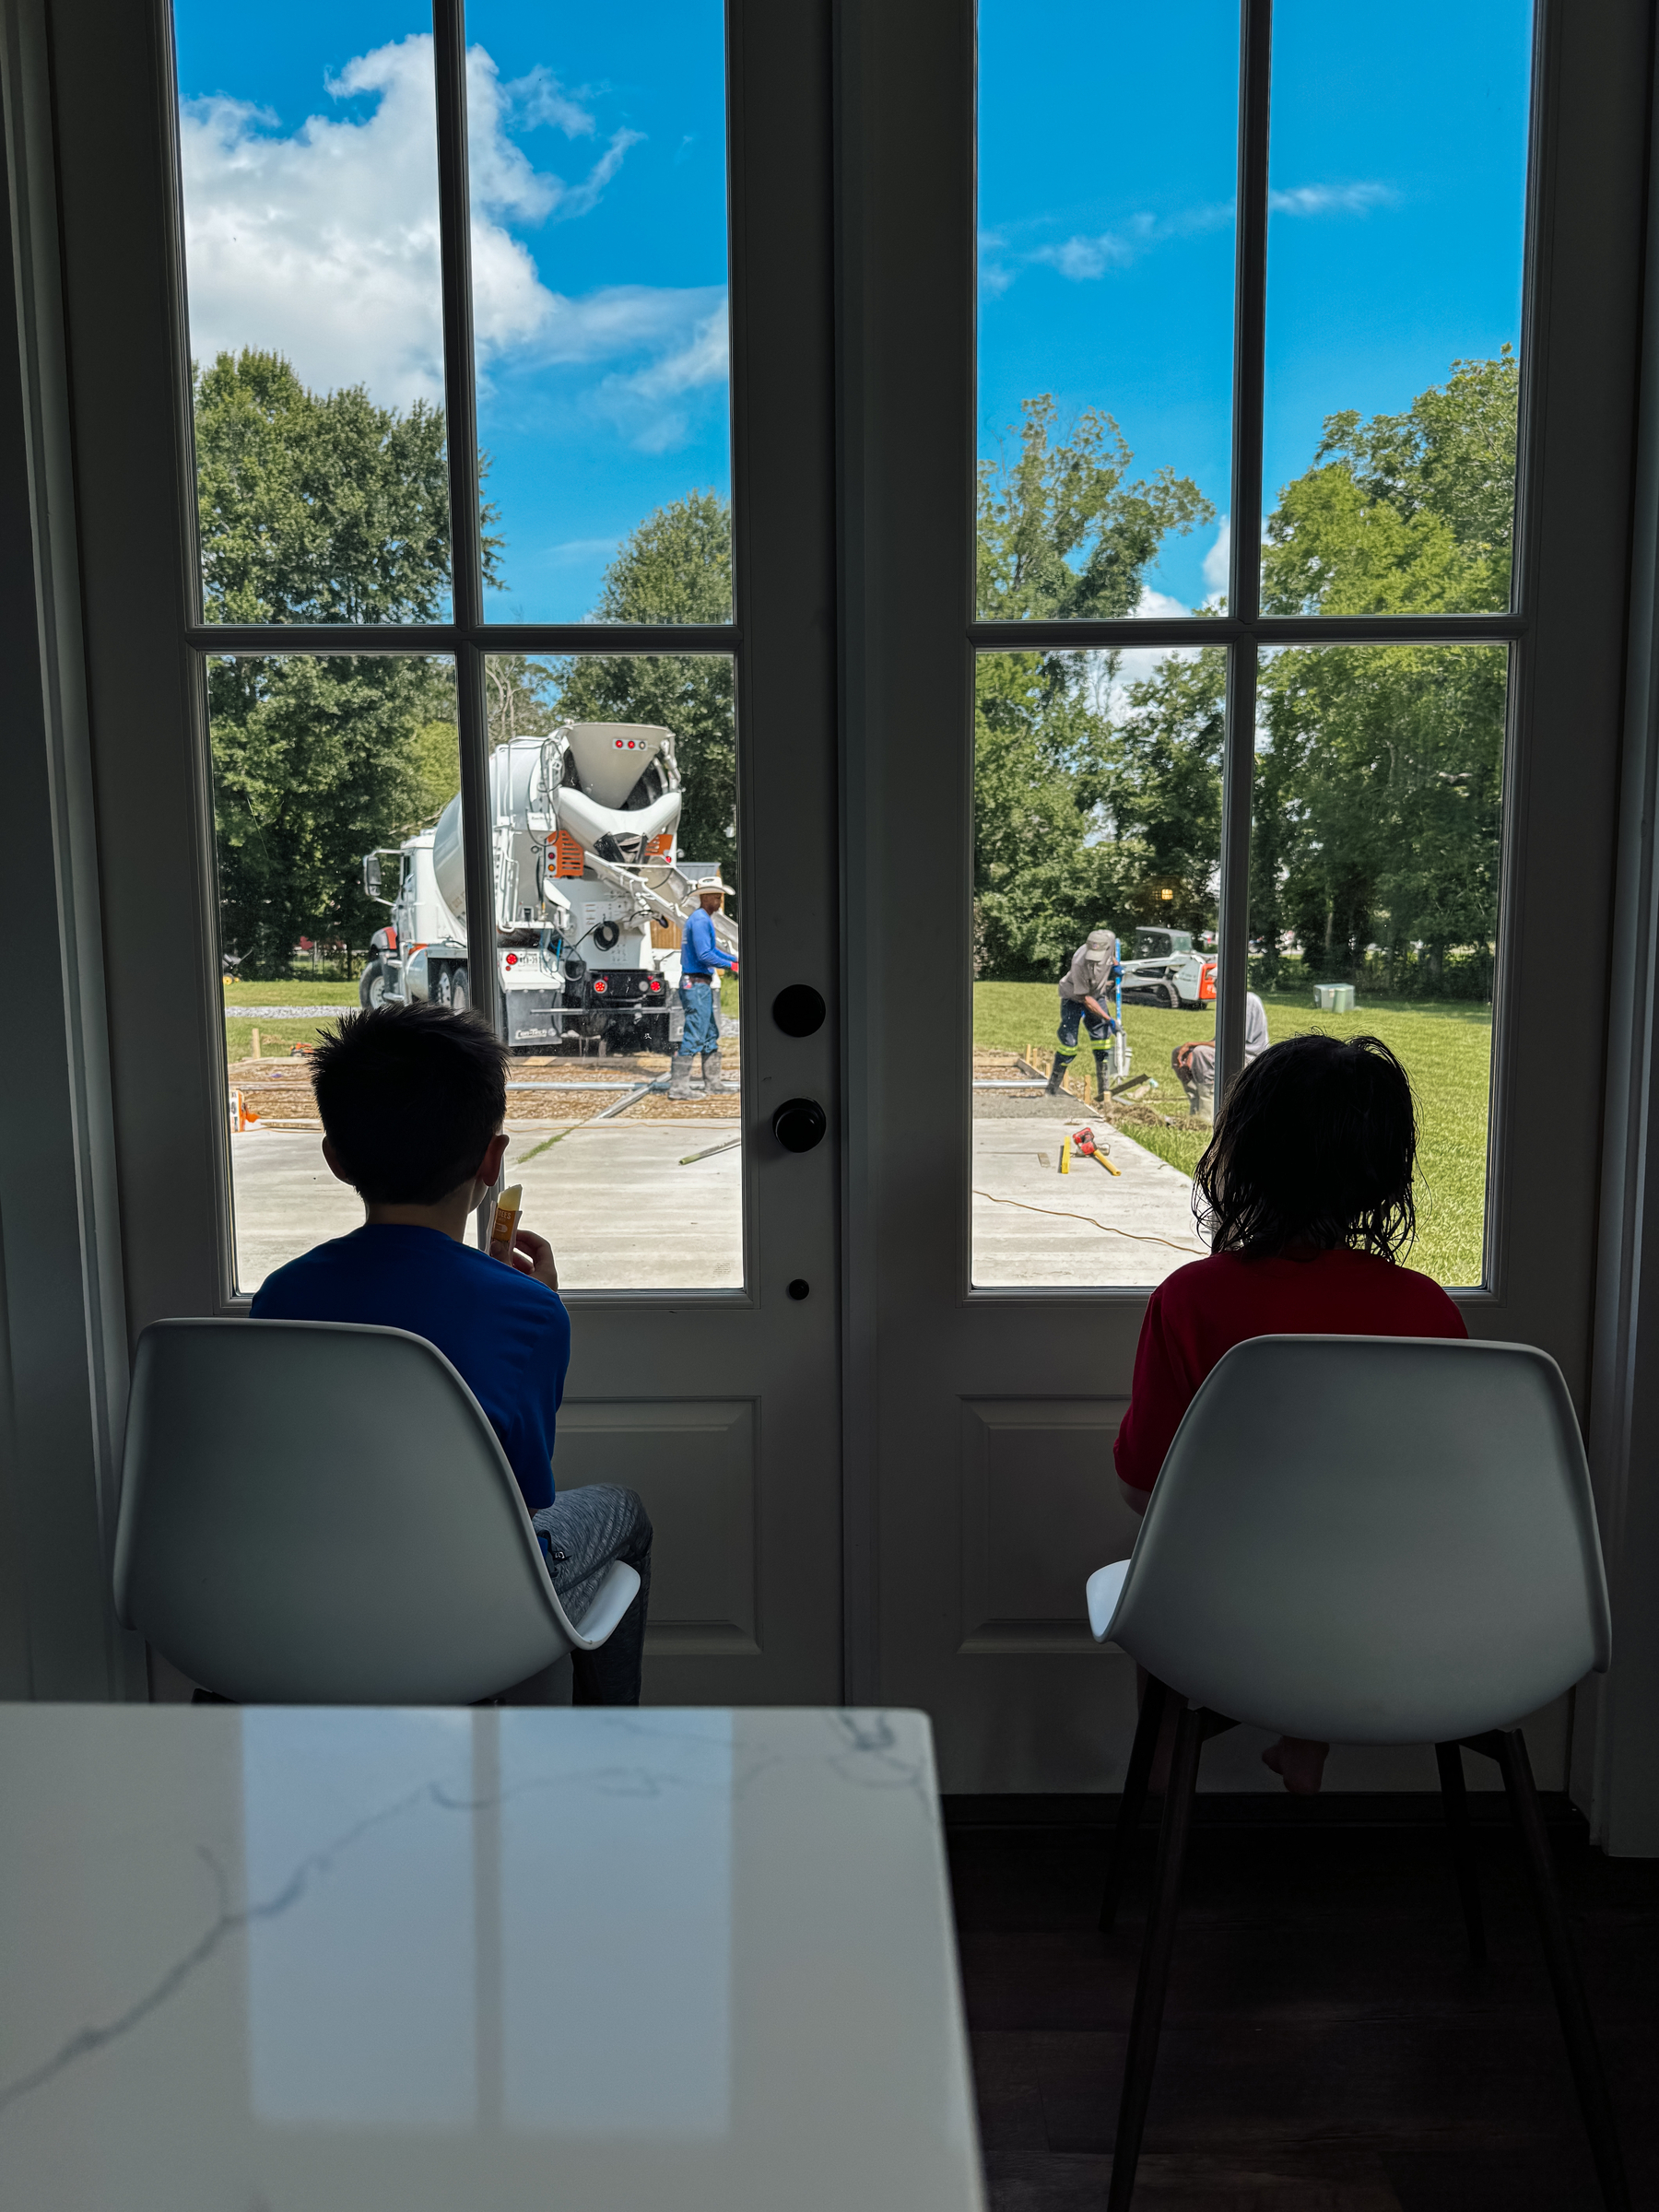
A glimpse at a large portion of today’s entertainment for these two
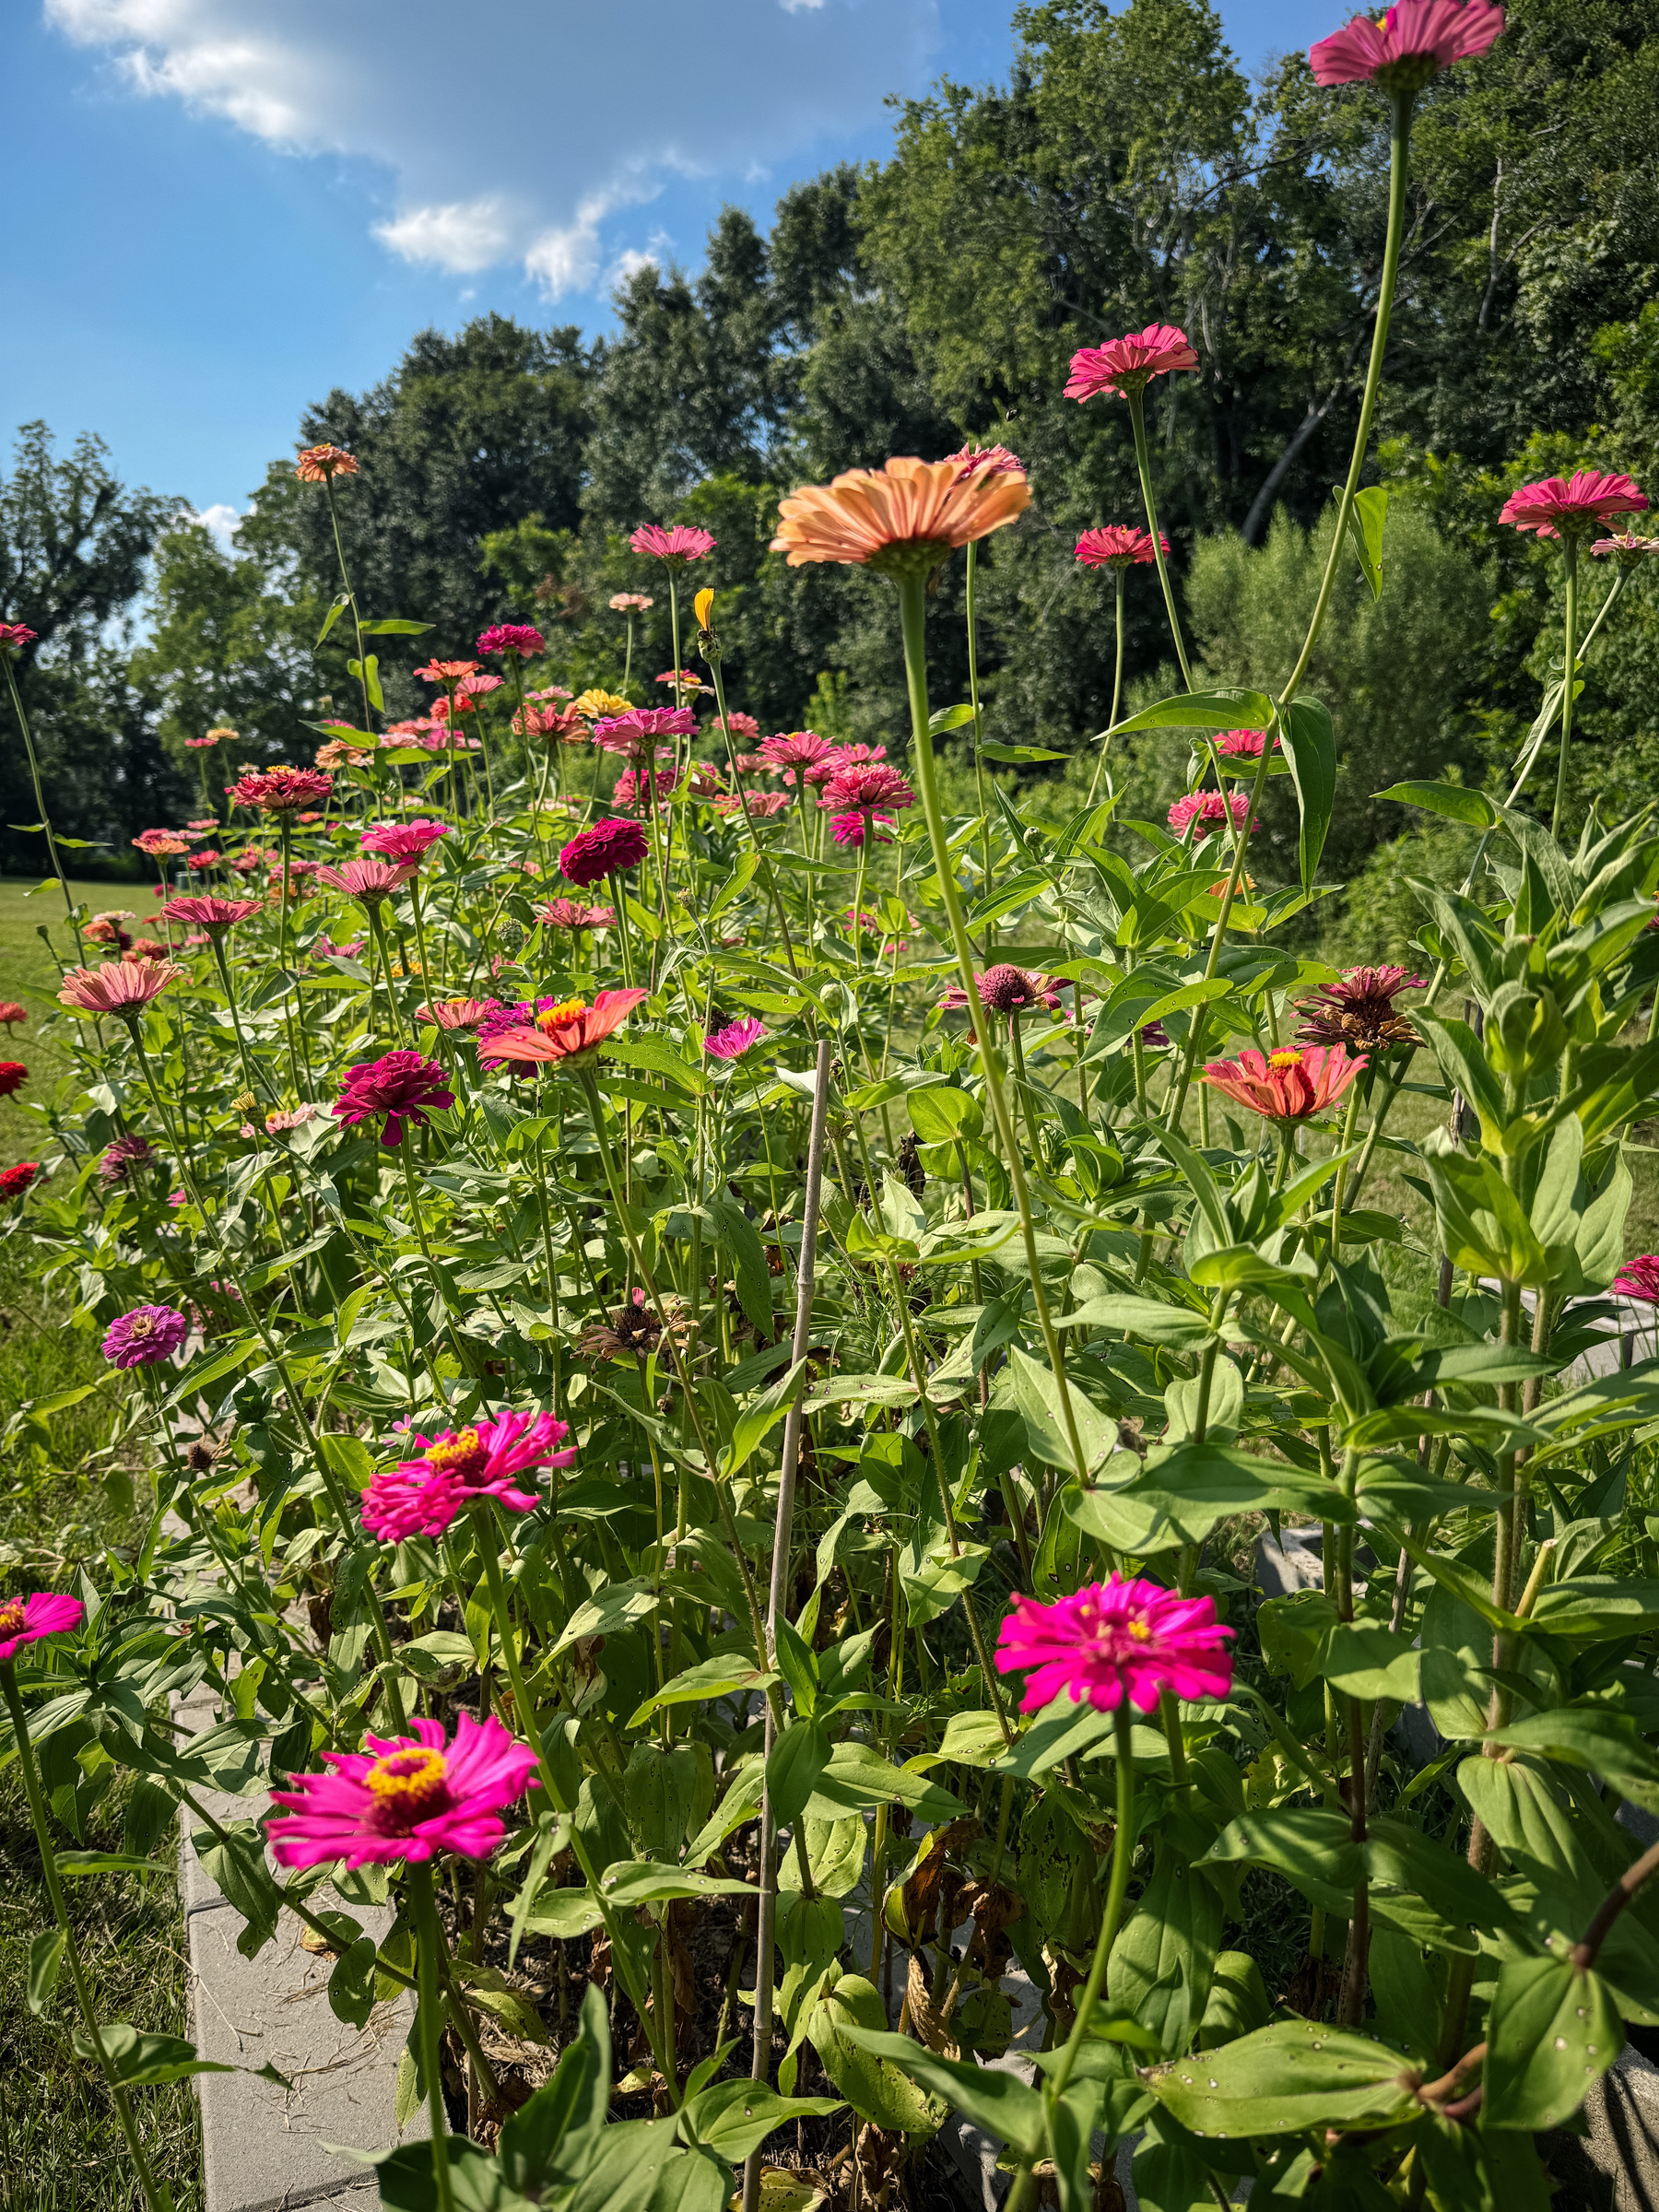
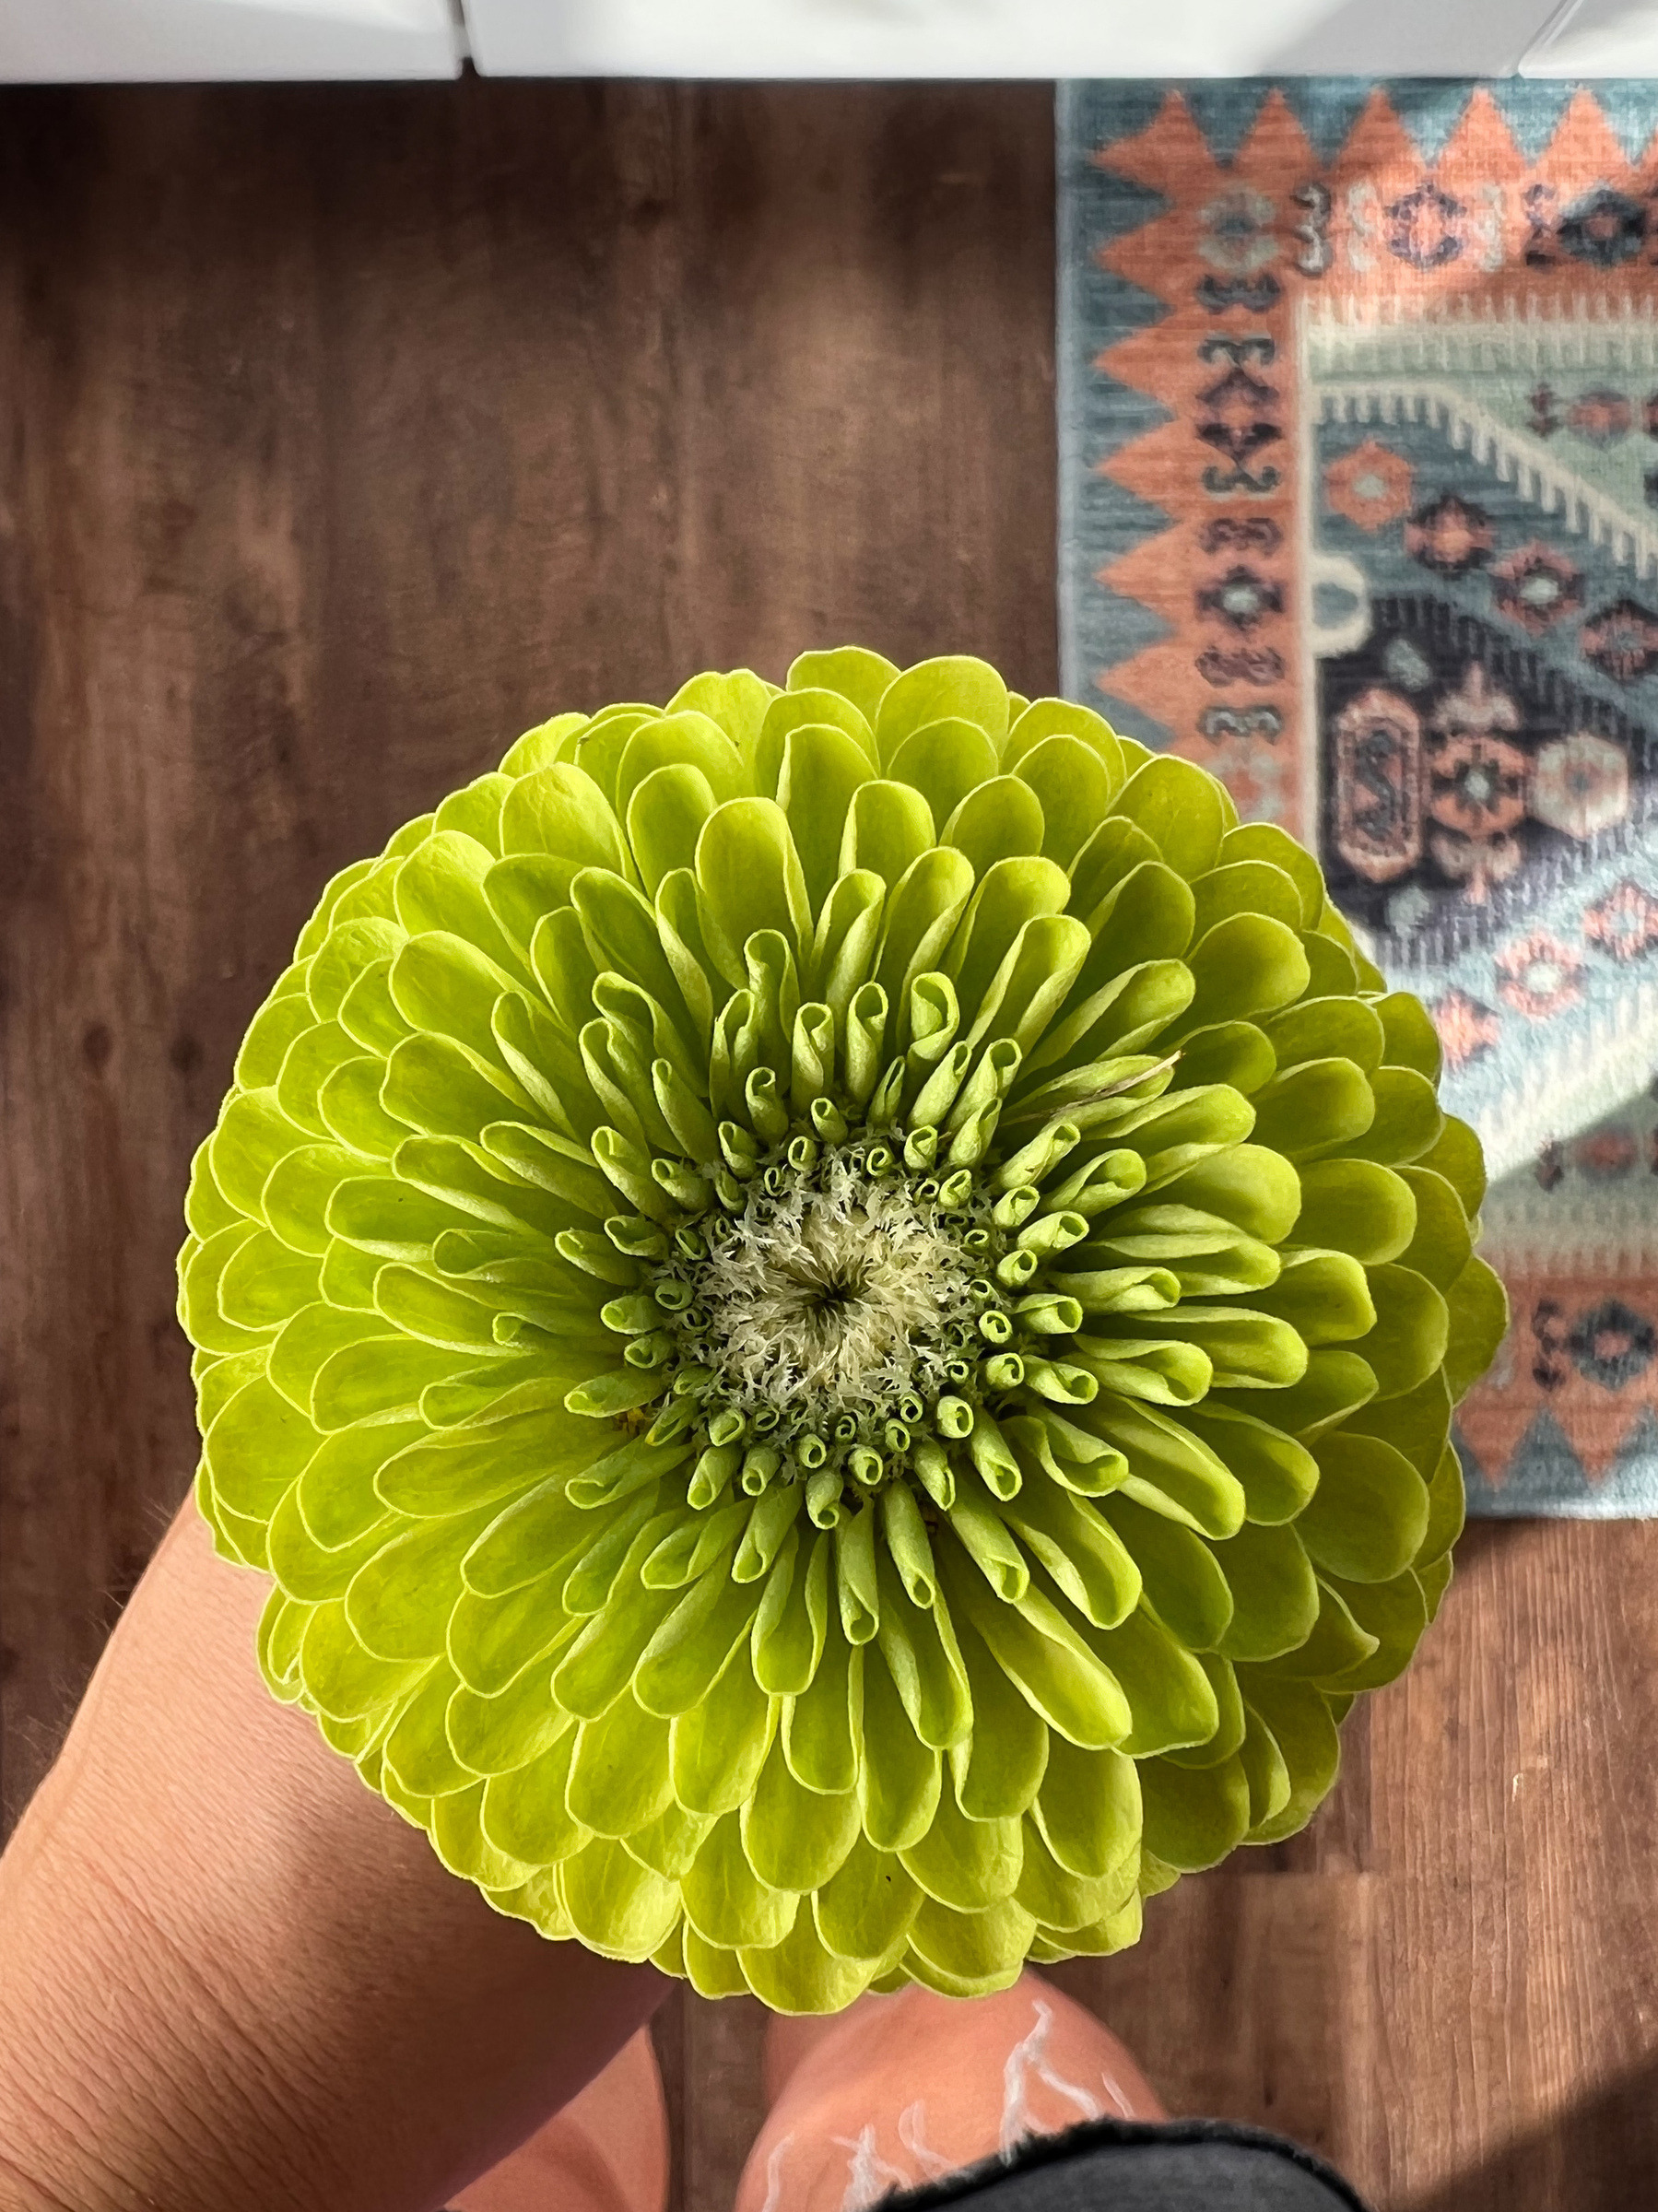
Zinnias that need some pruning, but that are still providing lots of joy
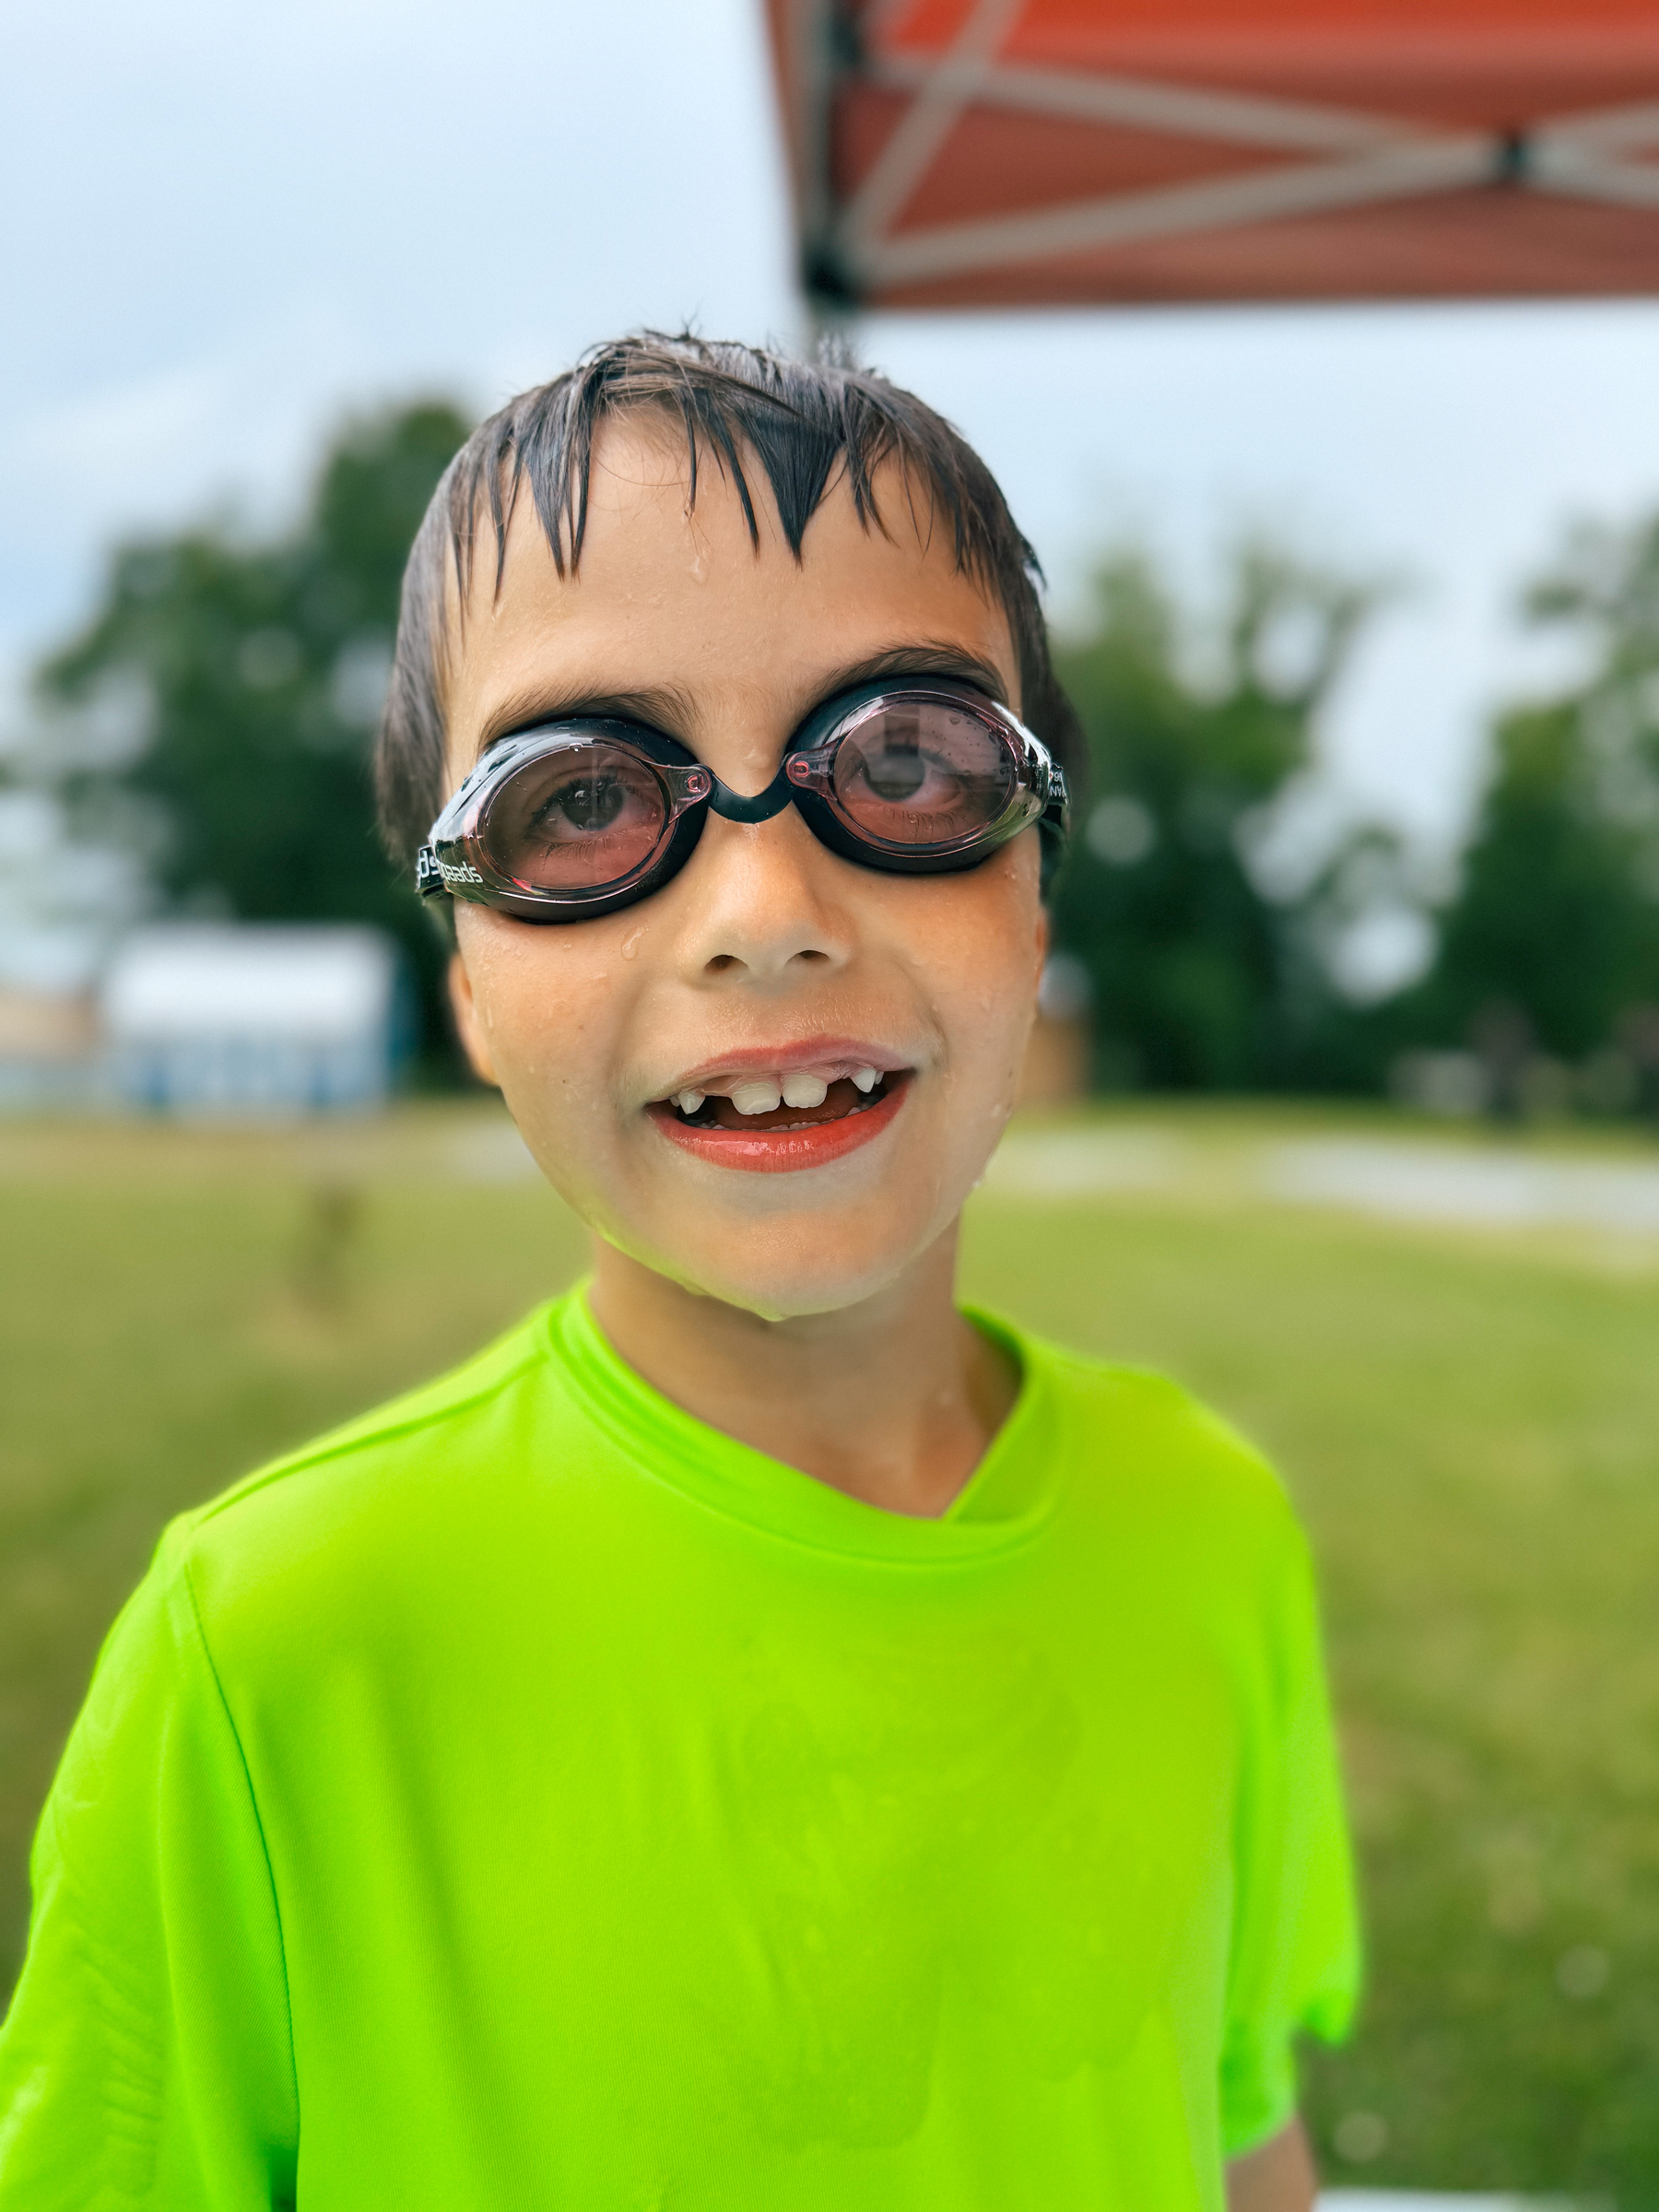
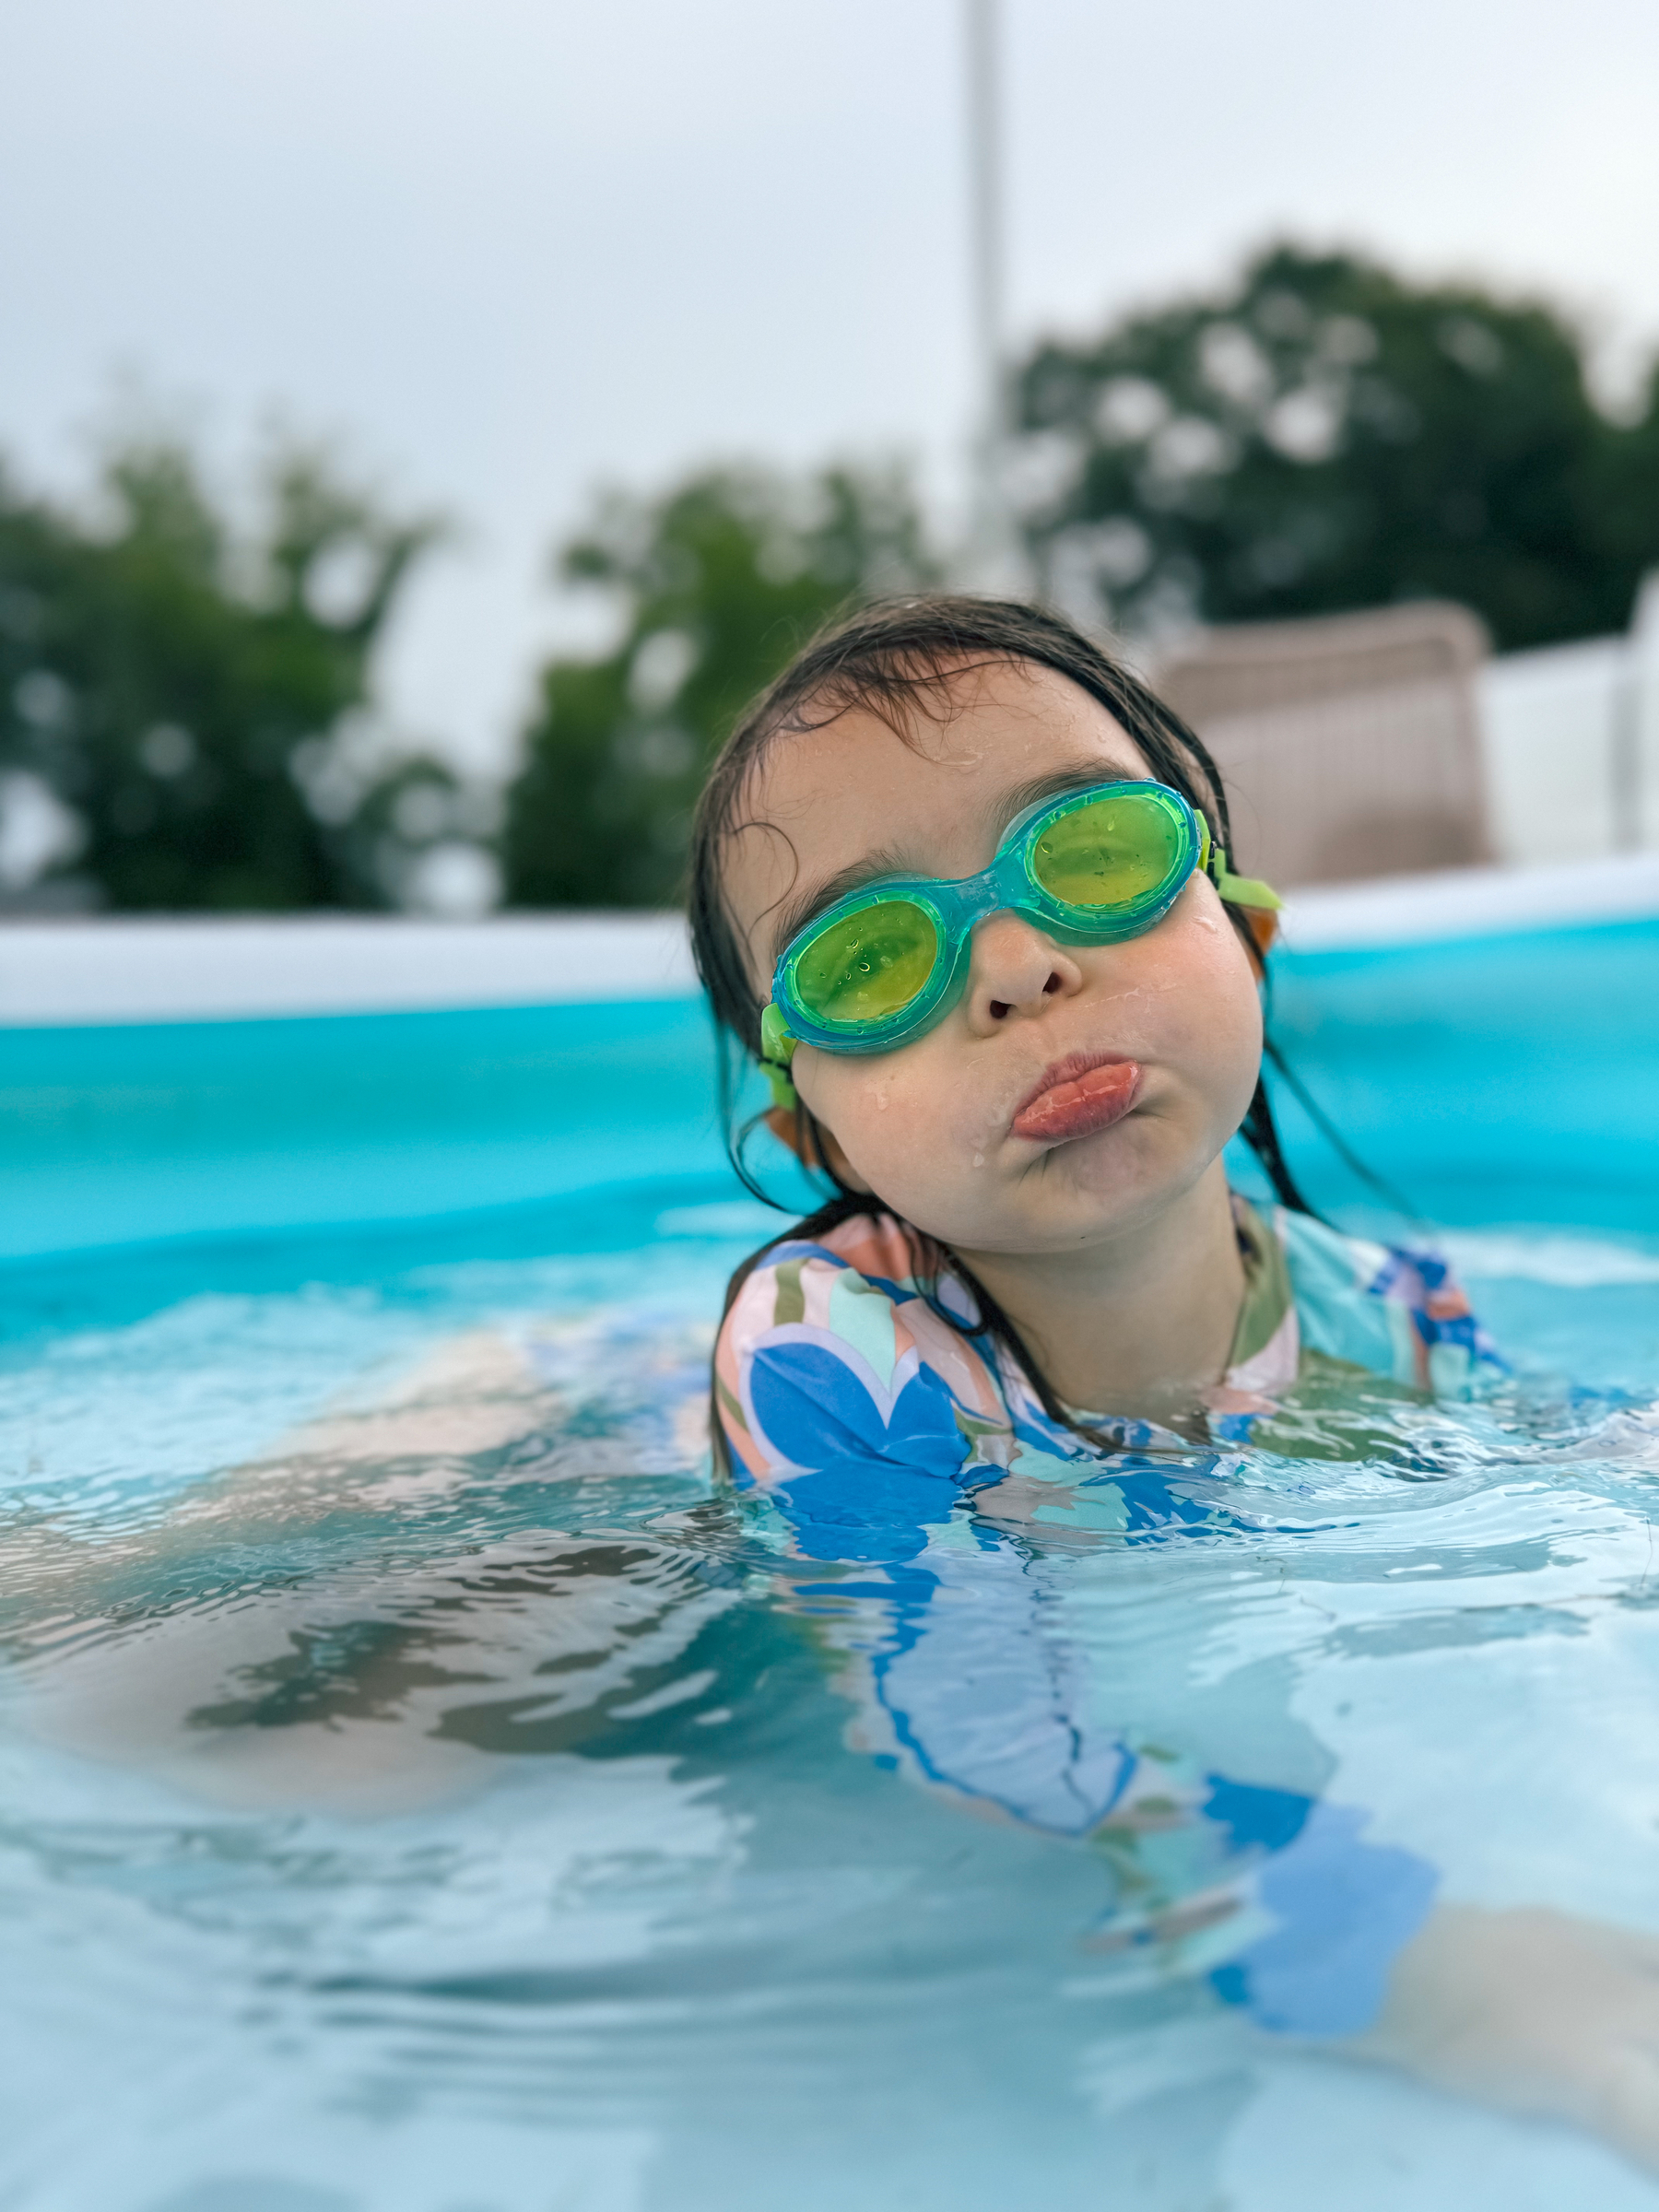
Goggle pics (from Tuesday) are funny.
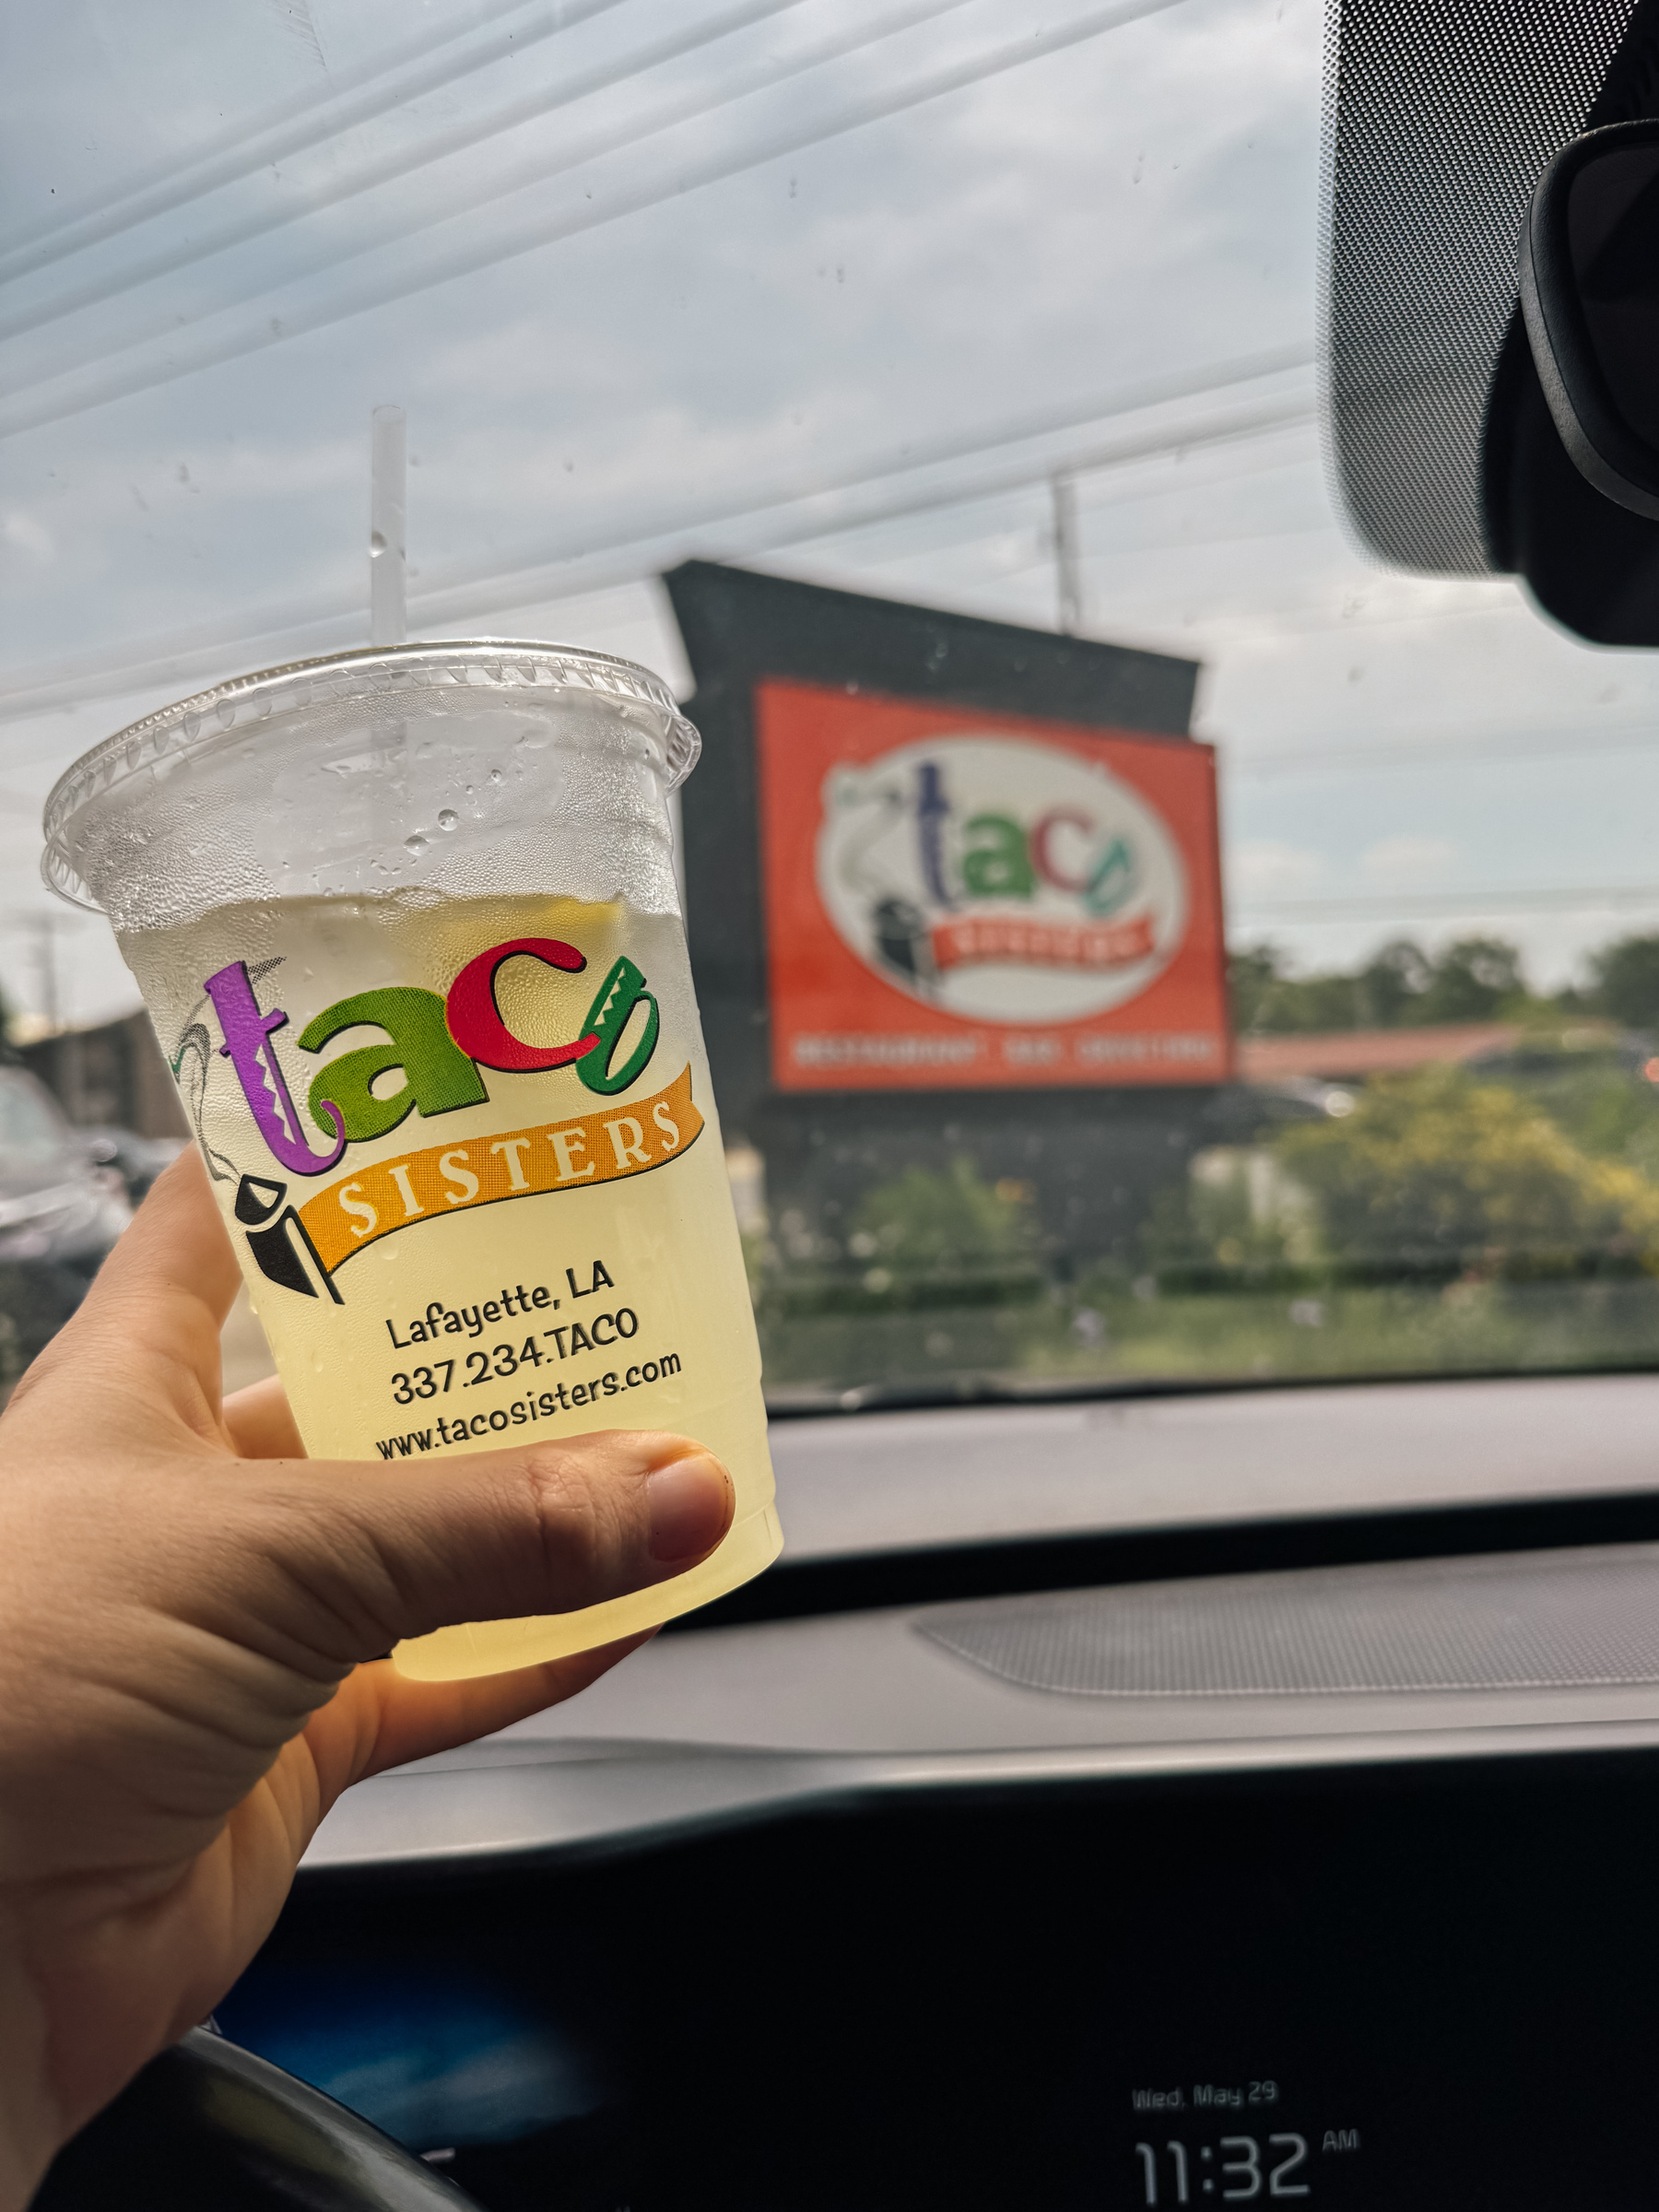
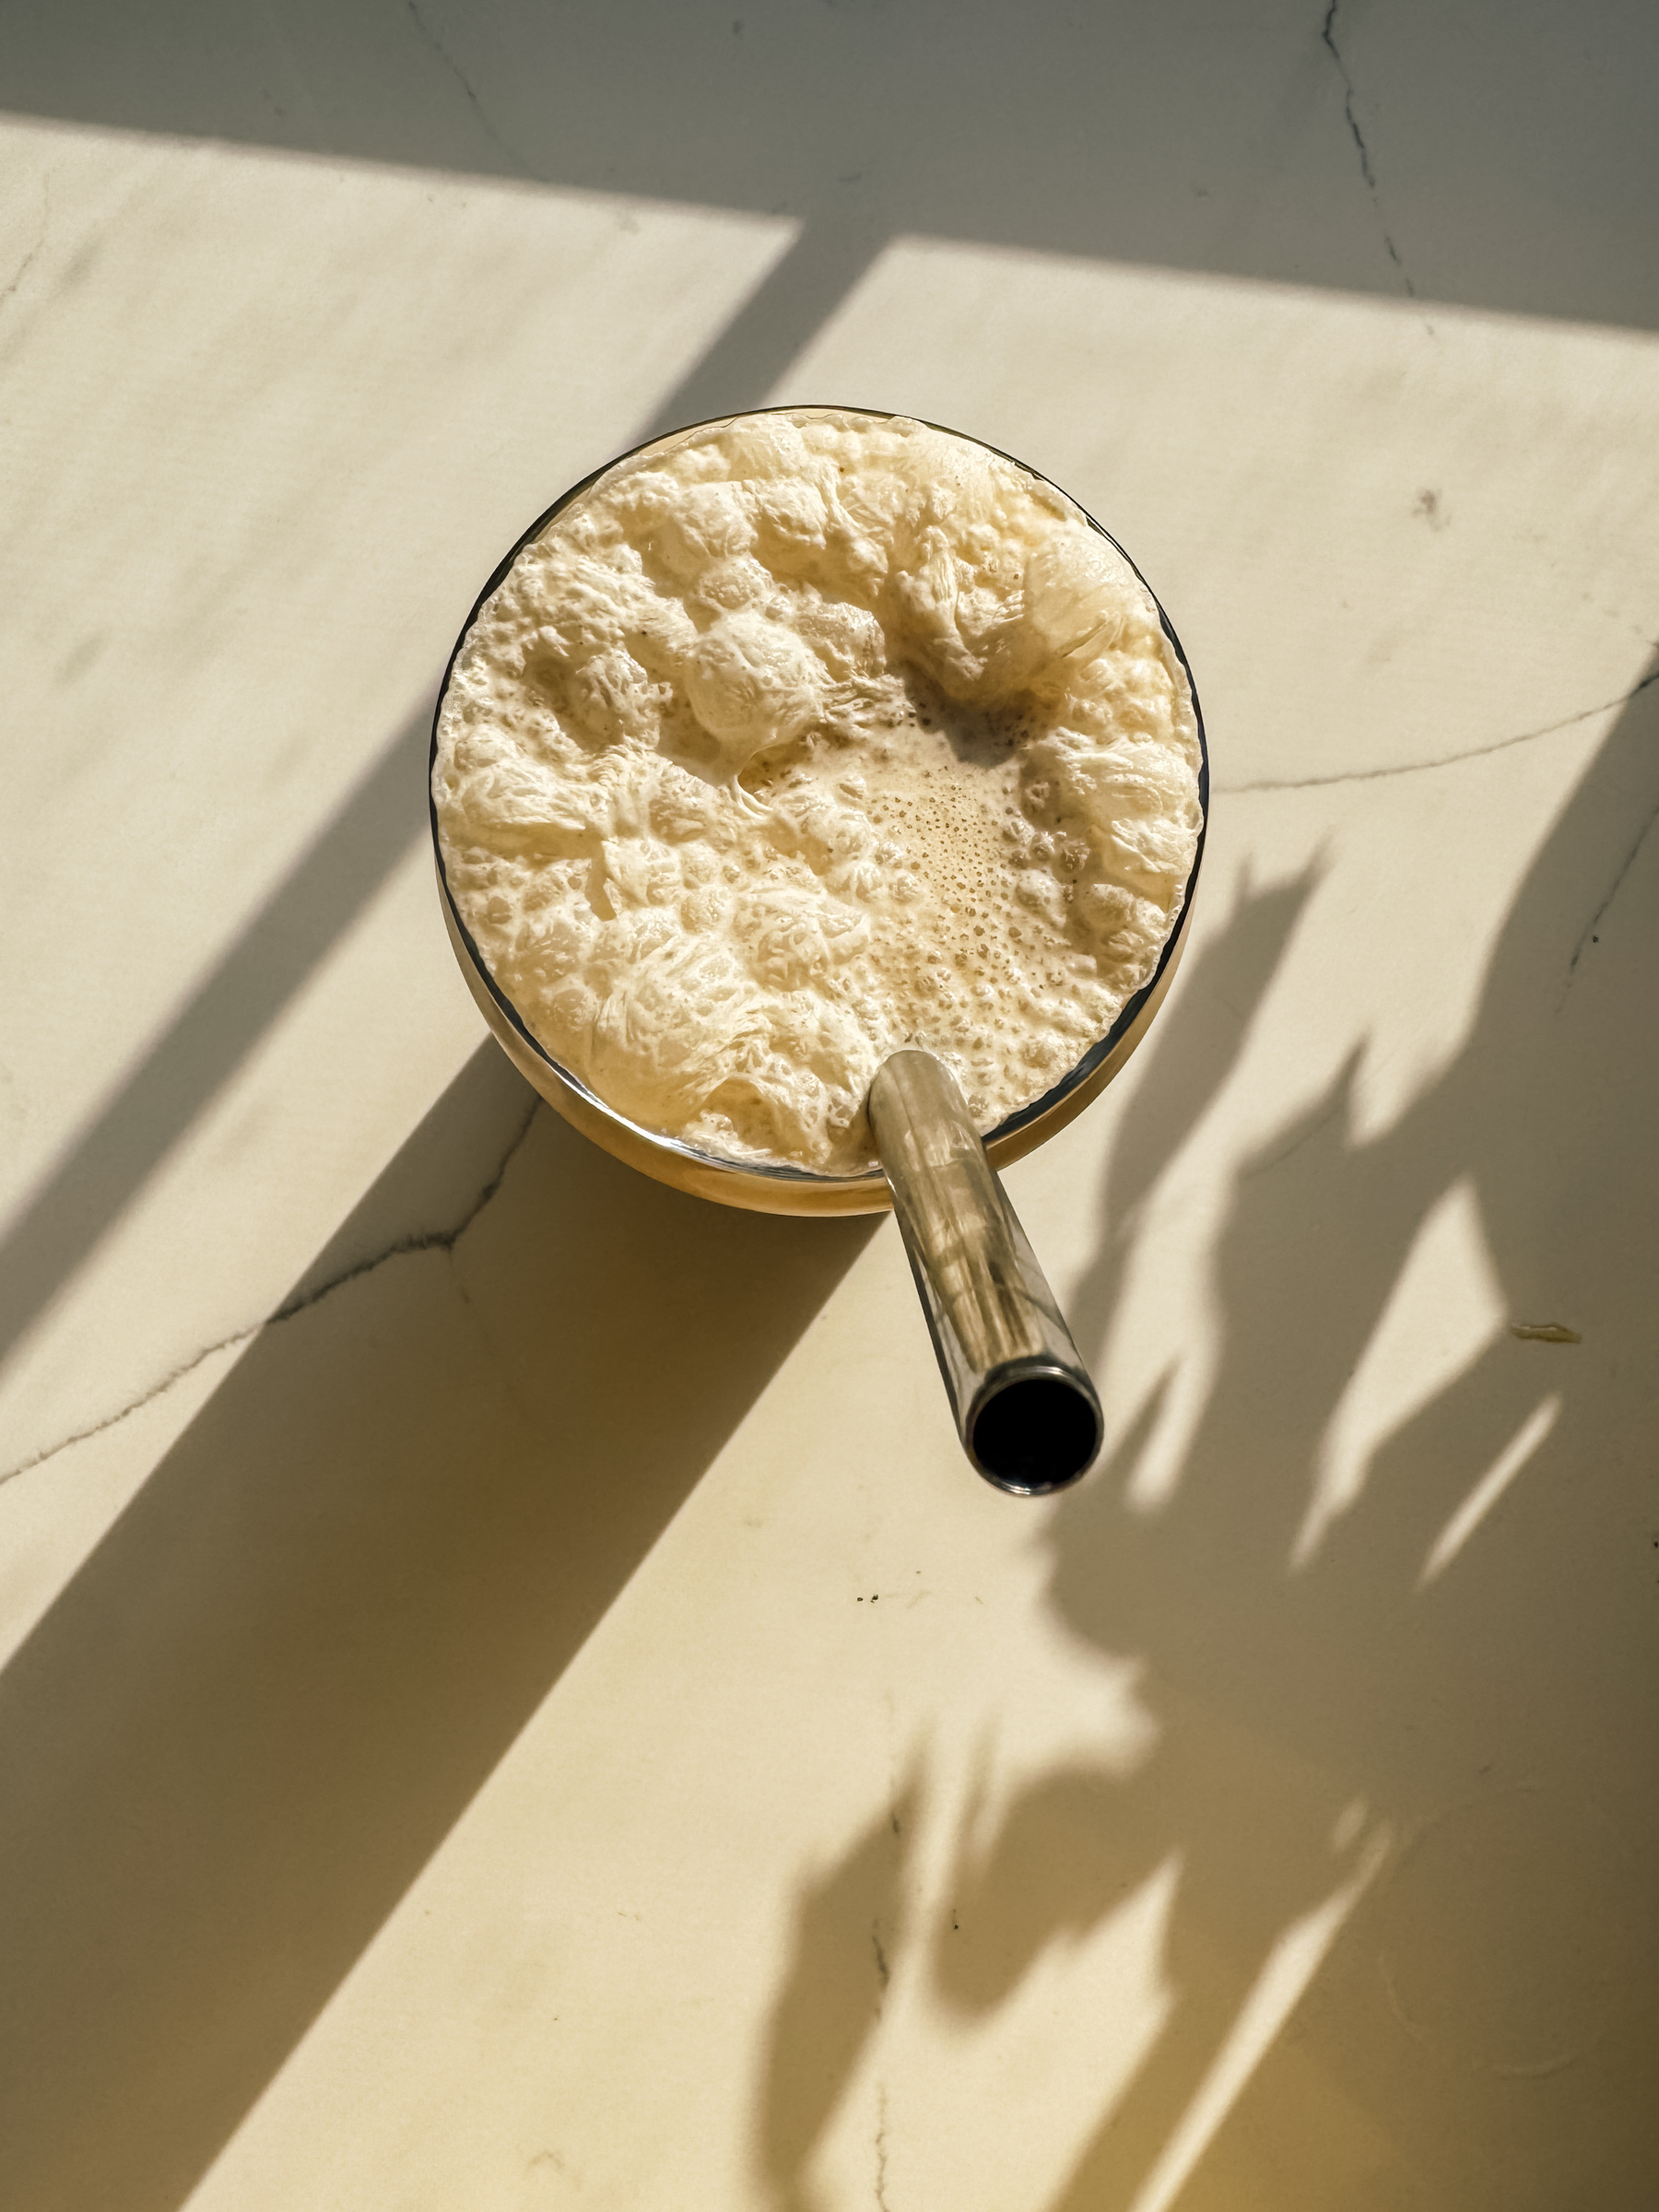
Favorite lemonade, for sure. Basil ginger. From a local favorite place to eat—Taco Sisters. The food is good too. 😊
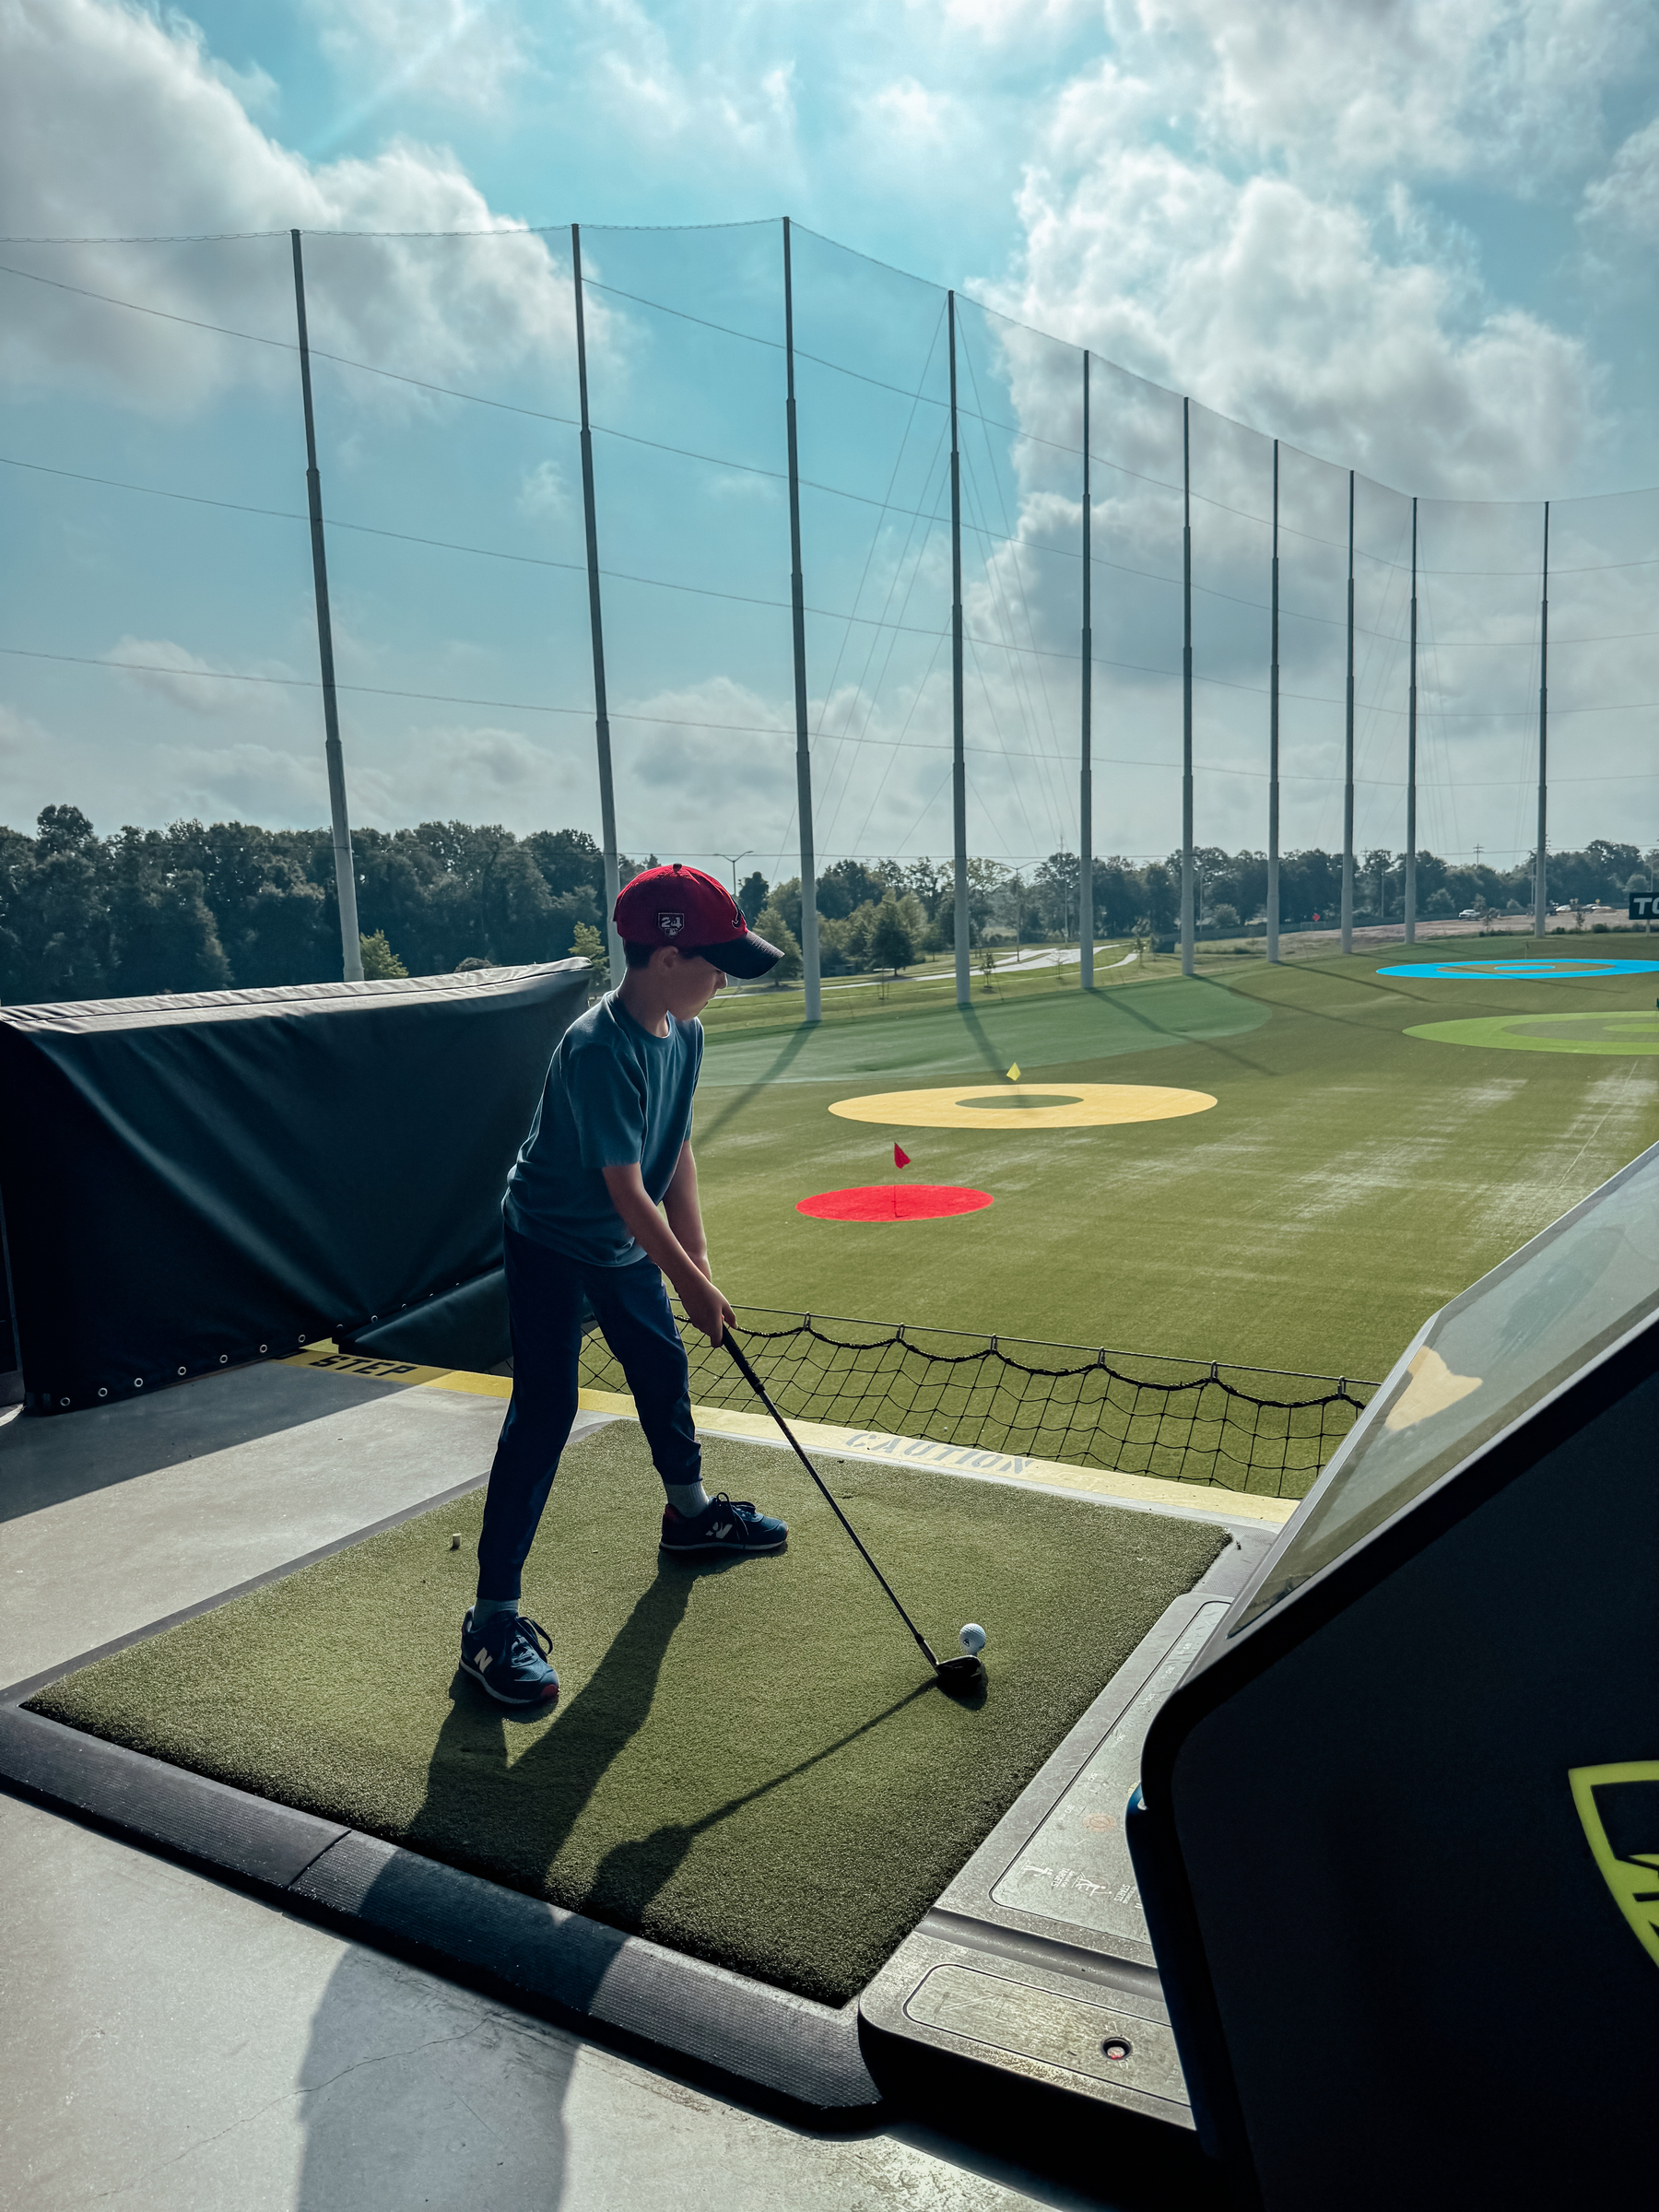
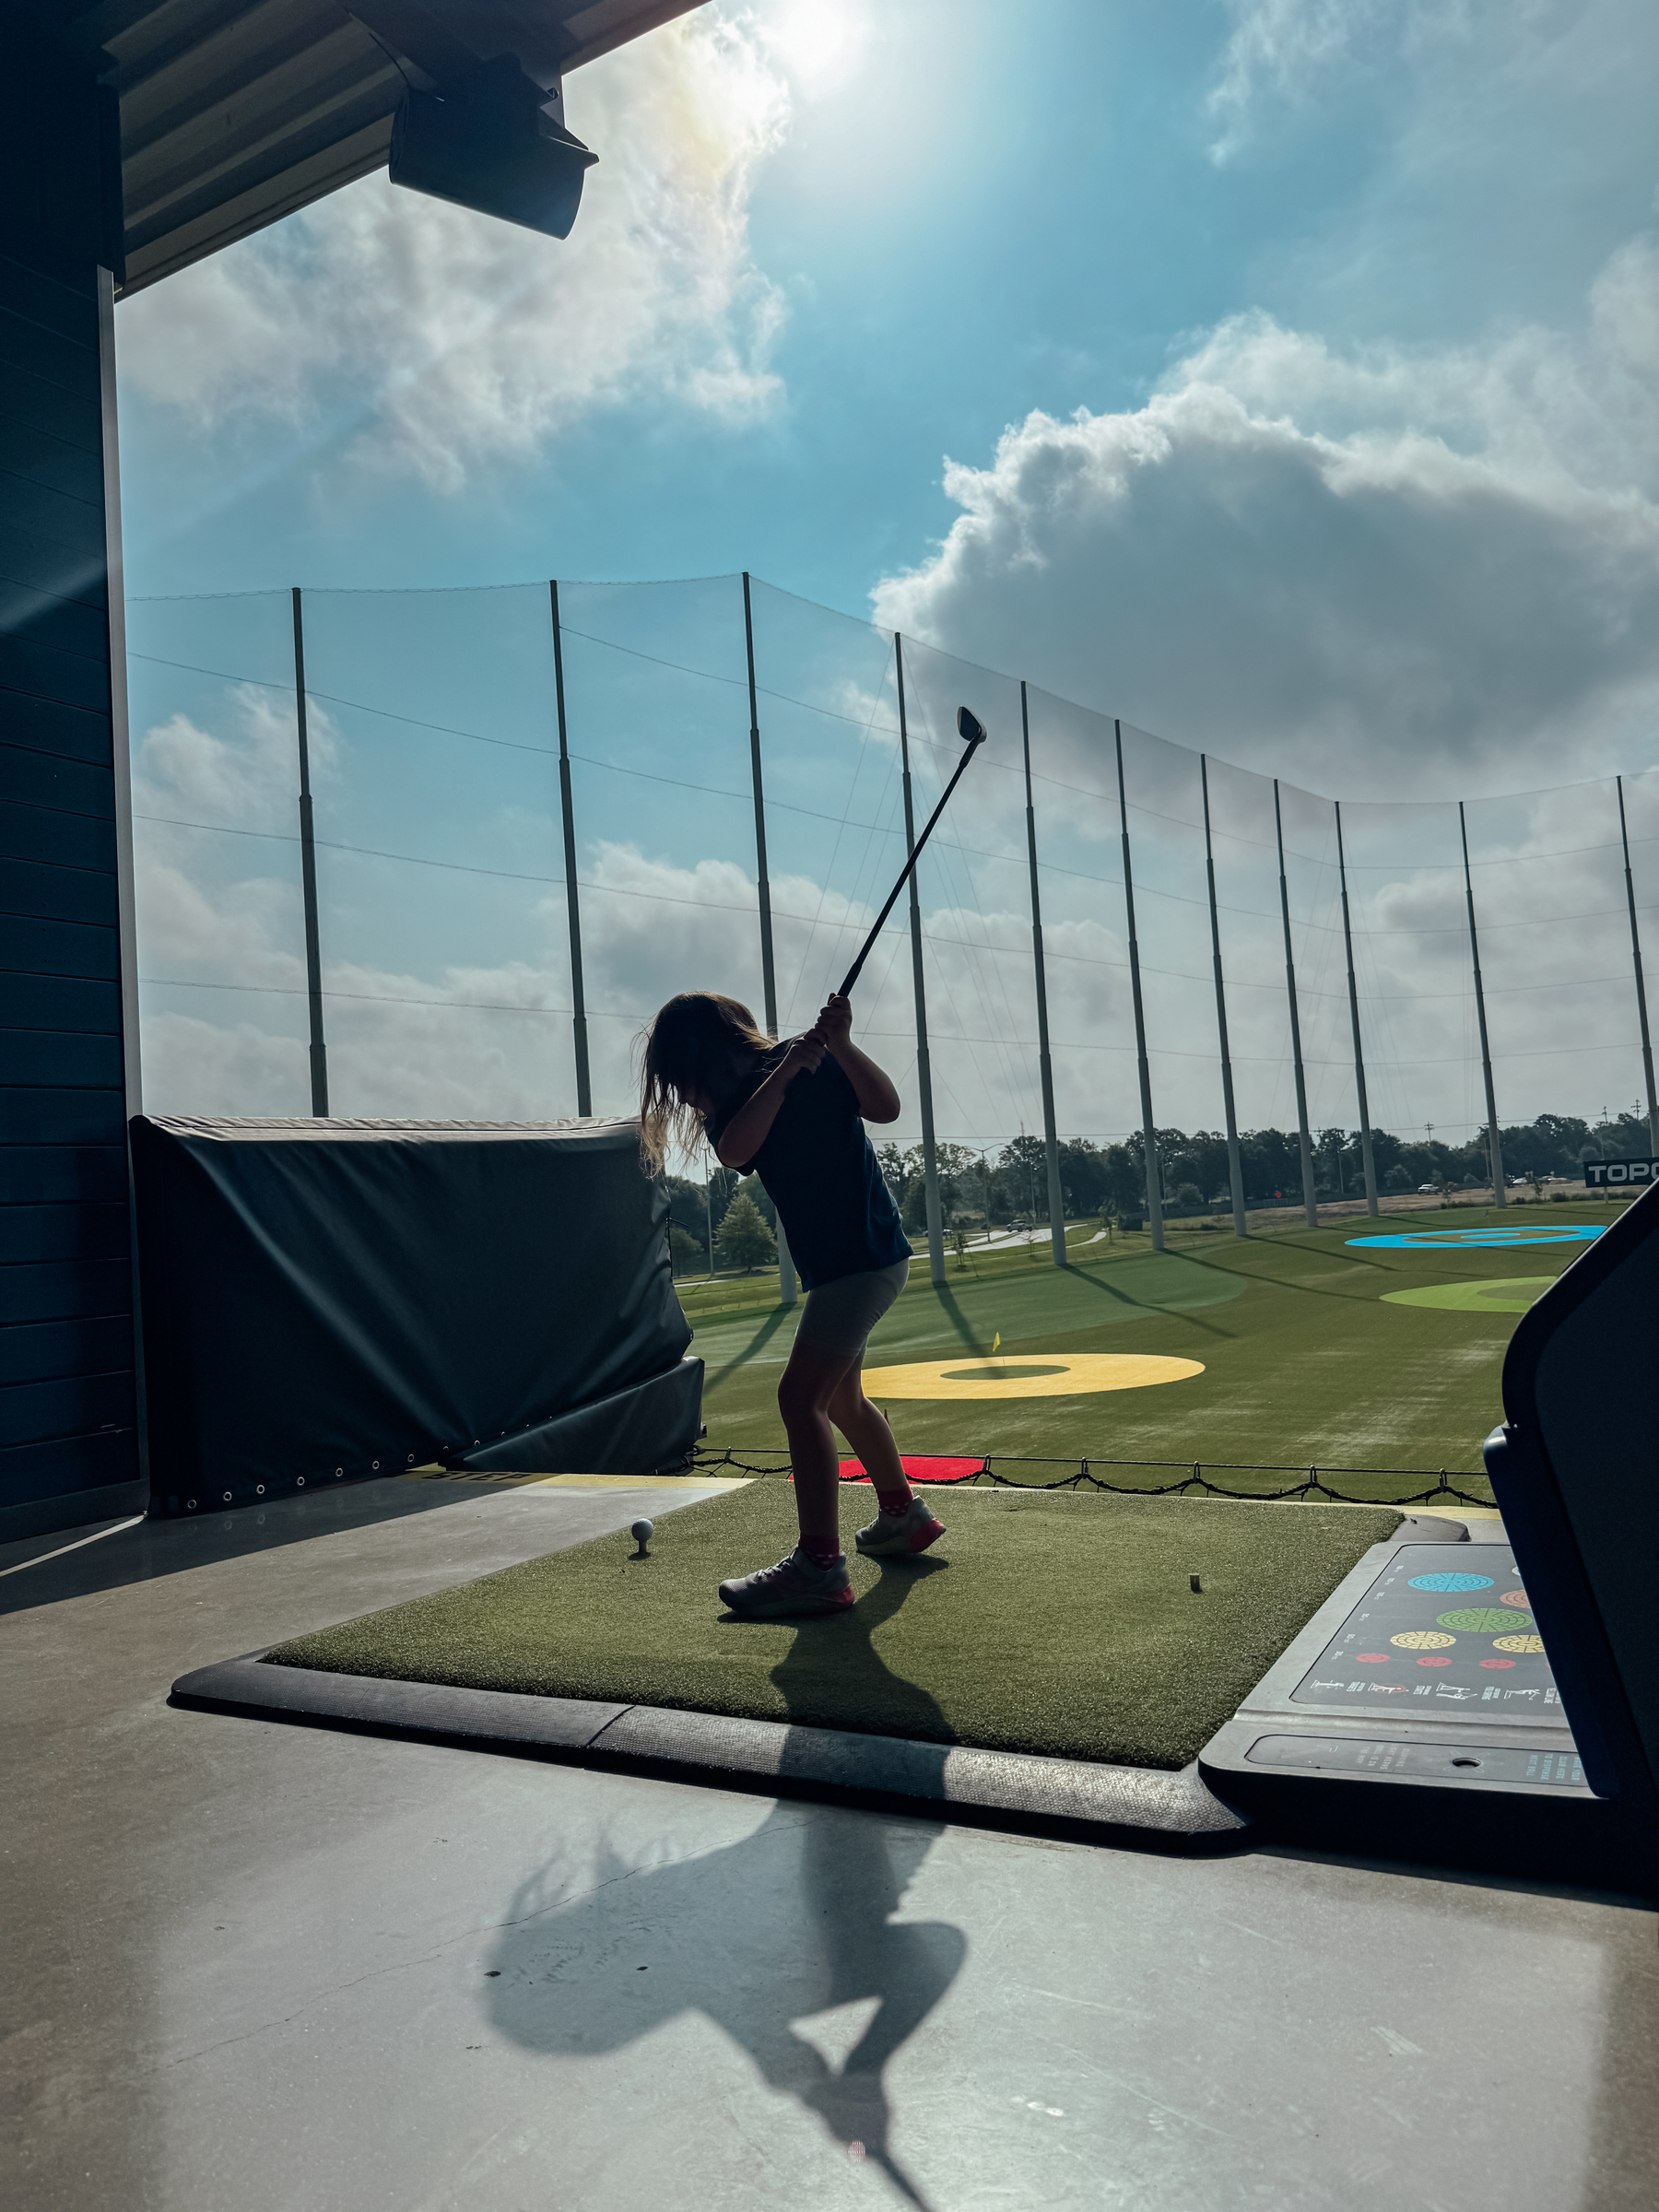
New fans of Top Golf here. We had fun!
This morning’s sunshine and a chocolate cheesecake protein shake I make for me and my boy once or twice a month…usually just whenever I have a little leftover cottage cheese
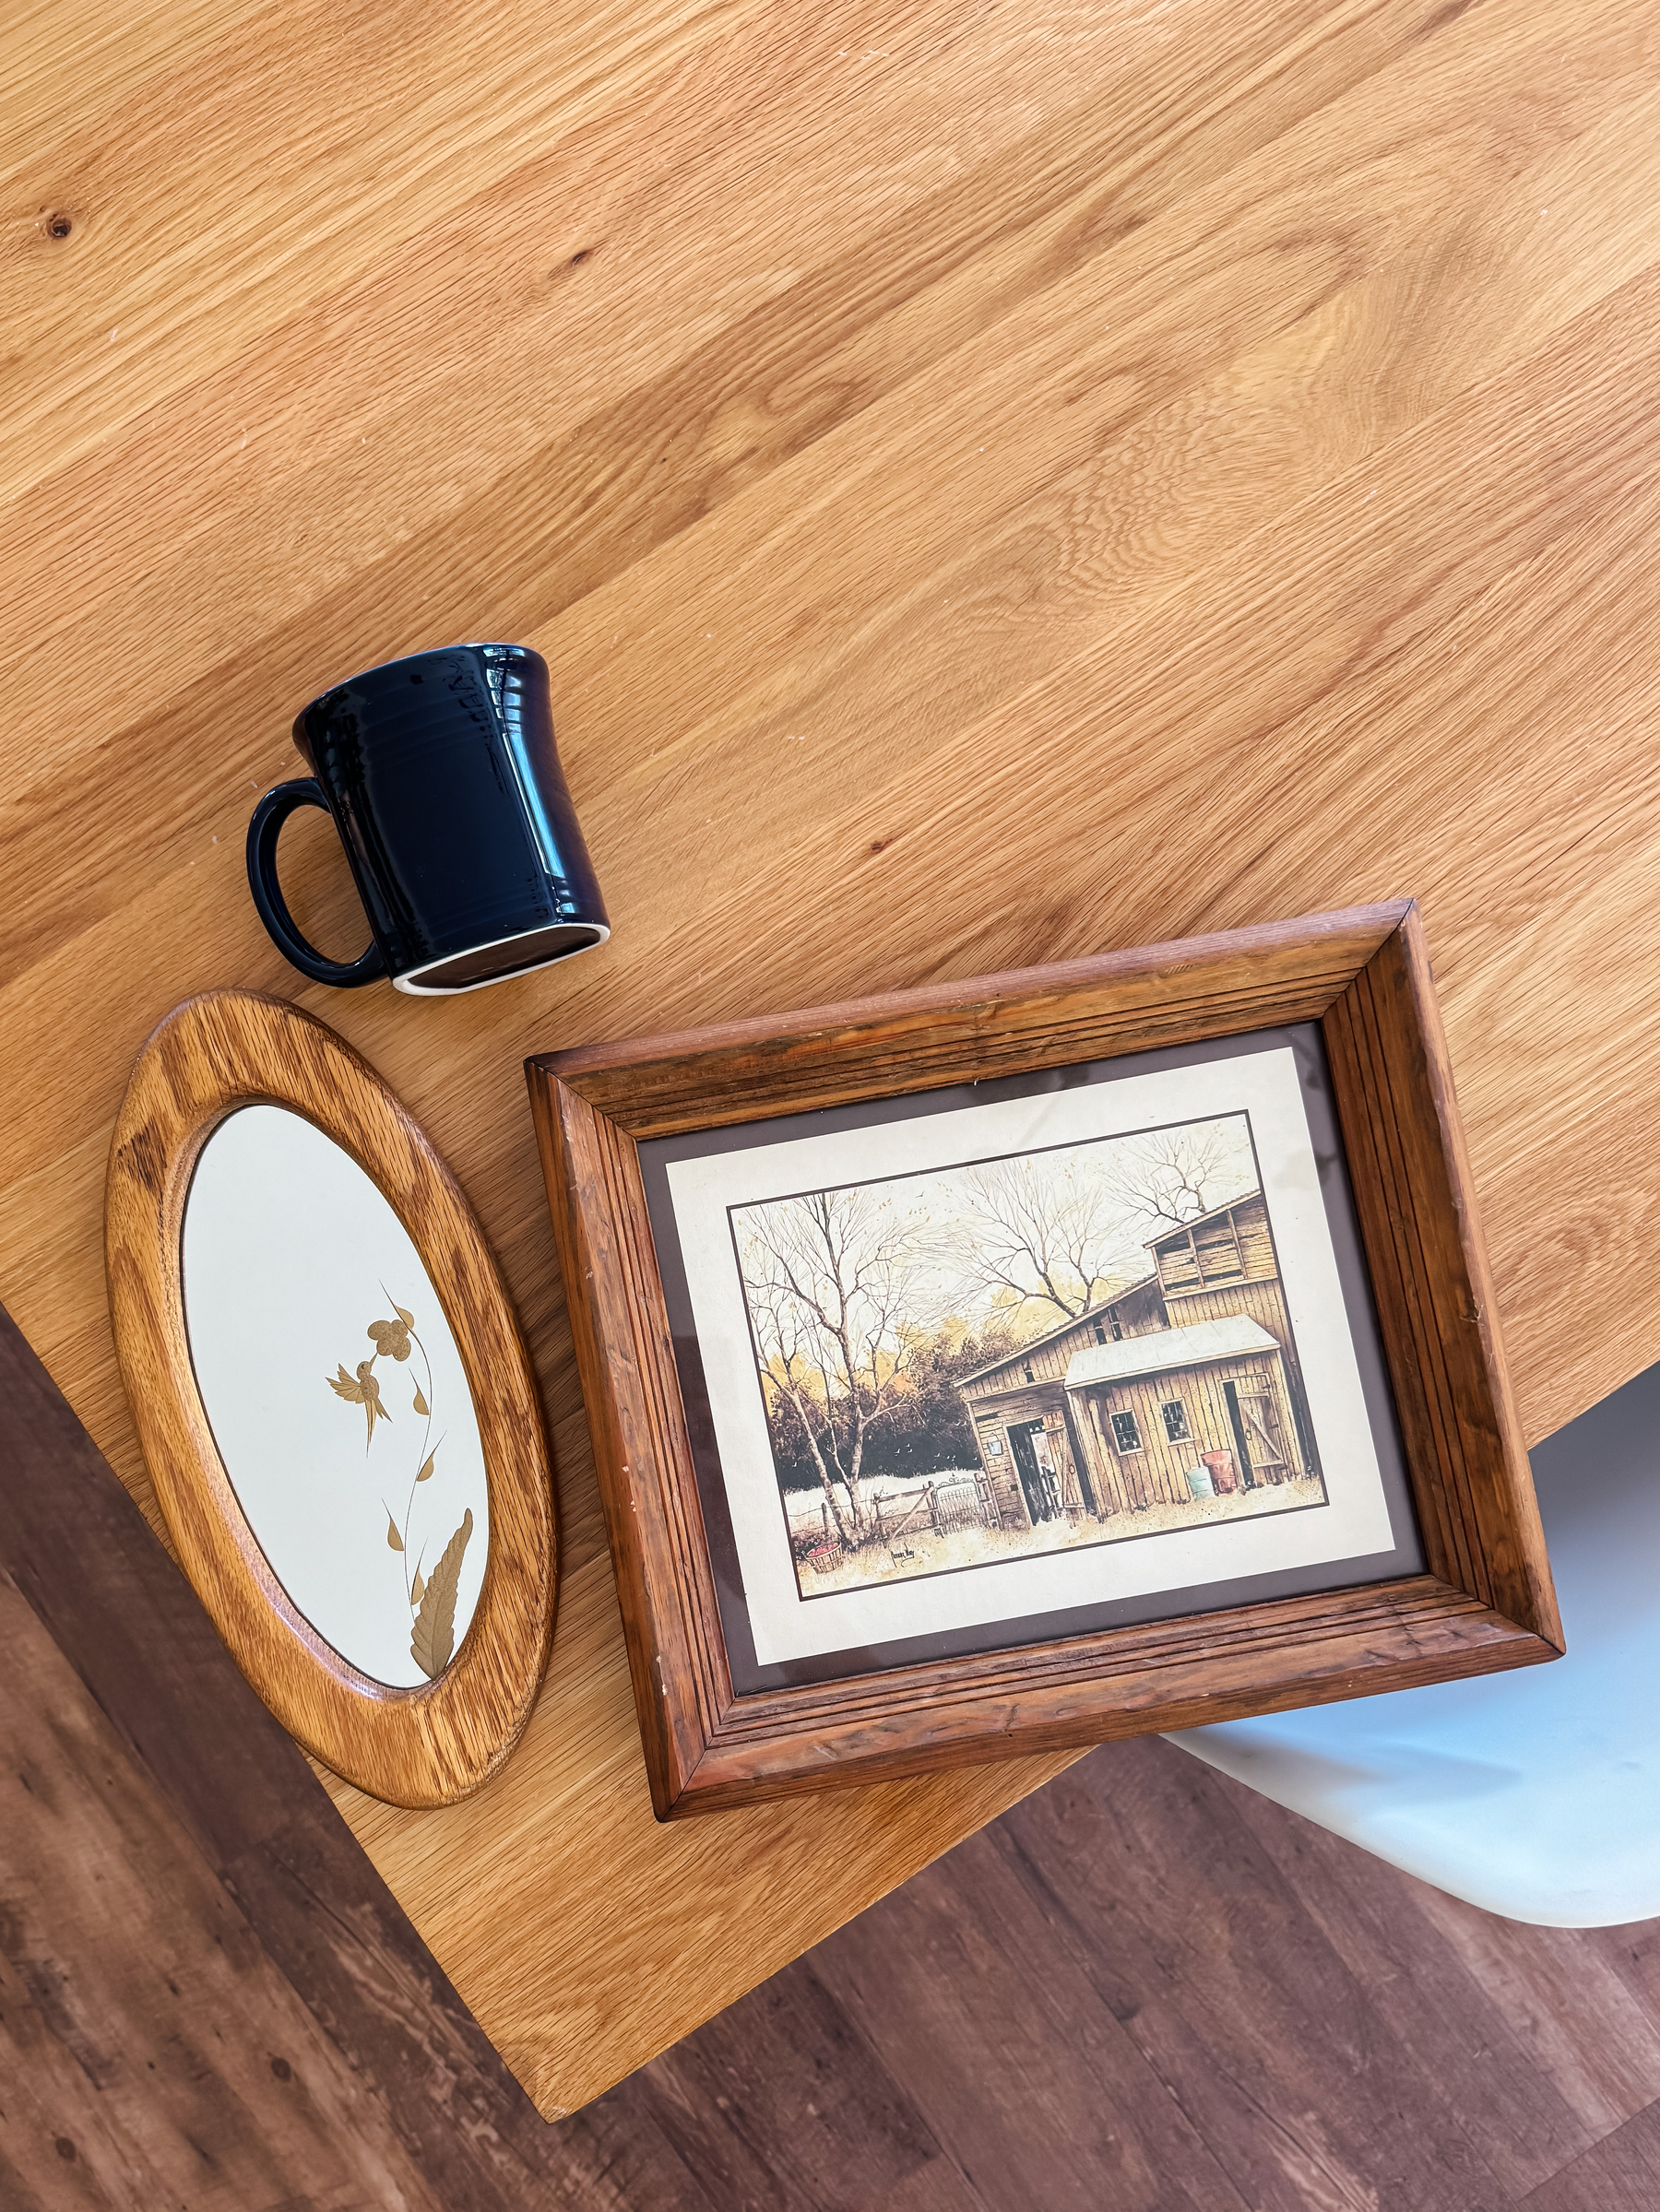
Thrift finds from last weekend in Bossier visiting my fam
Pretty little hummingbird mirror is for my girl’s room because she’s recently loving them (and all other sorts of animals)
Fiesta mug is to add to my Fiesta collection
Framed barn print is to put in my laundry room with some other old art
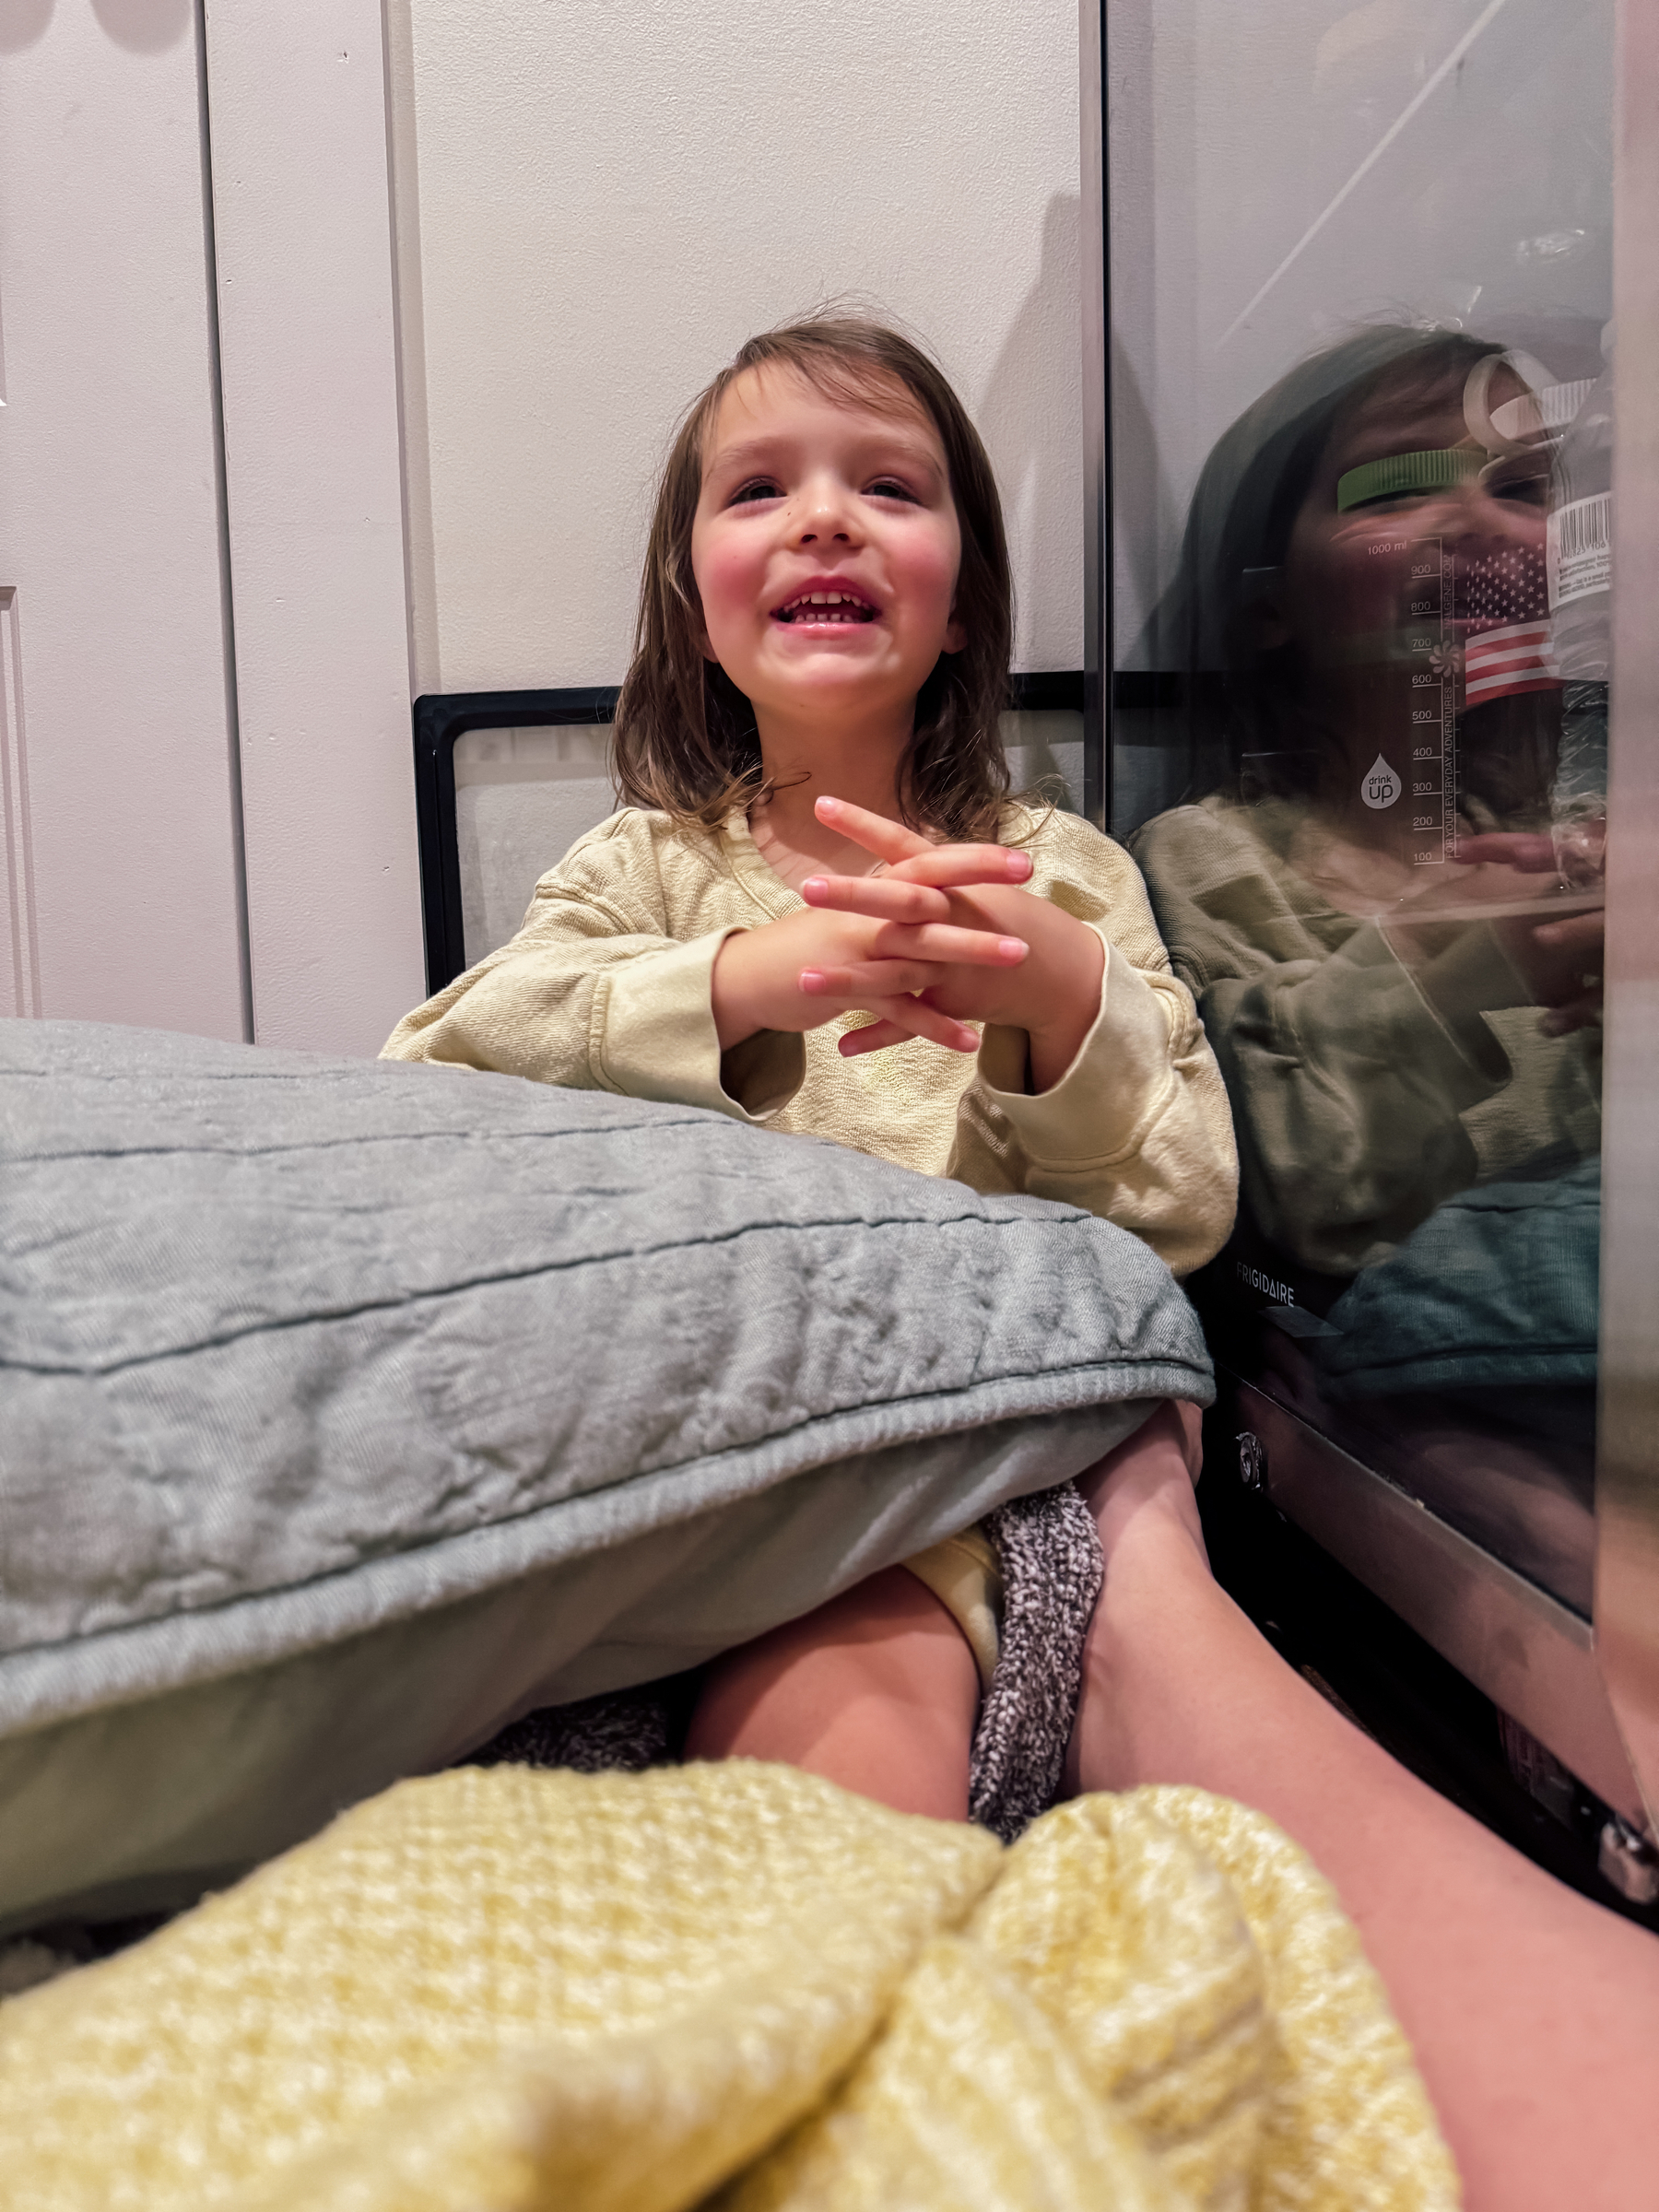
Hanging out in the pantry last night during a tornado warning
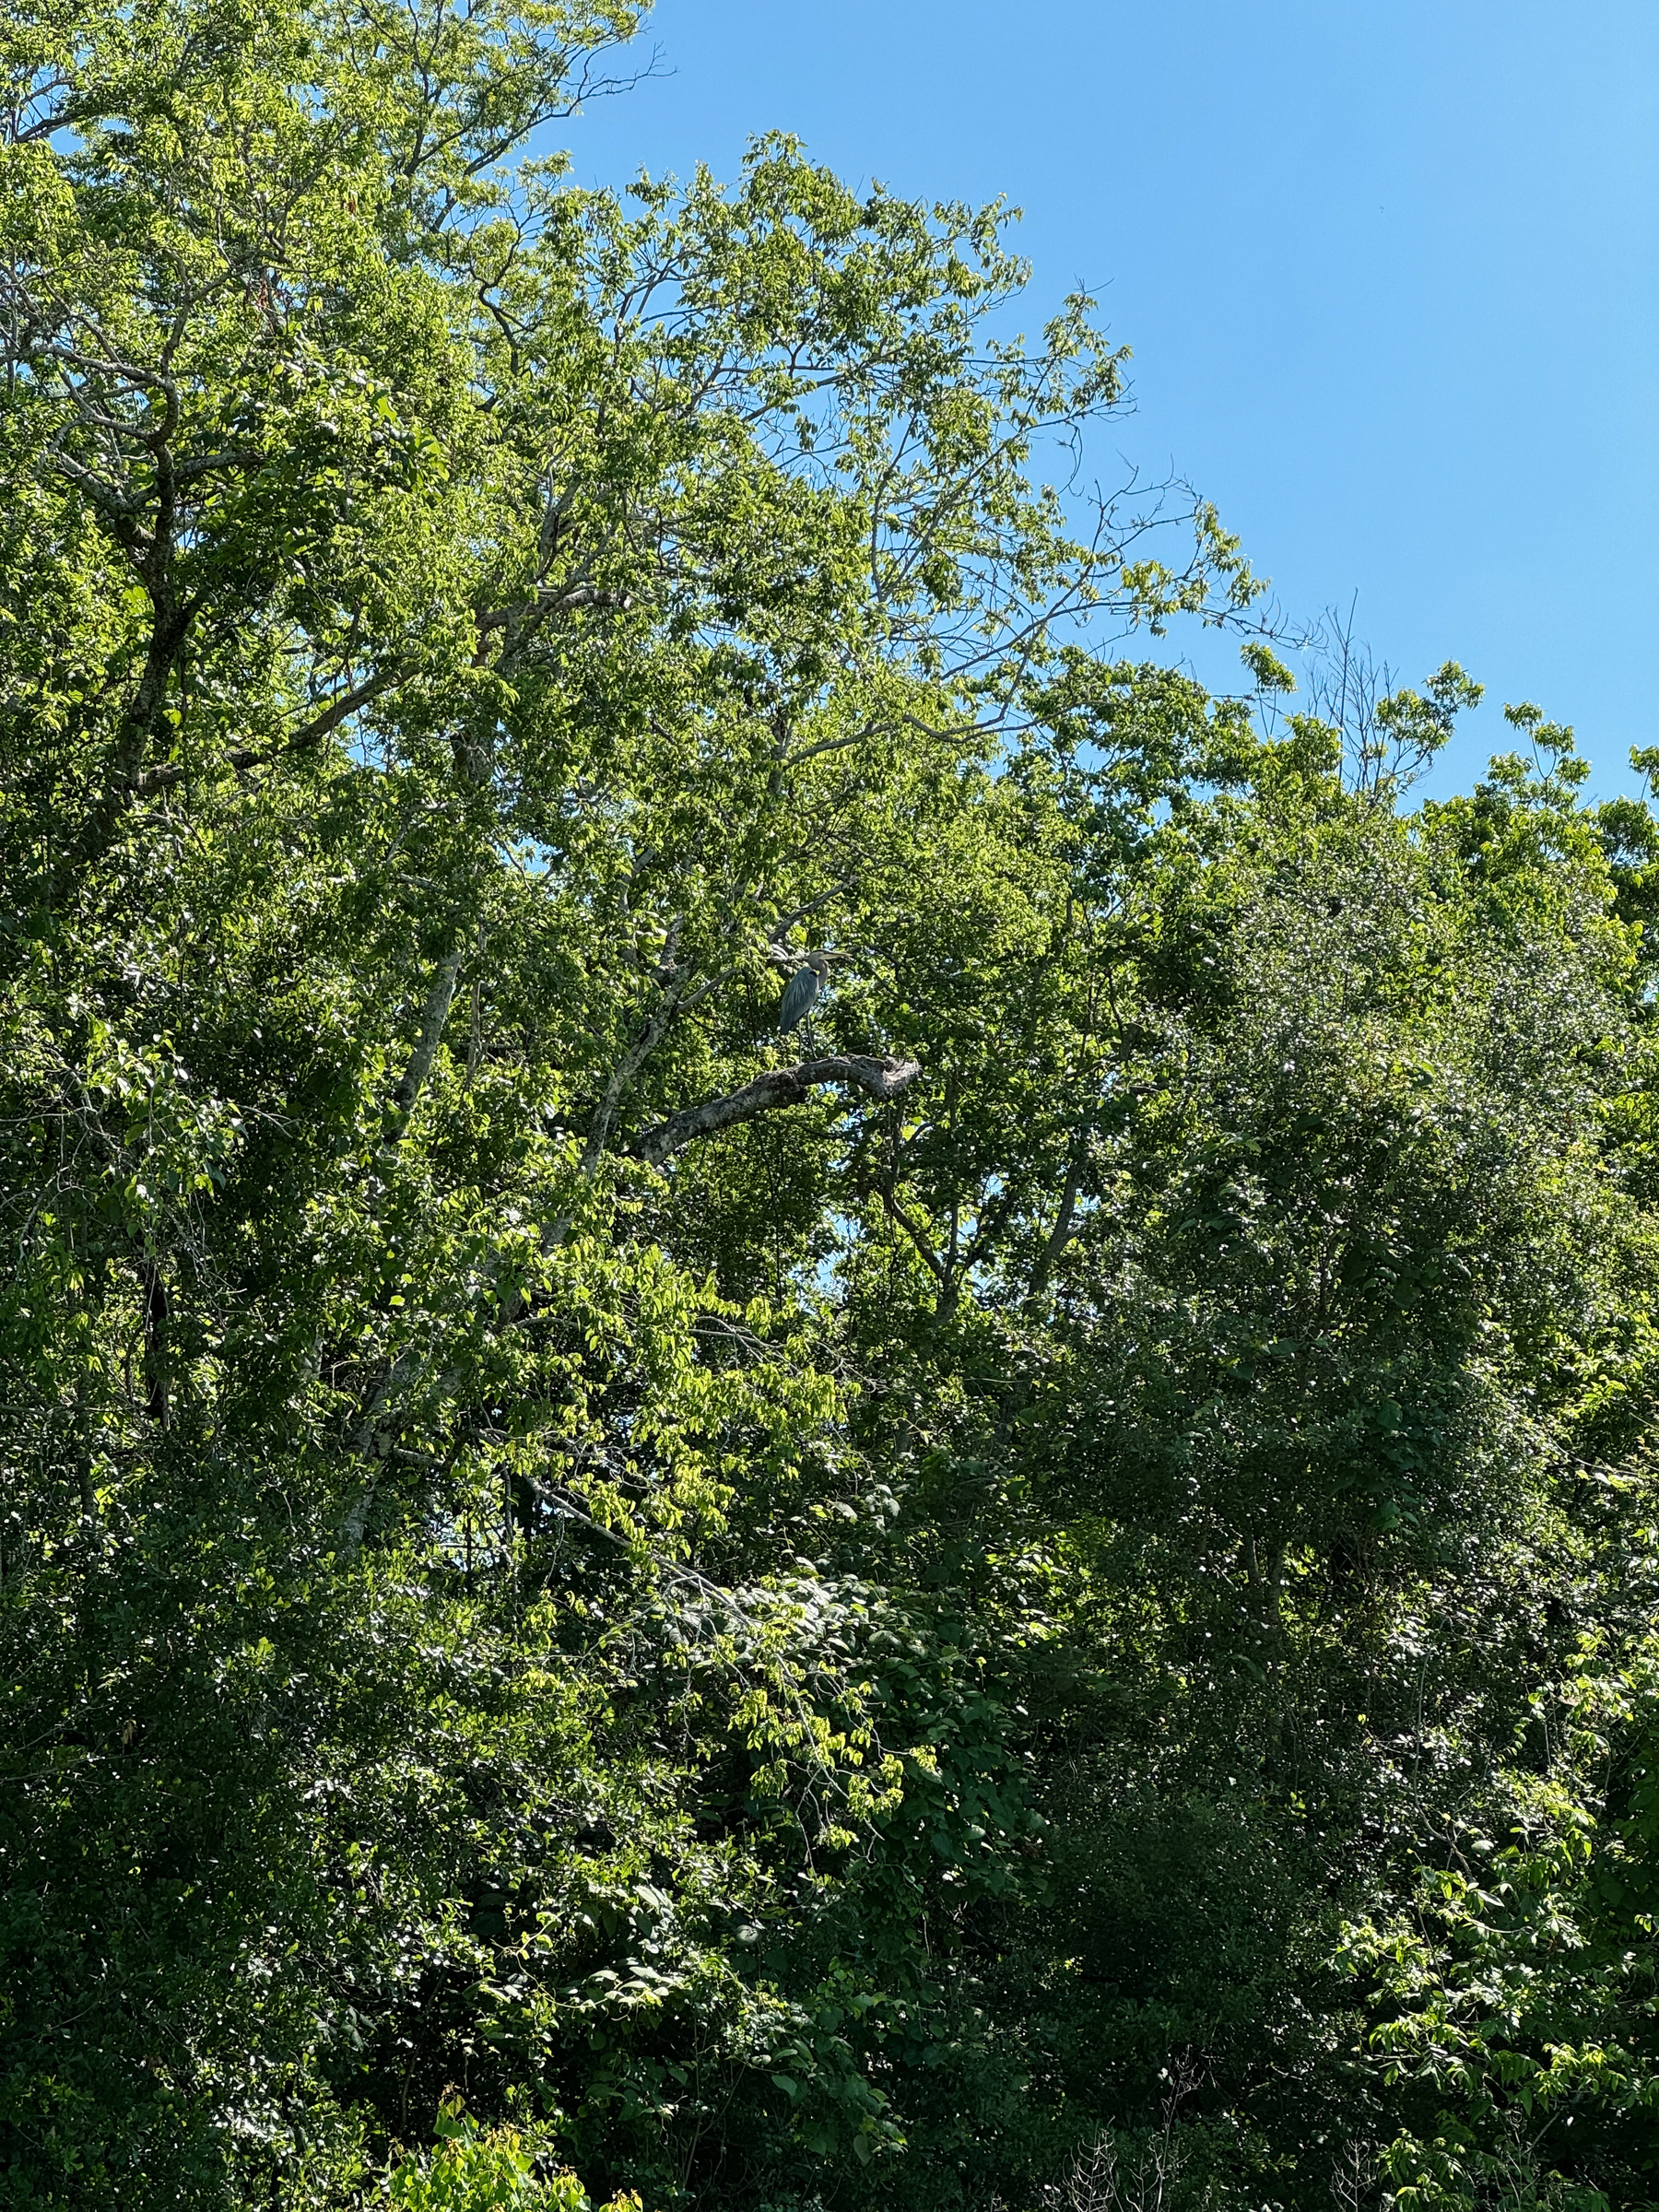
Brigsby found a great blue heron in the trees today instead of at the pond. Can you spot it?
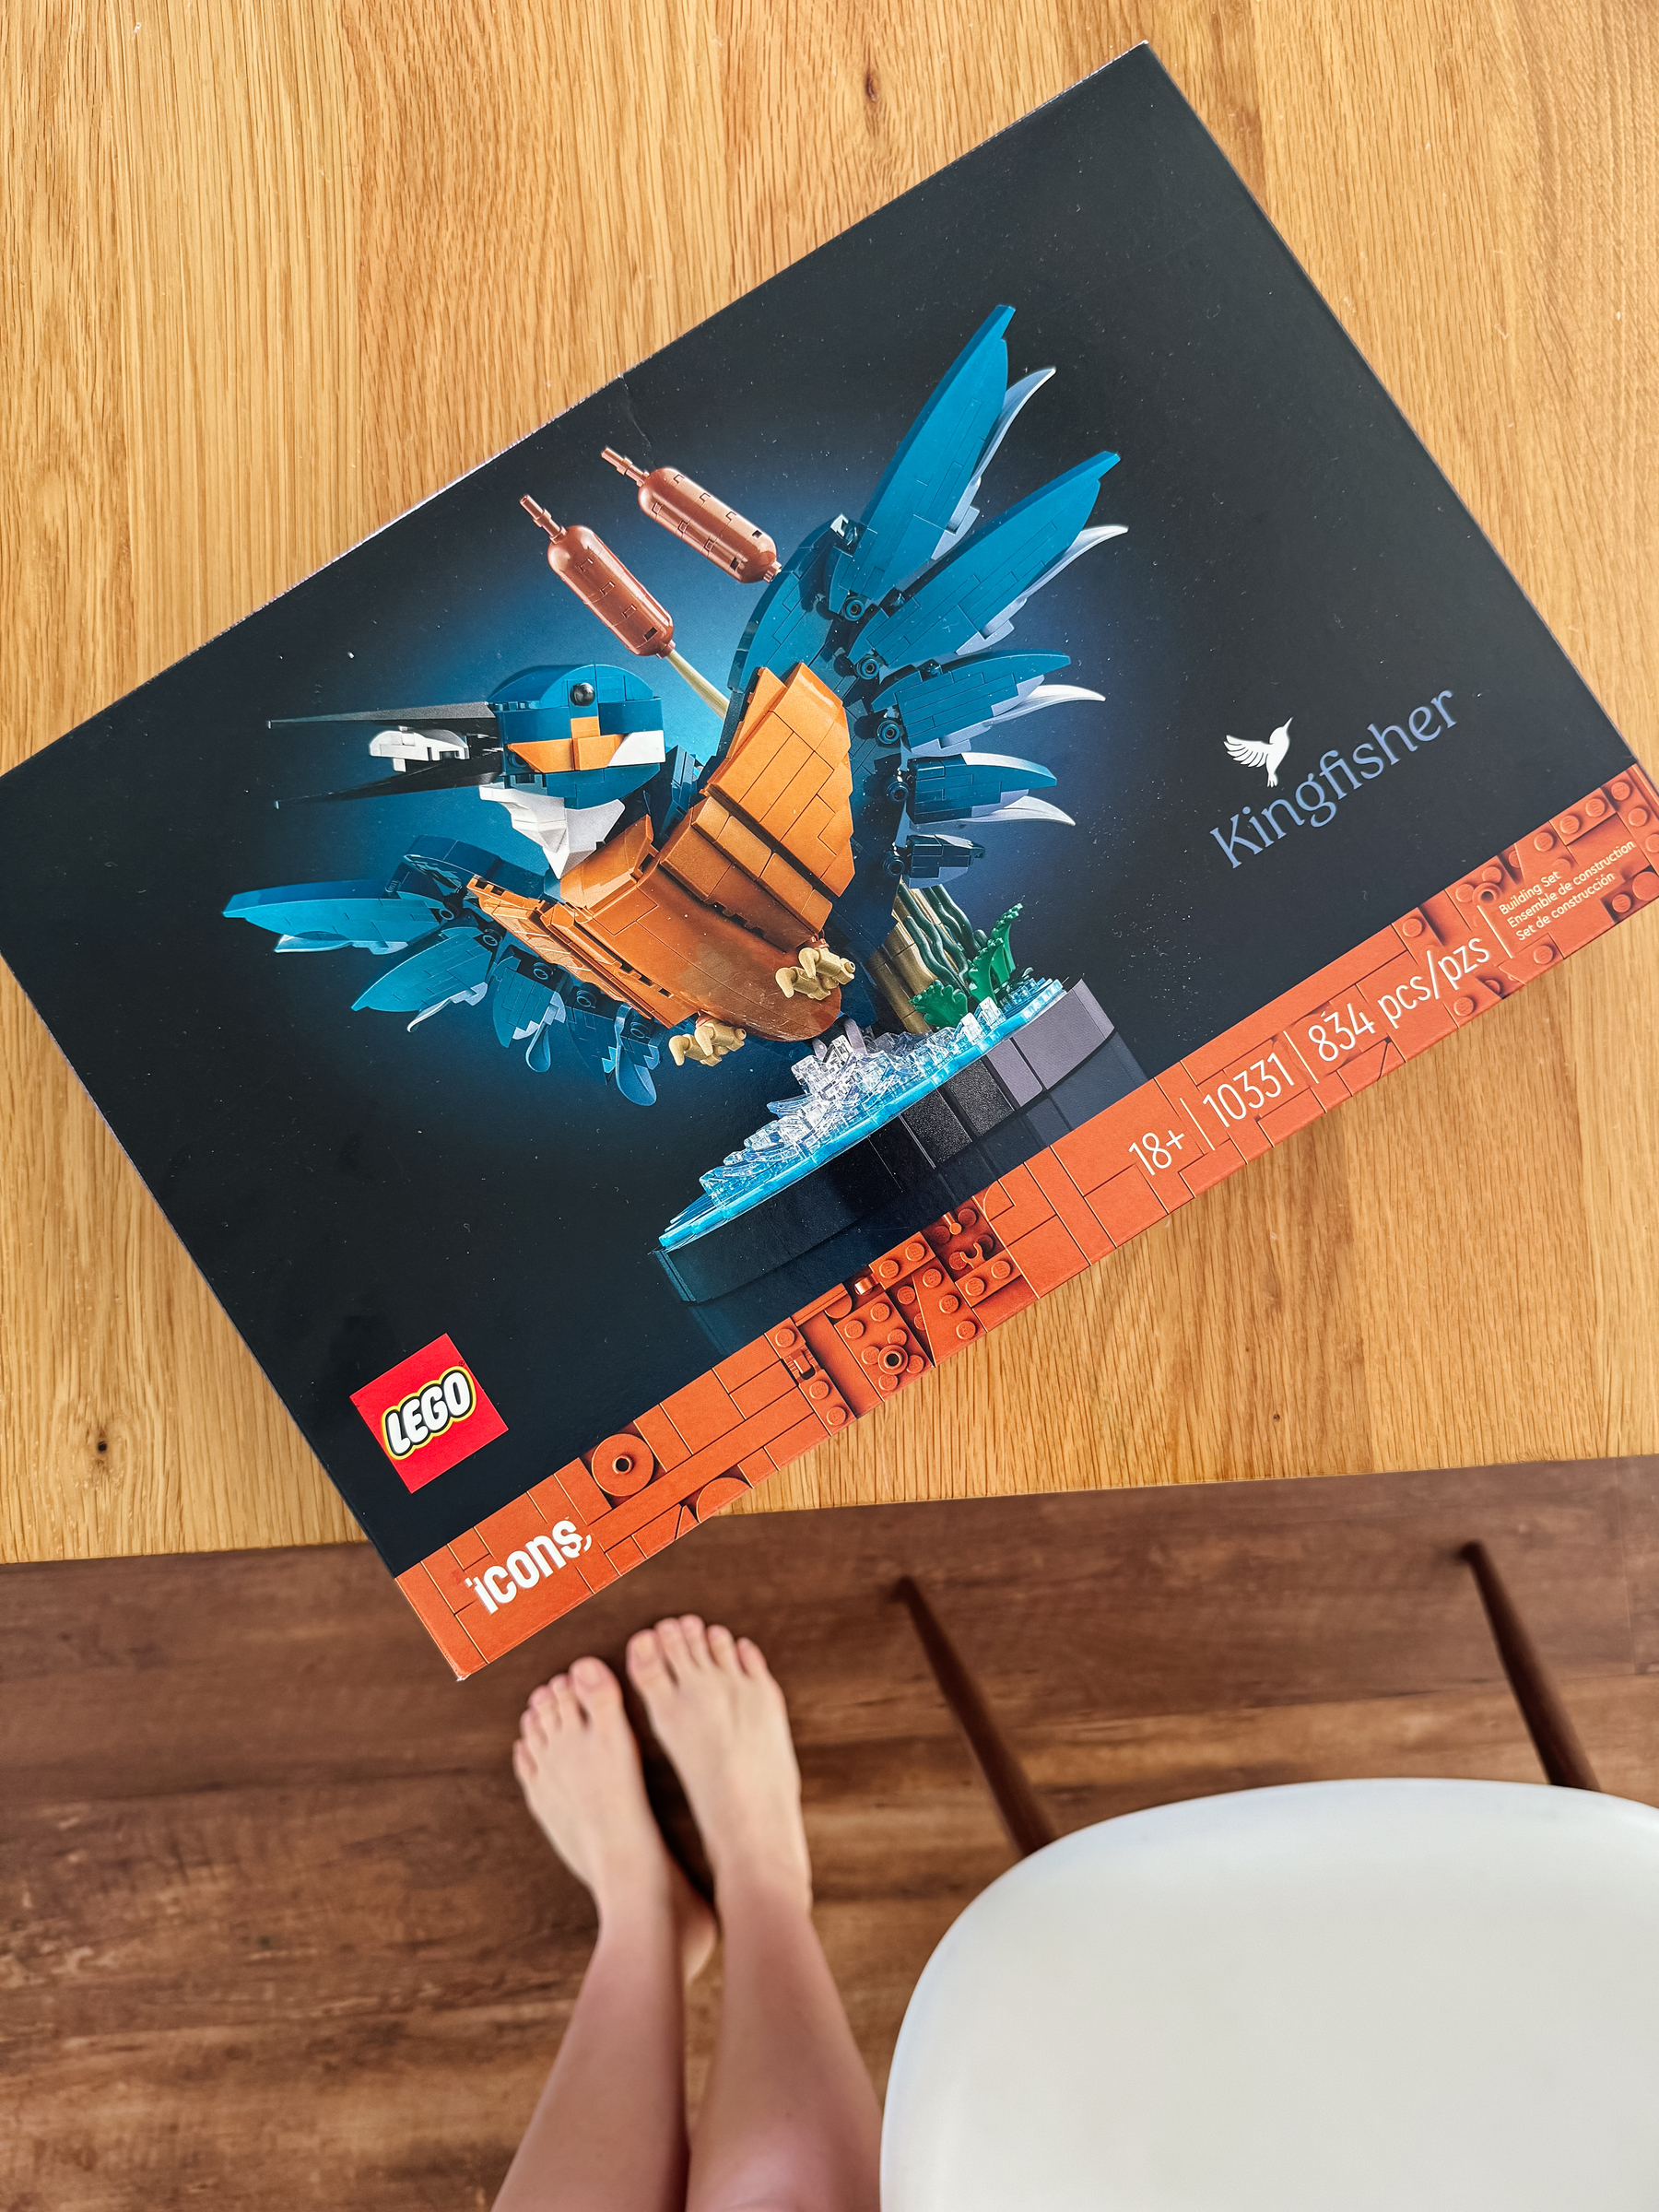
Finally started this this morning. 🎉
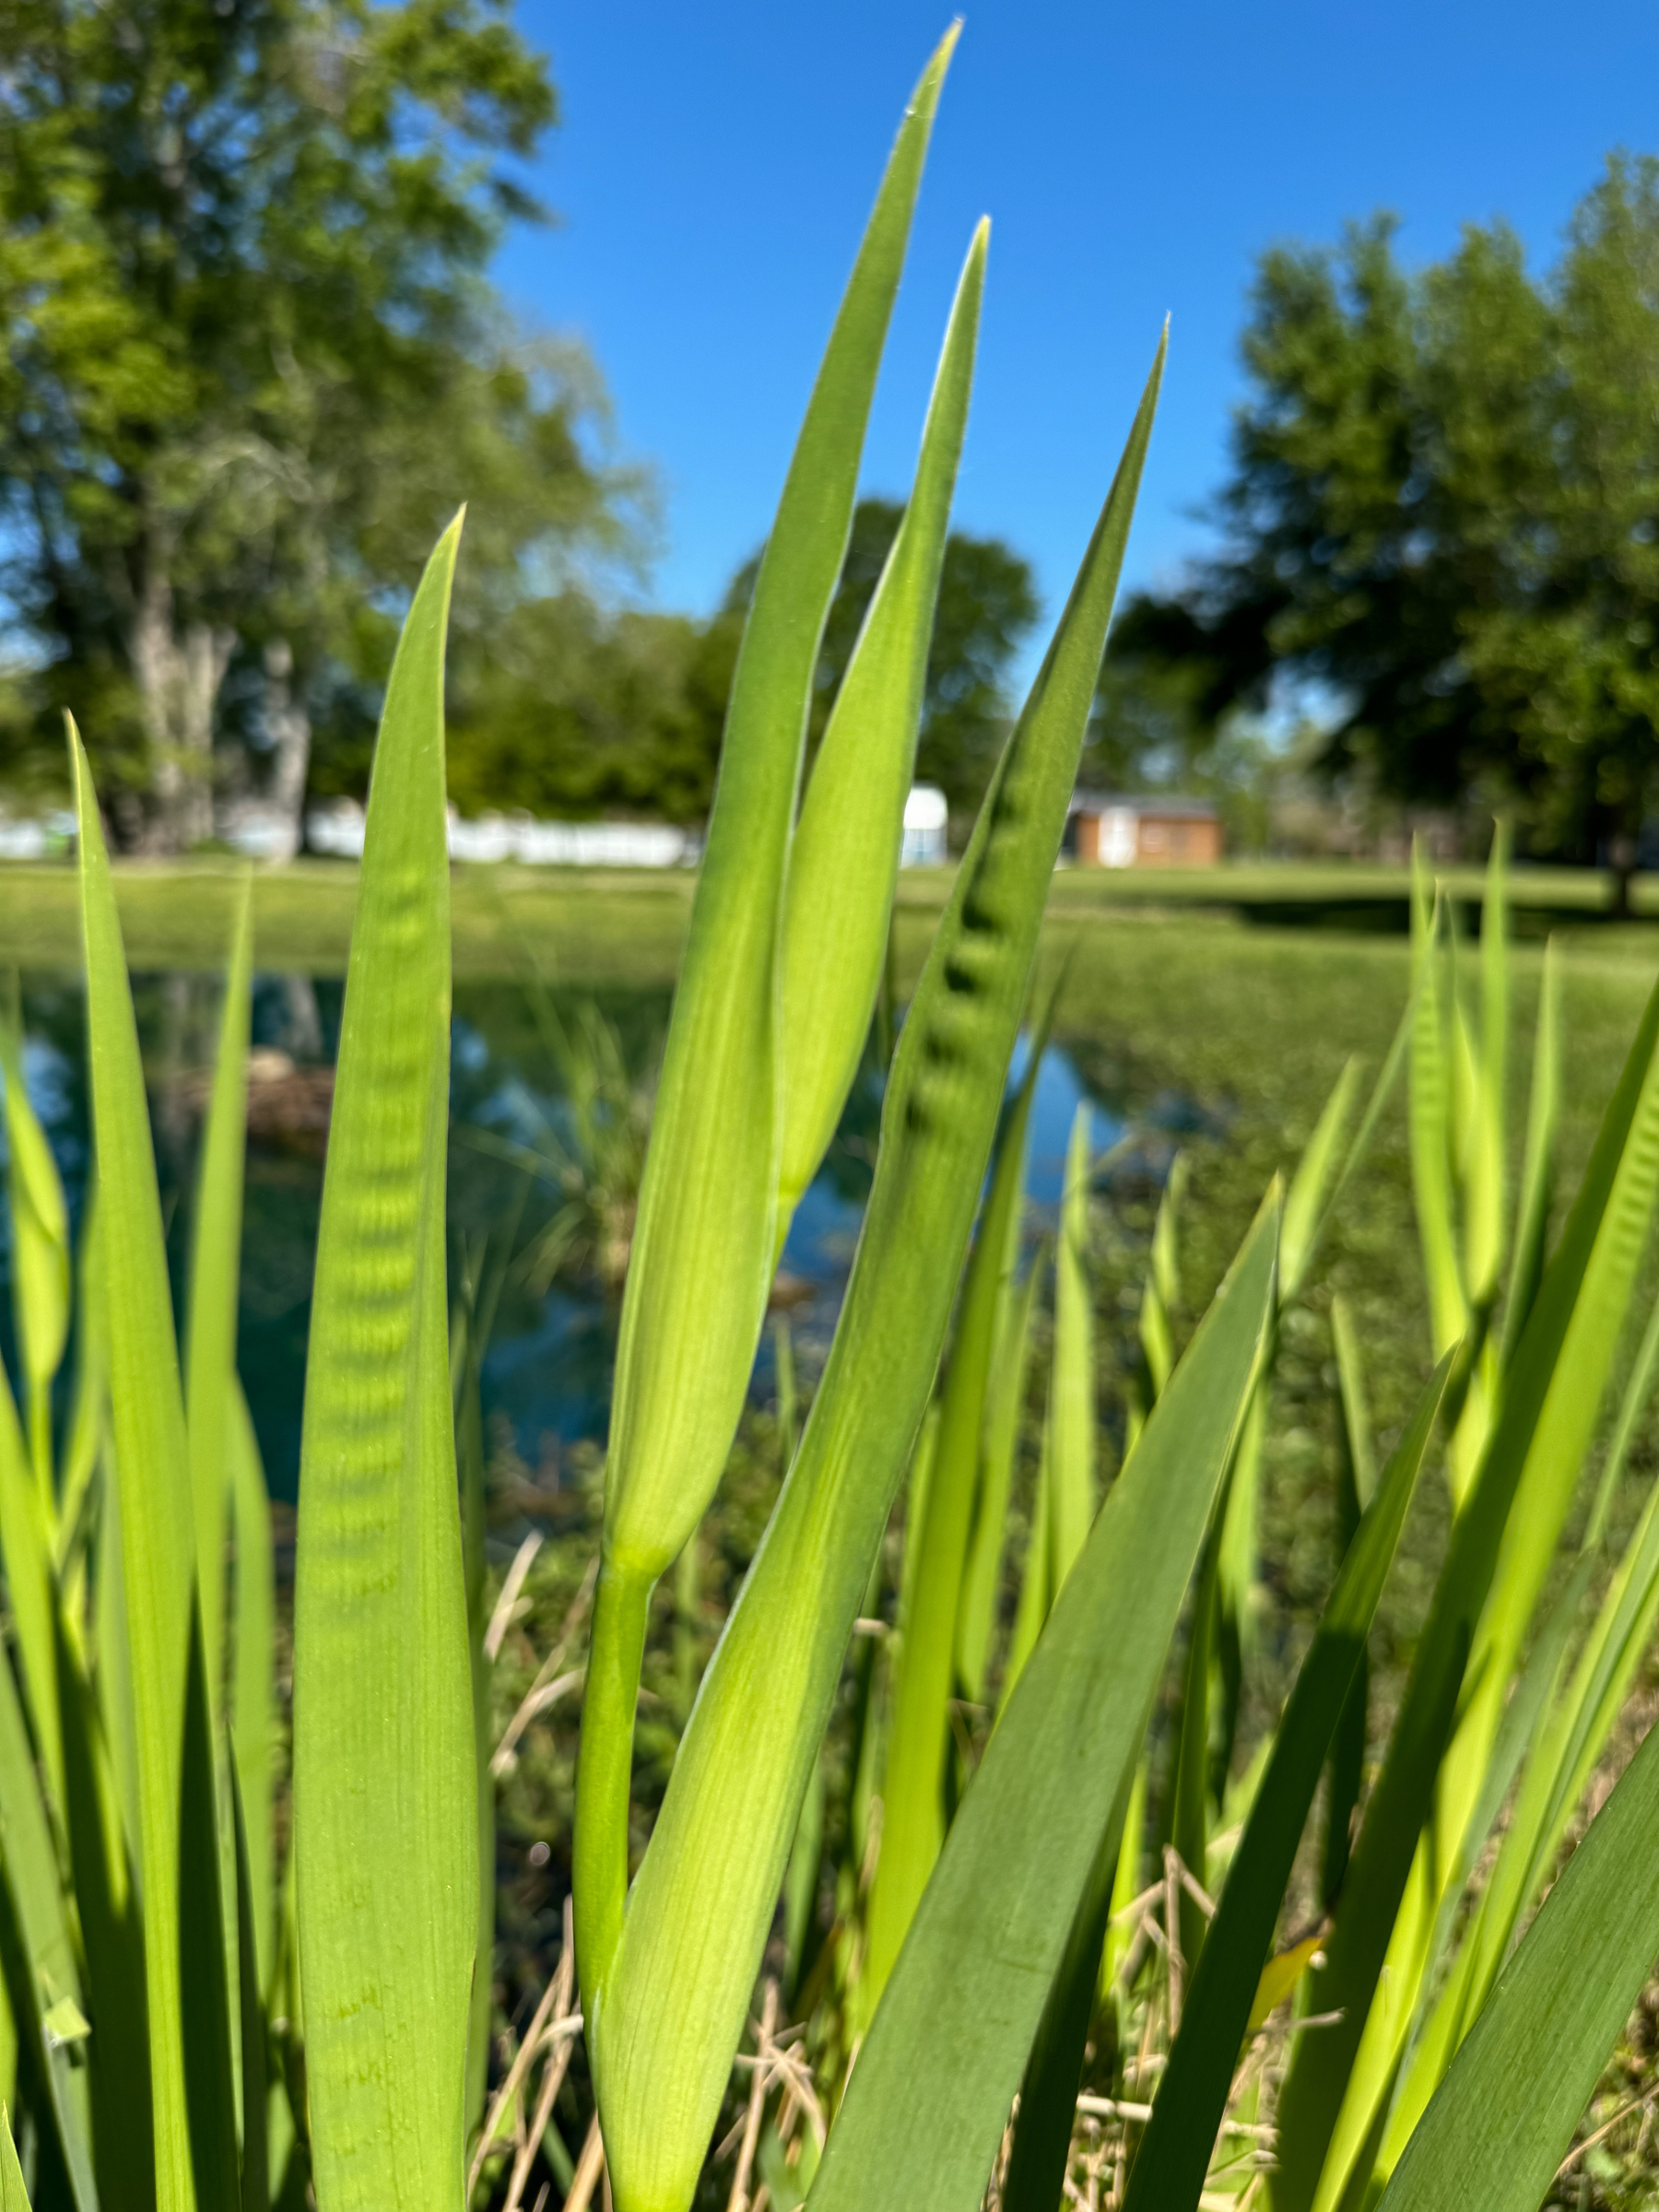
Spring foliage. Not sure why, but I feel extra accomplished to have these irises that will bloom this year on the edge of our pond. #mbapr
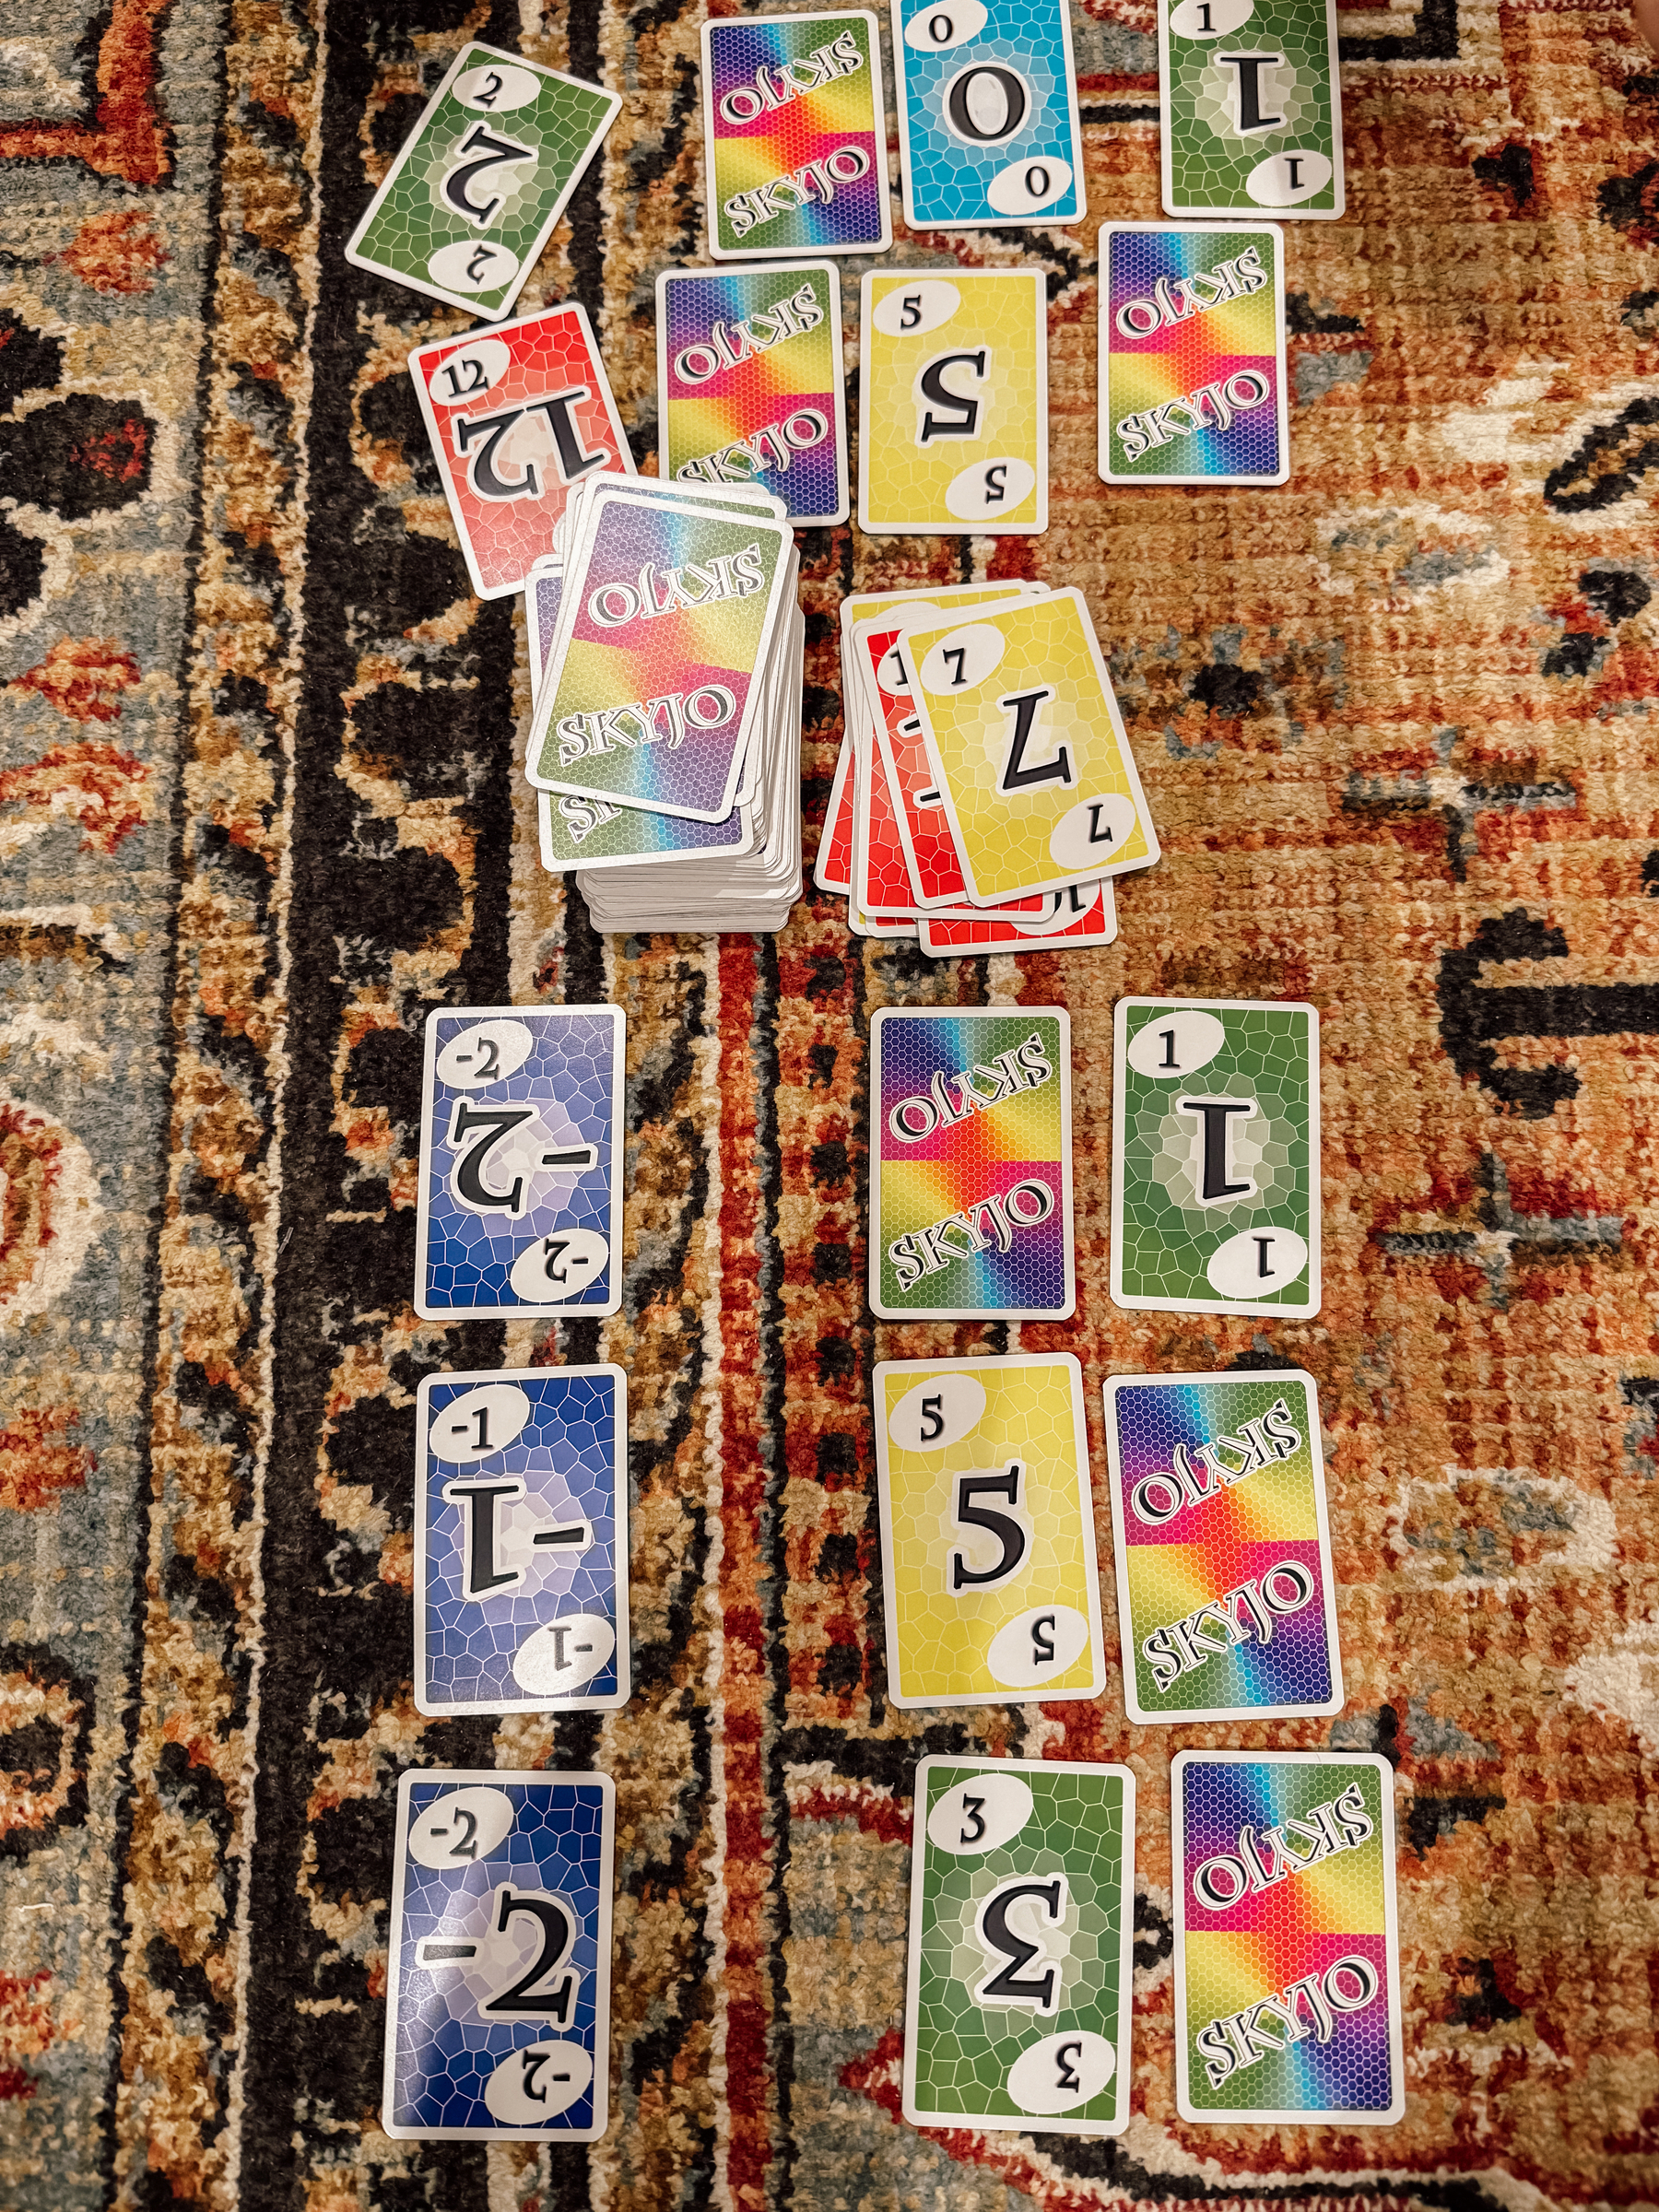
One of our favorite card games: Skyjo #mbapr
So excited for garden flowers coming soon! #mbapr
Searched “toy” in the Photos app on my phone. There were lots of options. But this was one of my most recent favorites. We love to LEGO over here (LEGO was in a big percentage of those photos that came up). #mbapr