We began our Fall semester of our co-op at the end of August. This semester, we are studying Inventions and Inventors and somewhat loosely following Gather Round’s unit study on the same subject (we all purchased the curriculum separately so as to follow their guidelines). As in this case, we sometimes use a curriculum to help outline lessons. The teachers then take their assigned lessons and “beef” them up. It works great to have a starting point and then make it your own.
I was assigned the first lesson of the semester, so I opened with a brief overview of inventions to get us started. I read part of the introductory lesson in the Gather Round study, then moved into my more specific topic by asking the kids for examples of inventions that communicate. As they offered up their thoughts, I wrote them on a big dry erase board. There was a wonderful amount of suggestions! And, as I hoped, they hit on some of the inventions I planned to discuss—the printing press, the telegraph and Morse code, the telephone, and the Navajo Code (Talkers). So I circled those on the board, and we dove in.
The first inventor and invention we discussed was Johann Gutenburg and the printing press. So that’s what this post is about (more recaps of inventions that communicate that we discussed to come).
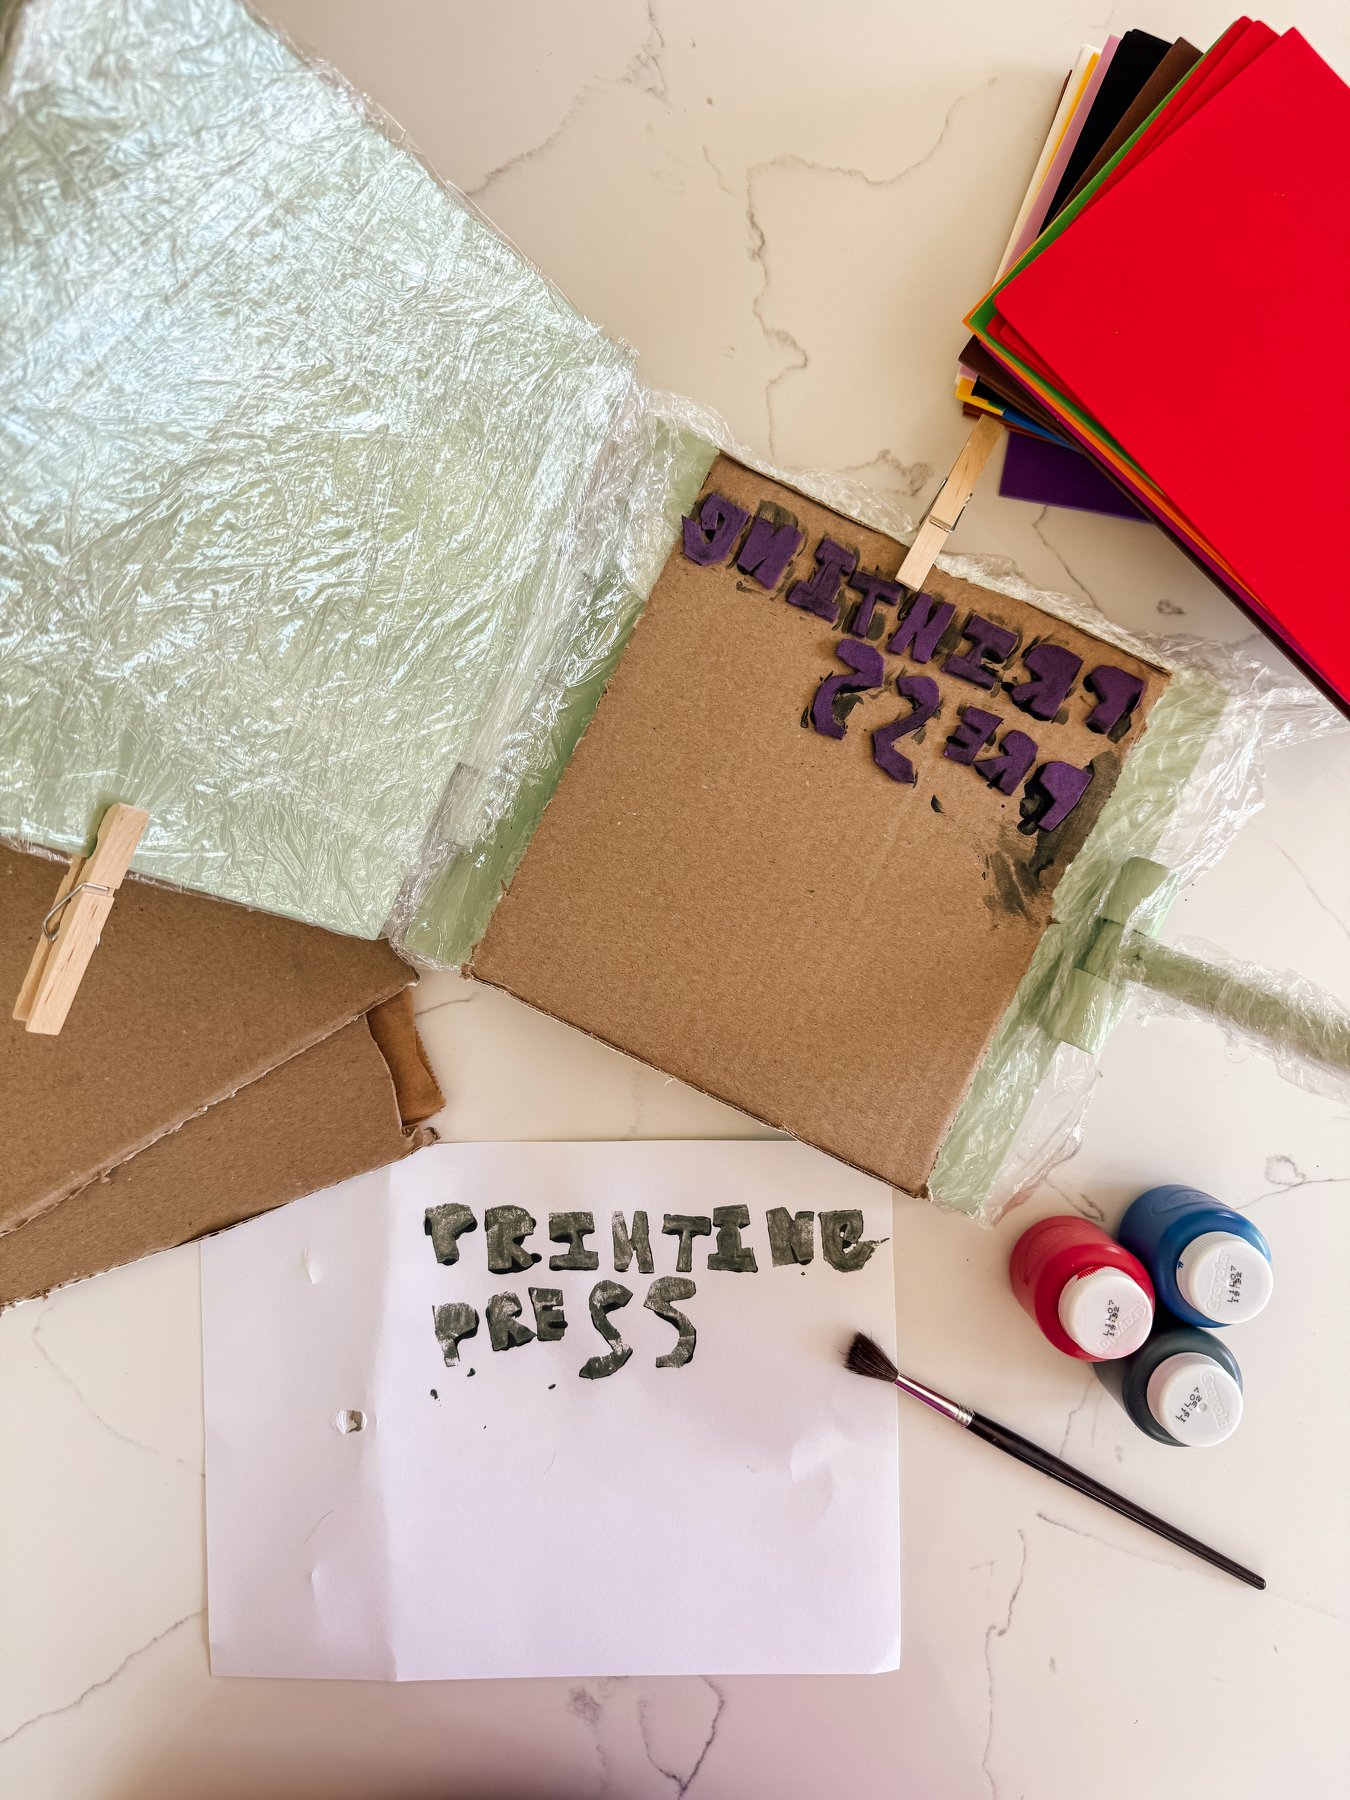
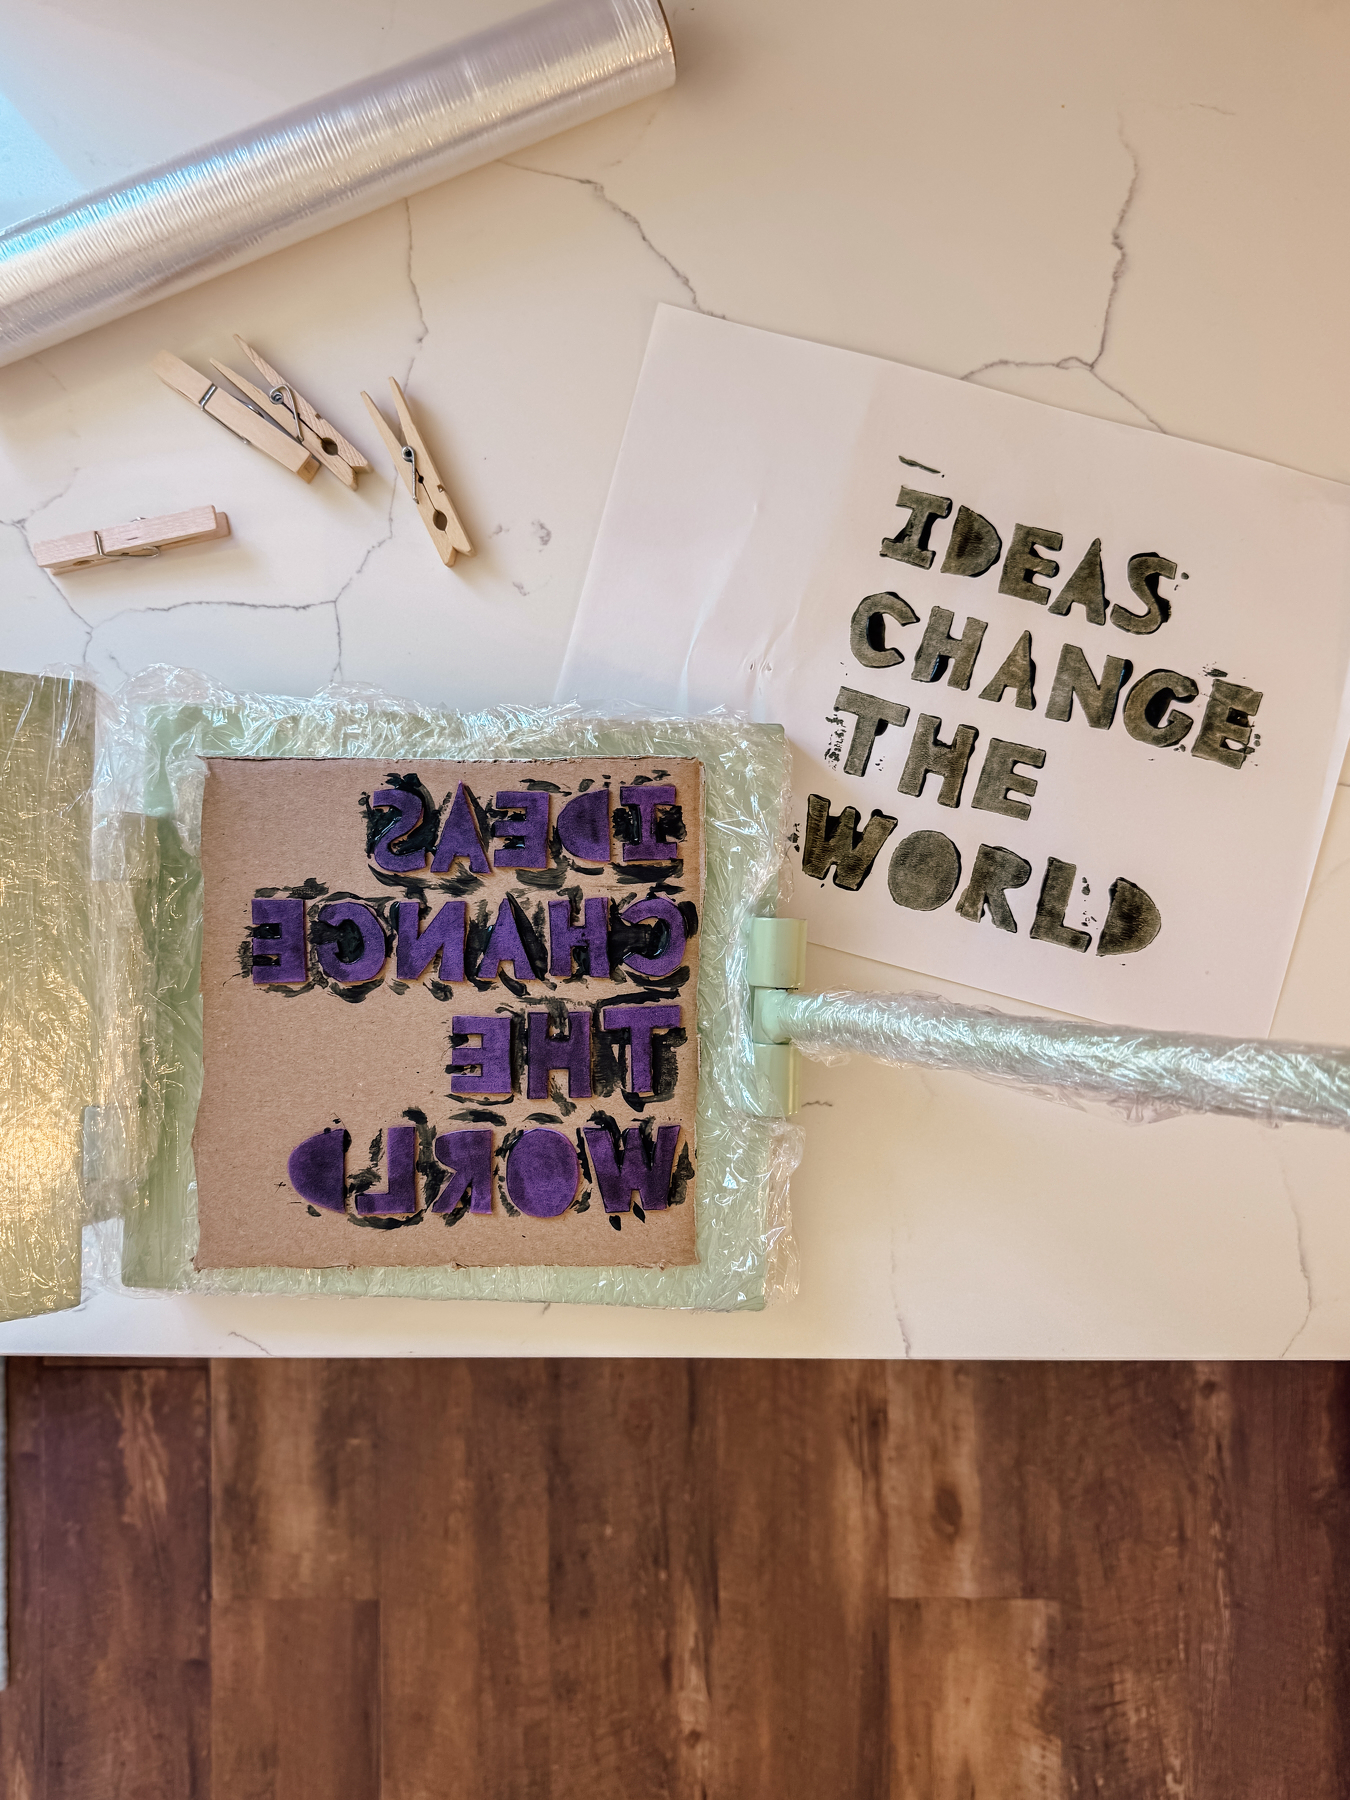
I don’t always rely heavily on our chosen curriculum for my lessons, but I did for this one. The Gather Round lesson highlighted Johann Gutenberg and the printing press well, so I read that section out loud. Then, we dove into the kids creating their own “movable type” and using a “printing press” aka tortilla press to “print” on a piece of paper.
Here’s all the supplies we used:
- Cardboard, cut to size
- Craft foam sheets
- Writing utensil, pencil or pen or even a Sharpie
- Scissors
- School glue
- Piece of construction paper (or card stock)
- Paint - We used washable in case it got on my tortilla press, but any other kind would work just as well, I’m sure.
- Paintbrush
- Clear cling wrap
- Clothespin
- Tortilla press - I have a Masienda tortilla press, so I used what I had. But if you don’t have one and want to do this project with one, this is a reasonably priced one with good reviews that you could still use after the activity.
I prepped for the activity by cutting the cardboard to roughly the same size as the tortilla press so that the kids wouldn’t accidentally arrange their “movable type” outside of the press zone. I also pre-wrapped my tortilla press with clear cling wrap in an effort to avoid getting paint on it (which was successful).
Each child was given a piece of cardboard and a foam sheet. We keep boxes w/ pencils, colored pencils, scissors, glue, and a Sharpie for each of them in a cabinet at our co-op location, so they also had those at the ready.
The directions for creating “movable type” were to come up with a short phrase they wanted to print on paper then write that in appropriately-sized block letters on the foam sheet. A few struggled with the block letters part, so a fellow mom wrote them out on the dry erase board (which I should’ve thought to do ahead of time), and that helped. As a side note, I think having to do something that didn’t come super natural to some of them was a good stretch.
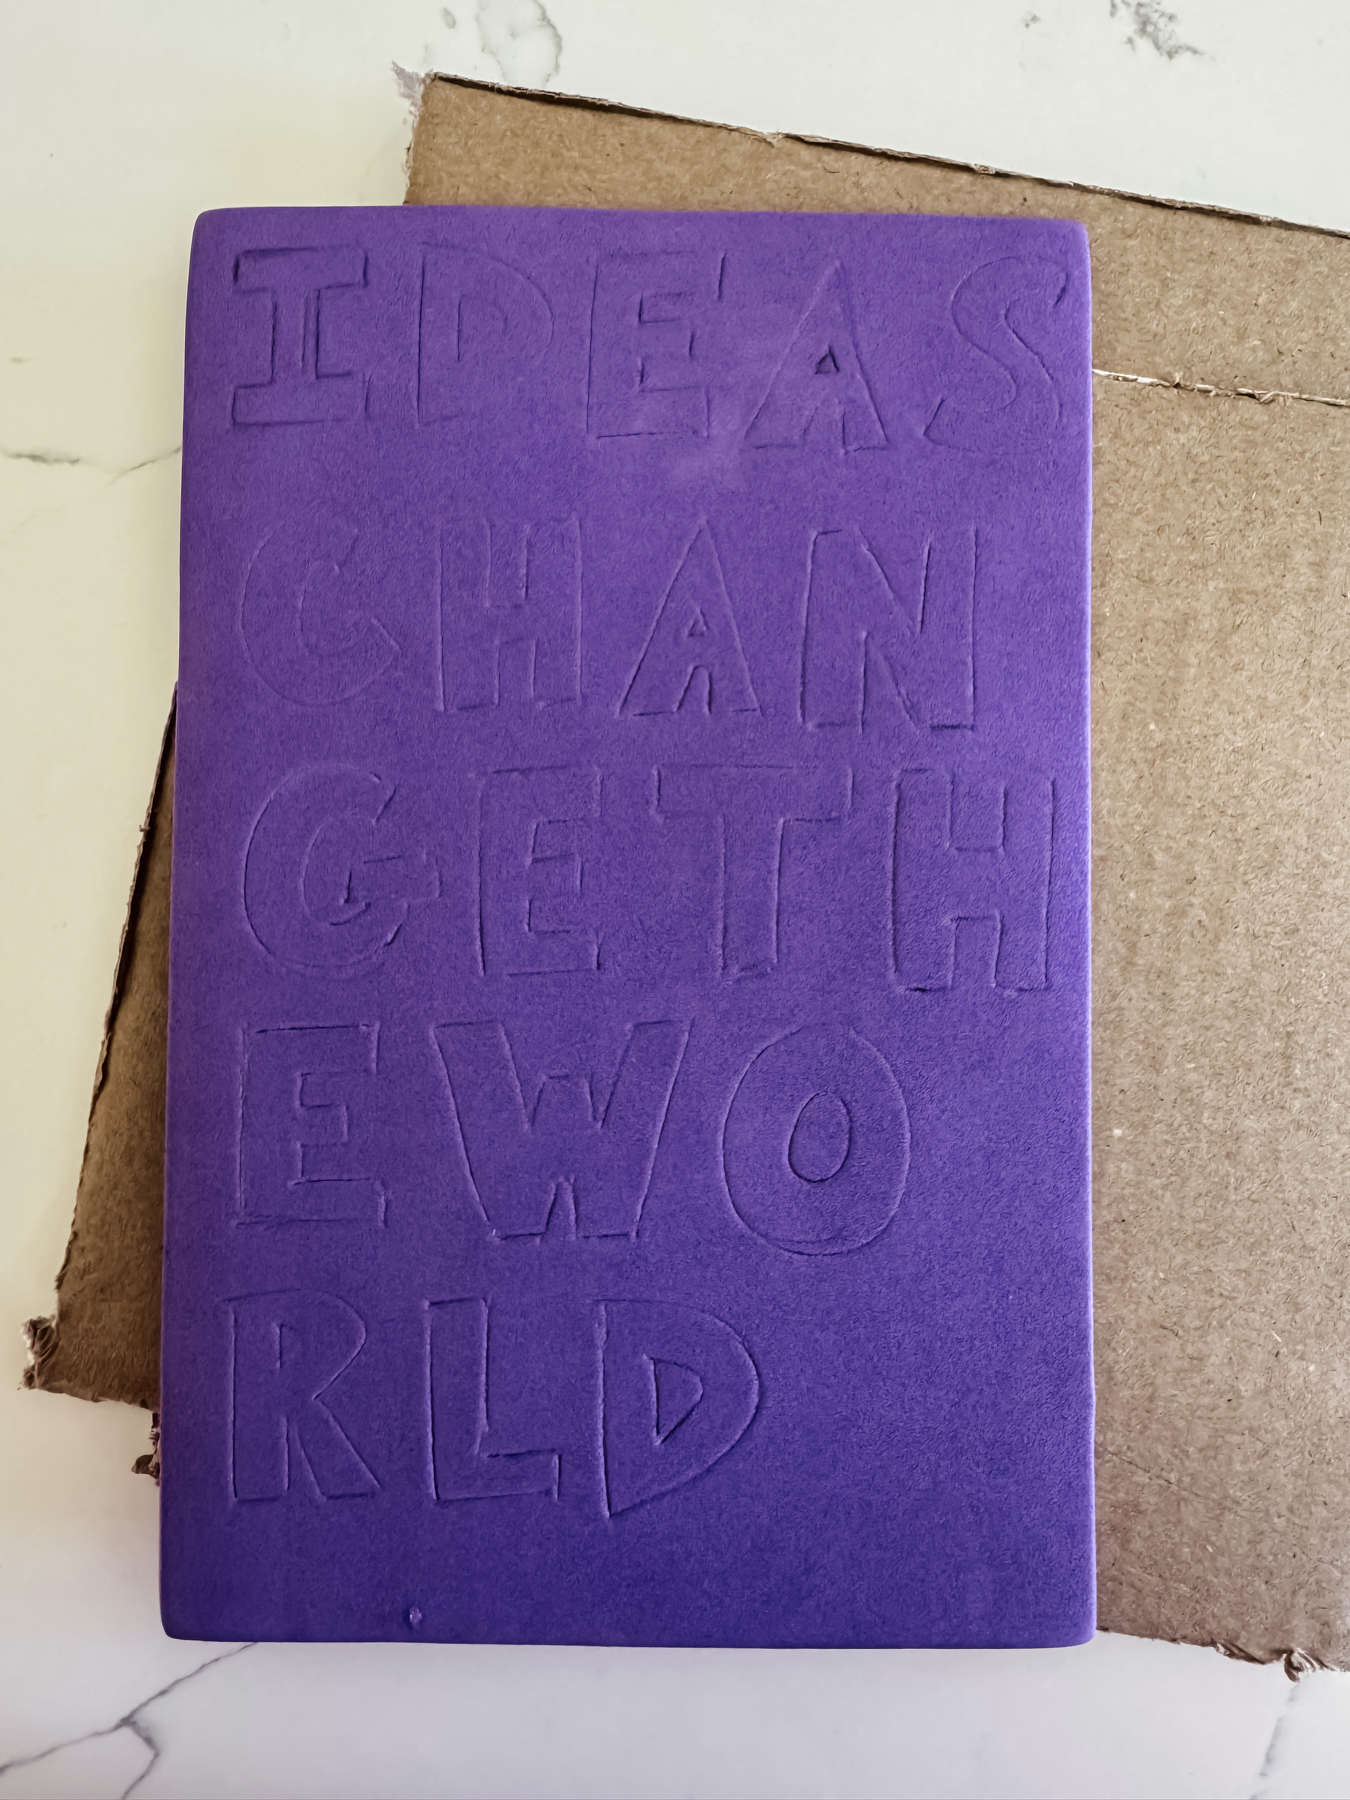
Next, they needed to cut out their block letters and arrange them on the cardboard in the right order. This was tricky for some at first because, as with Gutenberg’s press, the “movable type” wasn’t a stamp. So, the letters needed to be backwards and arranged from right to left. Again, this was a fun way to stretch some minds (mine included).
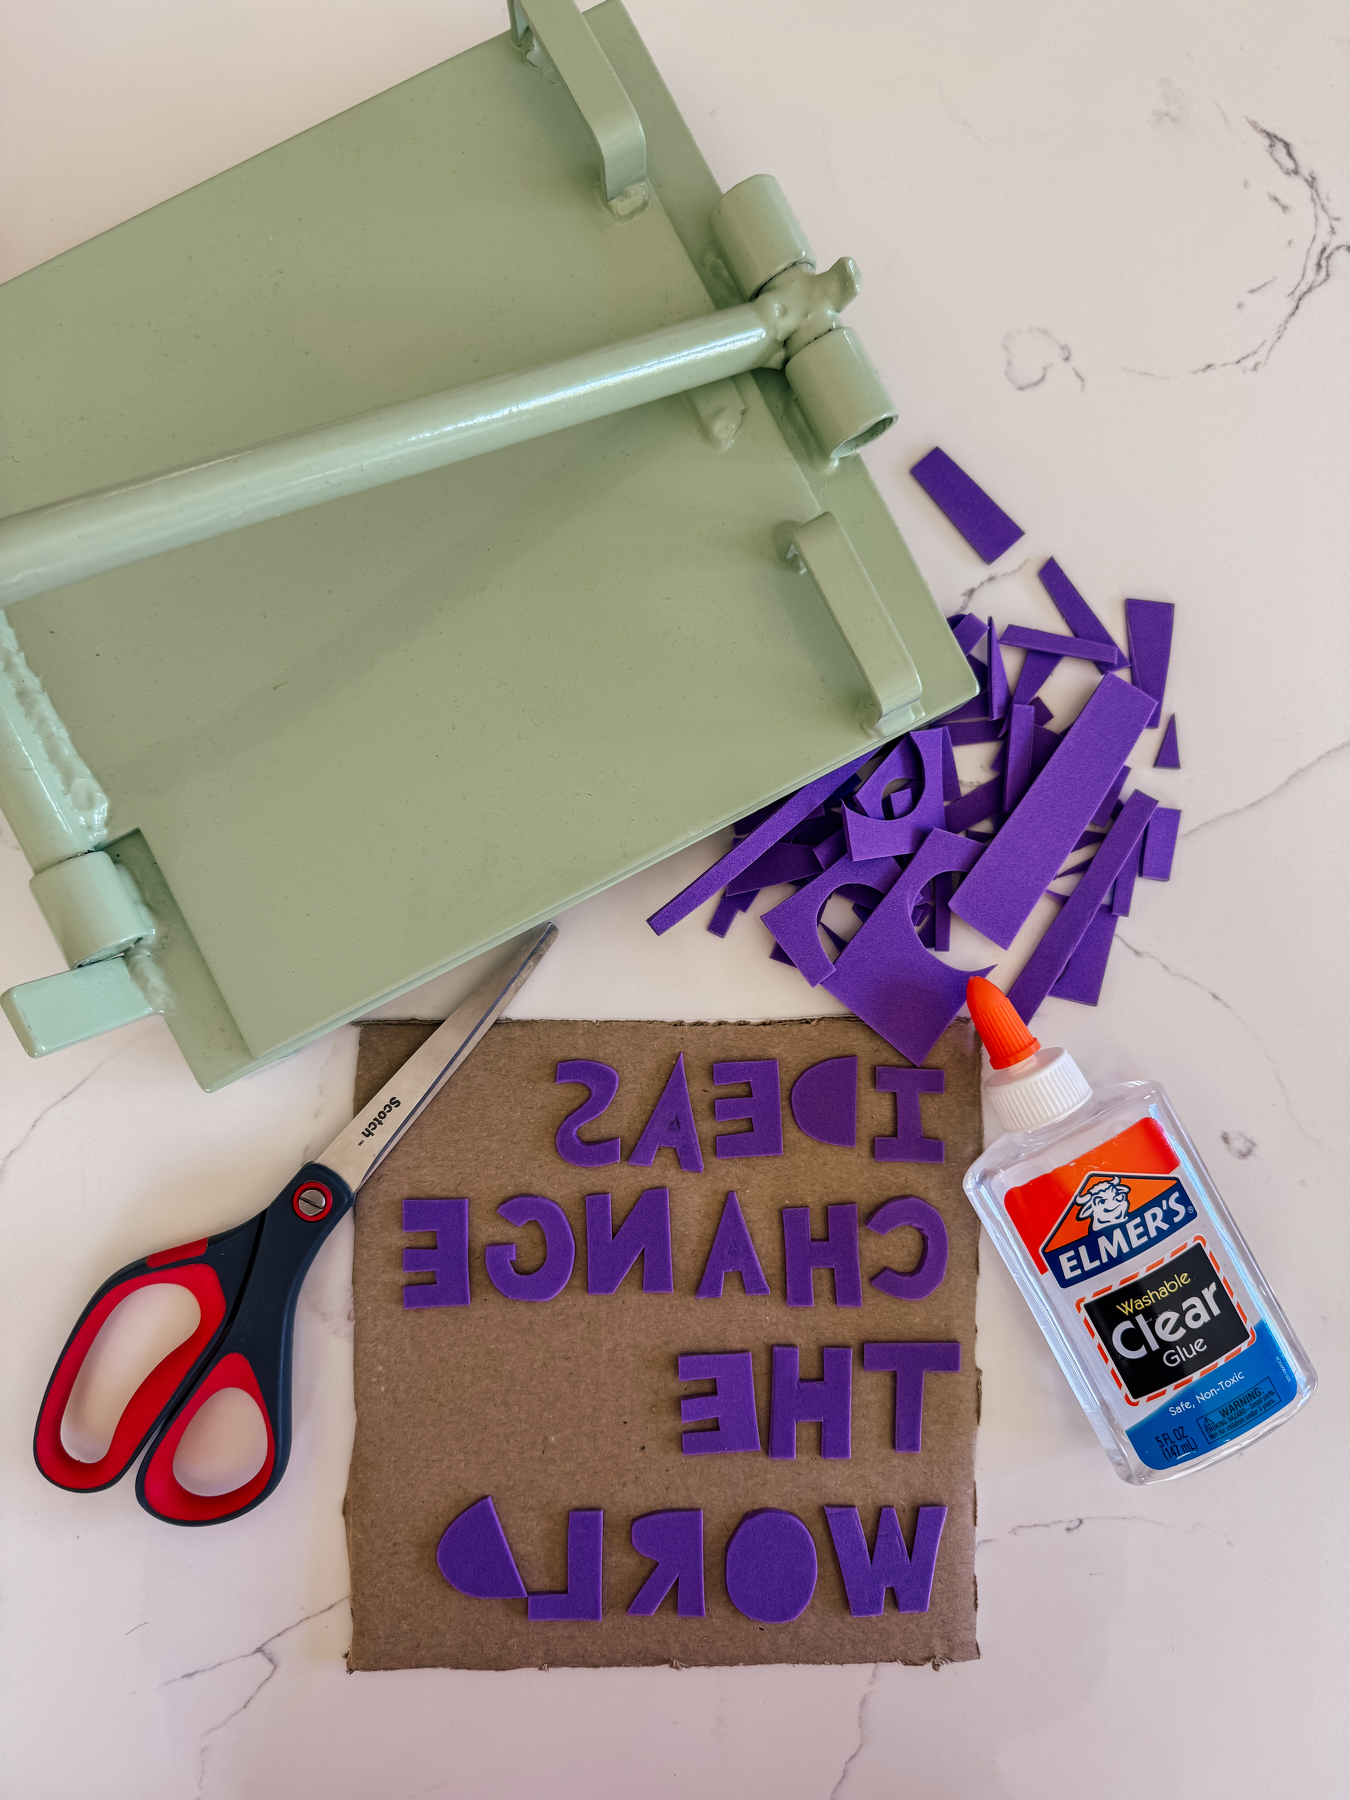
Once they figured out the correct layout, they glued the cut out foam letters to their pieces of cardboard then came to the “inking” station. This was simply some bottles of washable paint and a paintbrush. The only thing I told them to try and do was make sure that there wasn’t too much “ink” on each letter. The simplest way to insure this was to go back over the letters with a less loaded brush to spread the paint around and pick up any excess.
The actual printing part was next! Once their “movable type” was “inked,” they were ready to press. As with Gutenberg’s press, the paper was attached to the top part of the press. We used clothespins. And we secured the cardboard with the “movable type” with clothespins as well. Quick tip if you use clothespins also is to make sure the clothespins on the top won’t meet the clothespins on the bottom when you close the press. Once everything was secure, it was time to press! They did it, and I had them push lightly about three times once the tortilla press was closed. And that was it! They had their very own prints! And, though we didn’t, they could’ve technically used their “movable type” to create multiple prints.