I mentioned in my May Montly Round-Up that we had several things planned with our homeschool co-op for Summer. I organized one of those days and wanted to share it here because it was really fun, really easy, and went over really well!
Once I knew I would be planning one of our Summer sessions, I started brainstorming. I didn’t want to do a craft (because I’ve done a lot of those and just wanted to do something different), I knew we had a painting day already on the schedule, and a couple of physical activities (bowling and swimming) were already planned. It took a couple of weeks of thinking and searching, but I finally came across the idea to take apart things. (I wish I could claim the clever title, “Tech Apart,” but I saw it somewhere else. :)
I researched a little more, then decided to just bring my husband in on the plan. His knowledge of tech helped a lot, and he helped me choose items that would be safe to deconstruct (we chose not to use anything with glass or batteries in order to avoid potential cuts and corrosion). And we actually made a date of going to thrift stores to find items that would work.
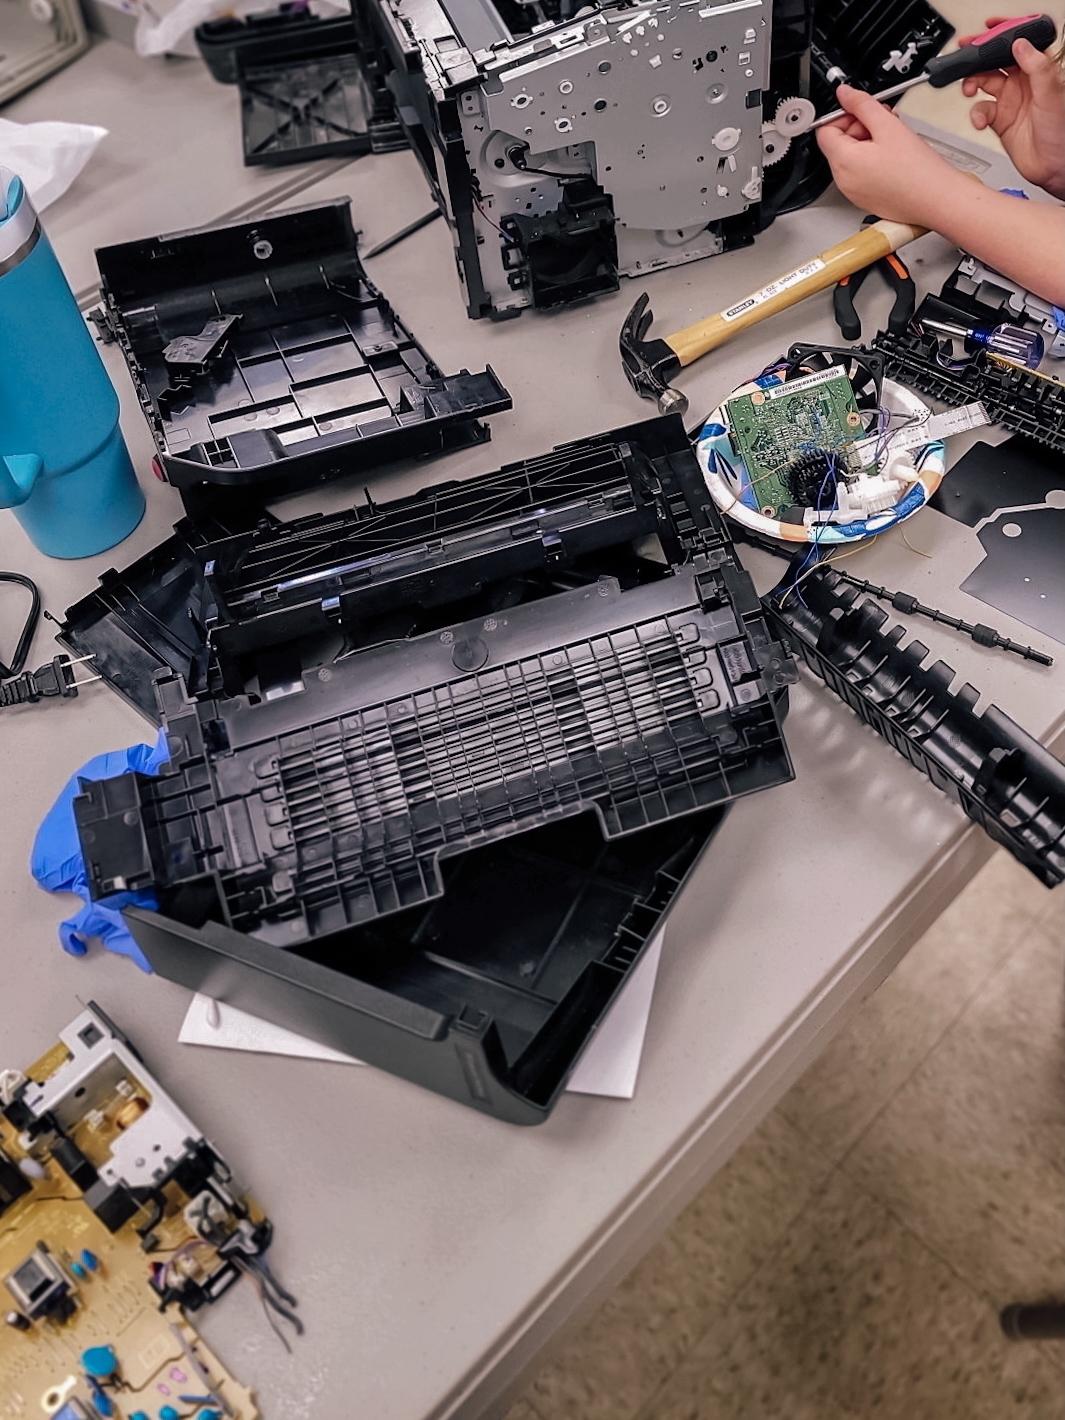
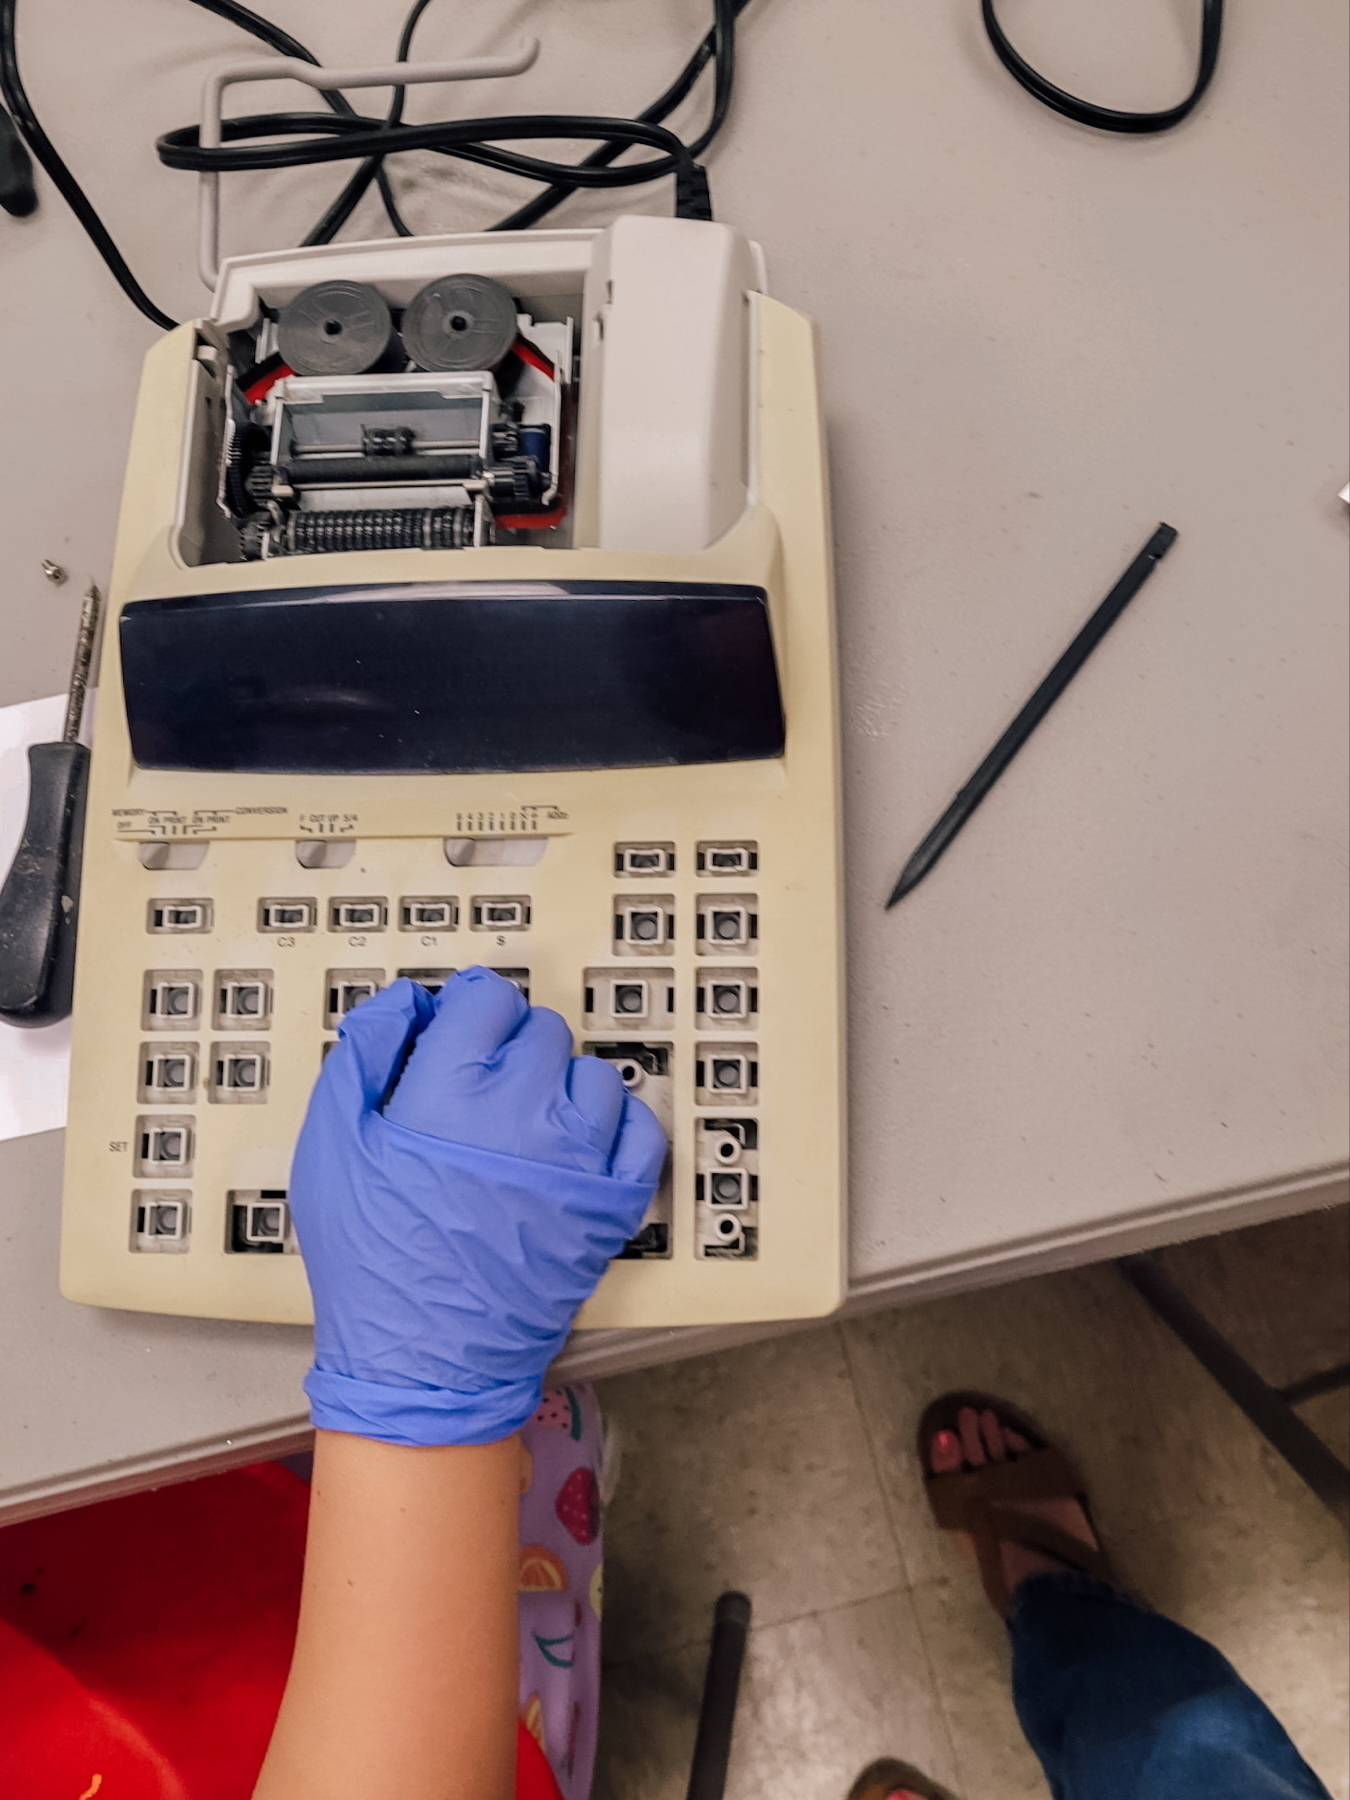
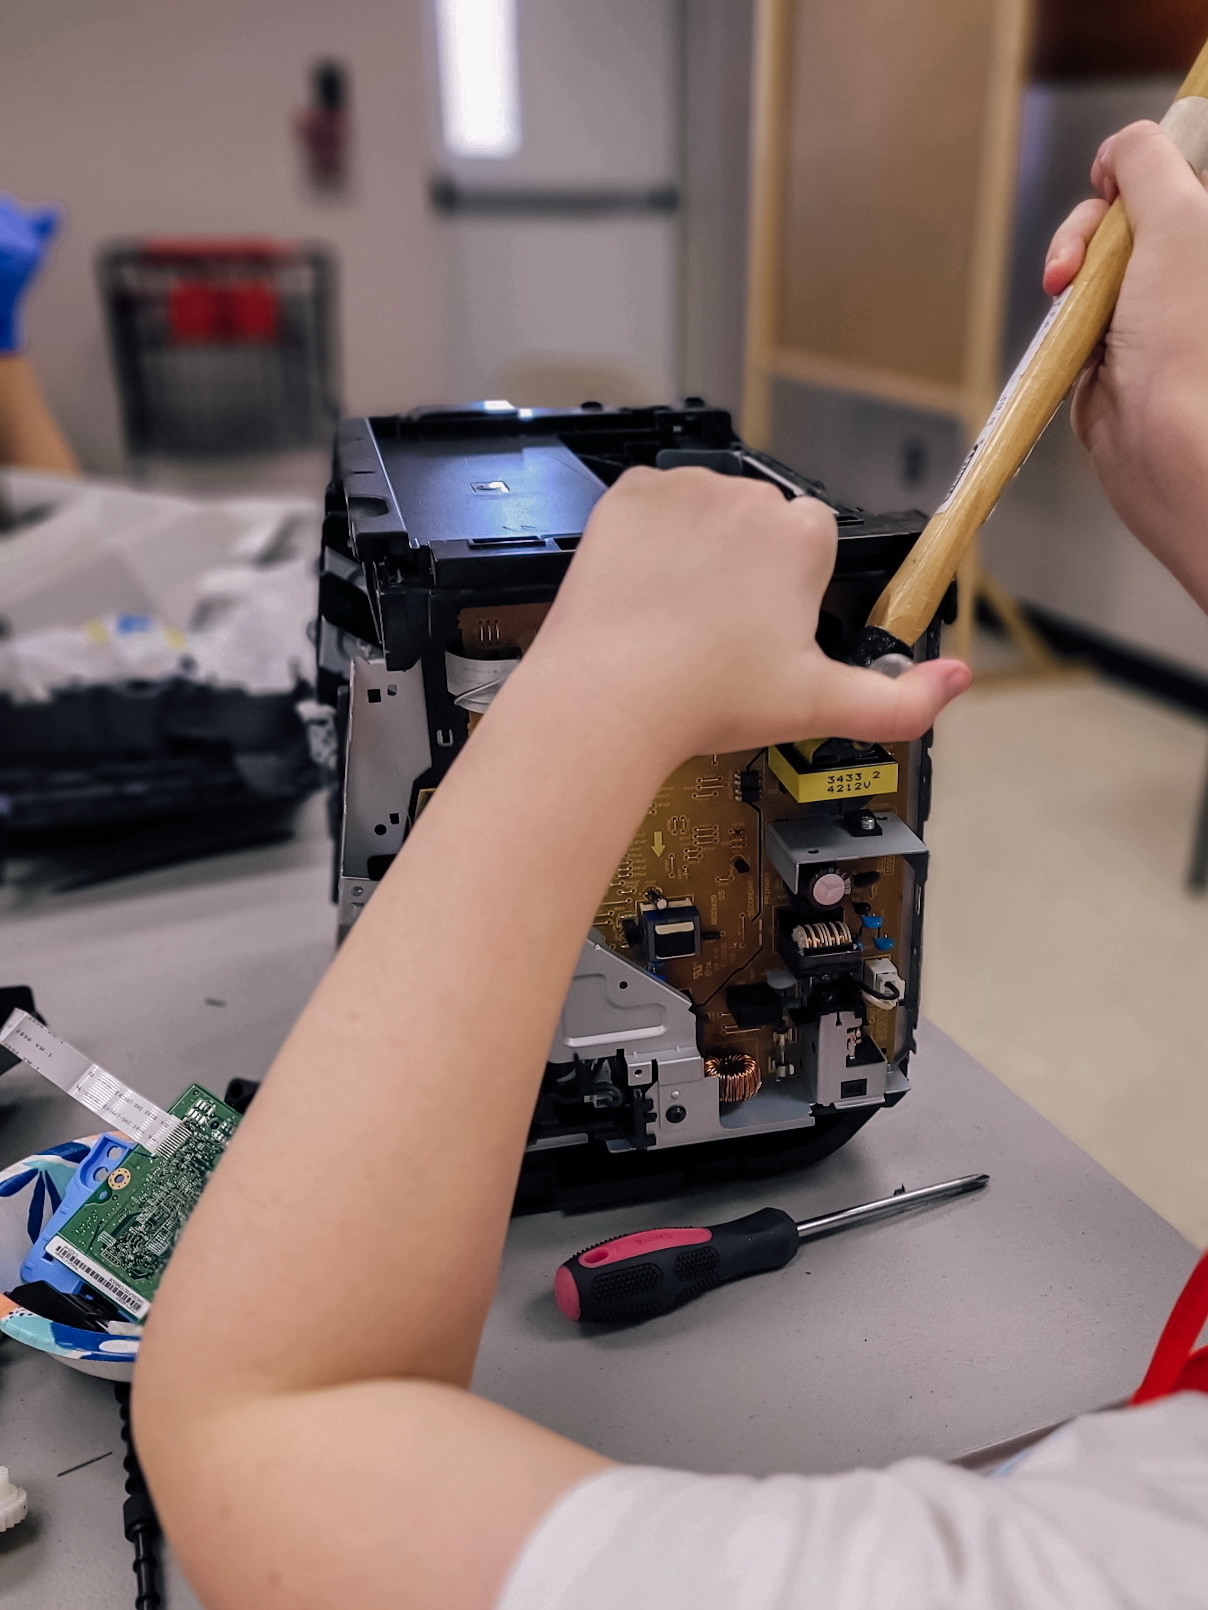
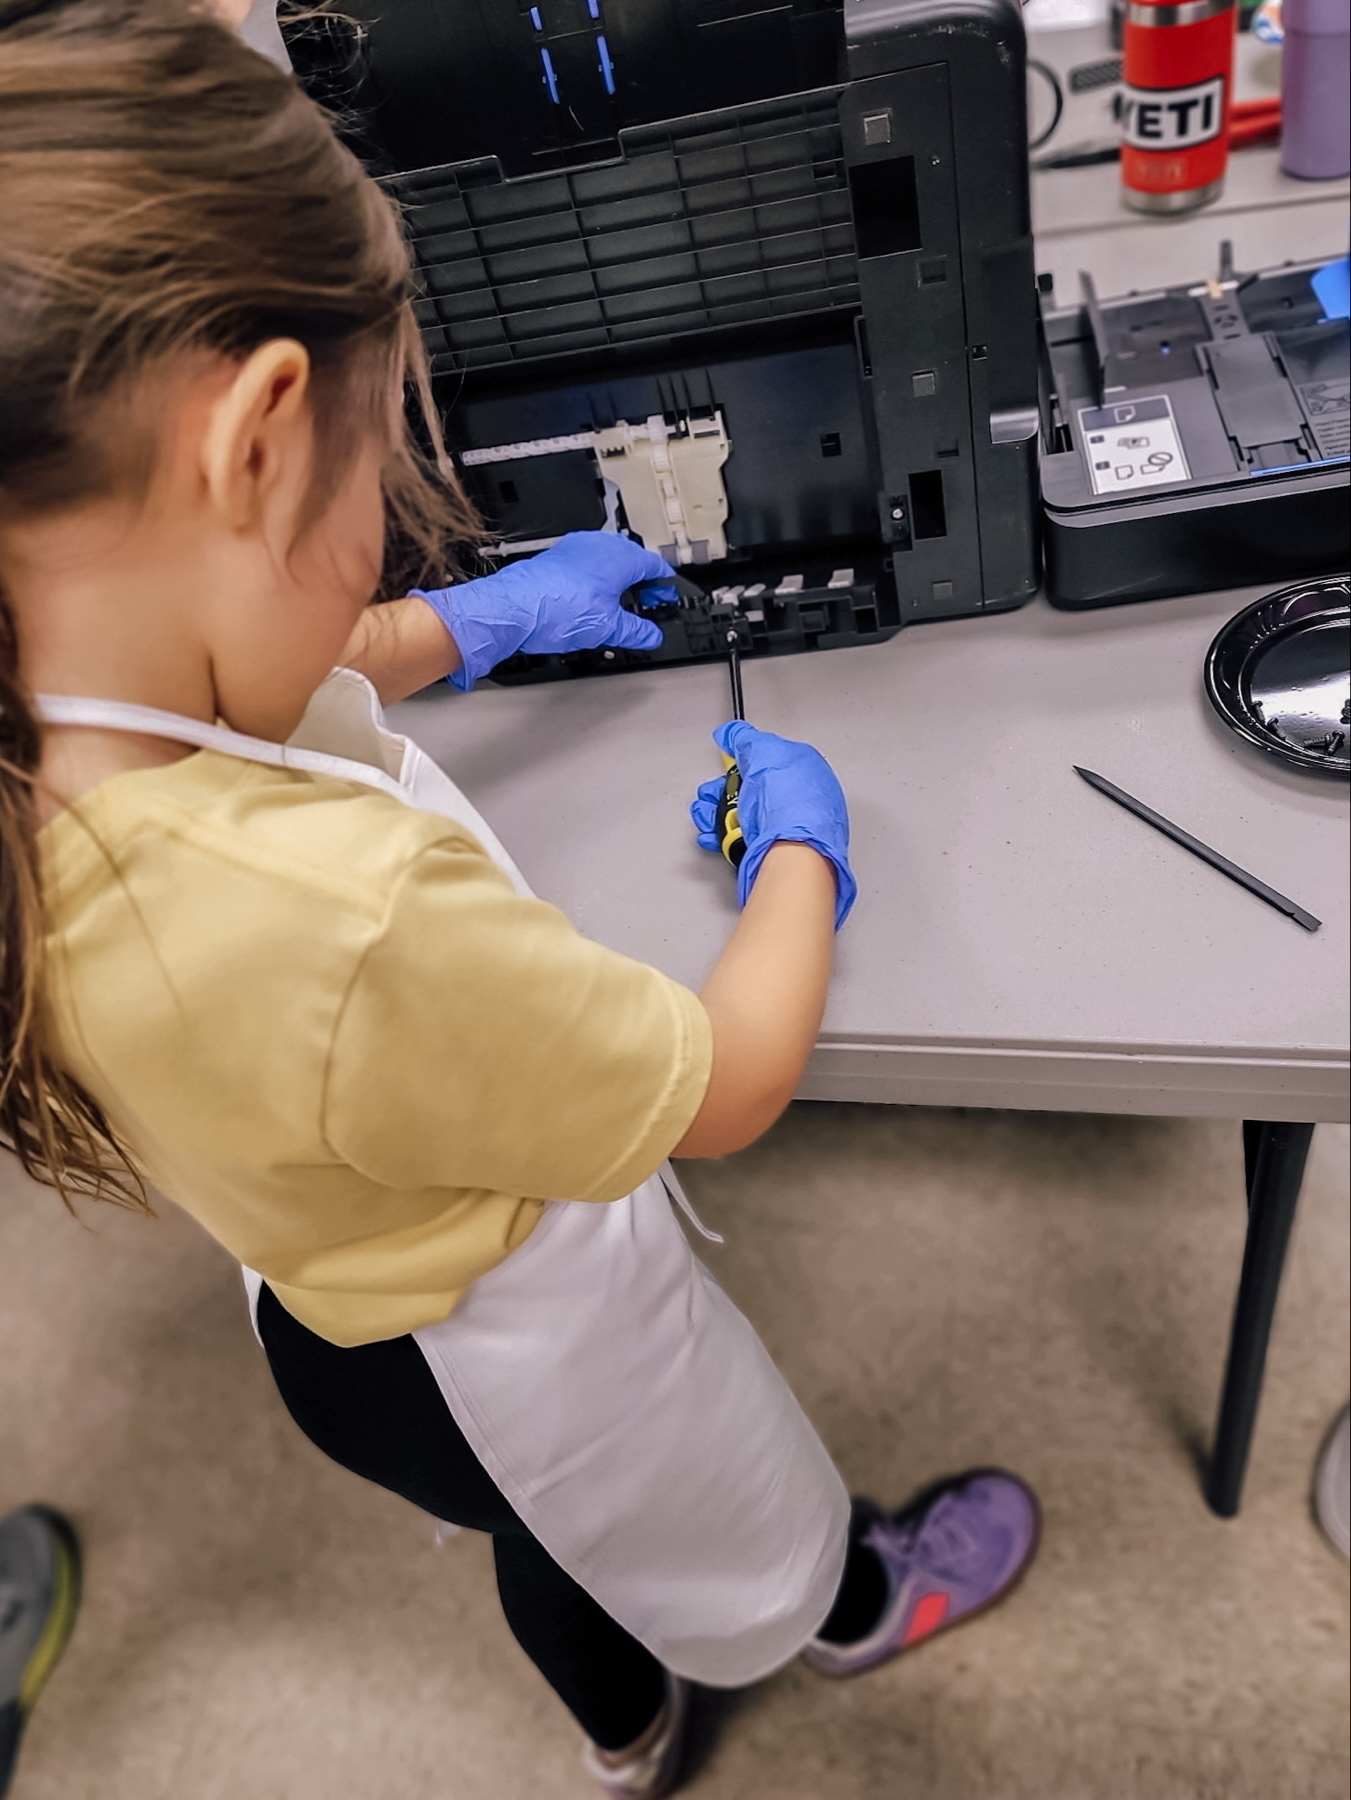
Here’s what we gathered for our group of 8: 2 printers (we took out the ink ahead of time) 1 printer/fax machine (again, took out the ink) 3 keyboards 1 calculator (the kind with receipt paper) 1 cash register
All of that cost about $22 (the cash register was donated).
Set up was simple. I put 4 rectangle tables together in the middle of the classroom we use (our usual set up) plus set up an additional rectangle table against one wall with all the items to take apart placed on it so that the kids could make their choice then take it to their seat at the main tables.
Prior to the meeting, my kids helped me place a paper towel, a few q-tips (for more precise cleaning, if needed), a tech pry bar, and a pair of gloves at each seat. And we put a couple of rolls of paper towels and cleaner in the middle of the tables for easy access.
We have a big dry erase board in the room, so I wrote a few very general instructions on it (mostly so I wouldn’t forget, but also so they could refer to if desired). I don’t remember exactly what I put, but it was something like 1) Disassemble as much as you can with just your hands, 2) Remove all screws, and 3) Use the tech pry bar and/or a hammer to continue disassembling. I told them it would be easiest to work in this order when possible.
I also wrote a few challenges in case we needed some encouragement to keep going (because I was unsure of how it would play out beforehand). Things like 1) Who has the most pieces?, 2) Who has the most screws?, and 3) Who has the biggest/smallest part?
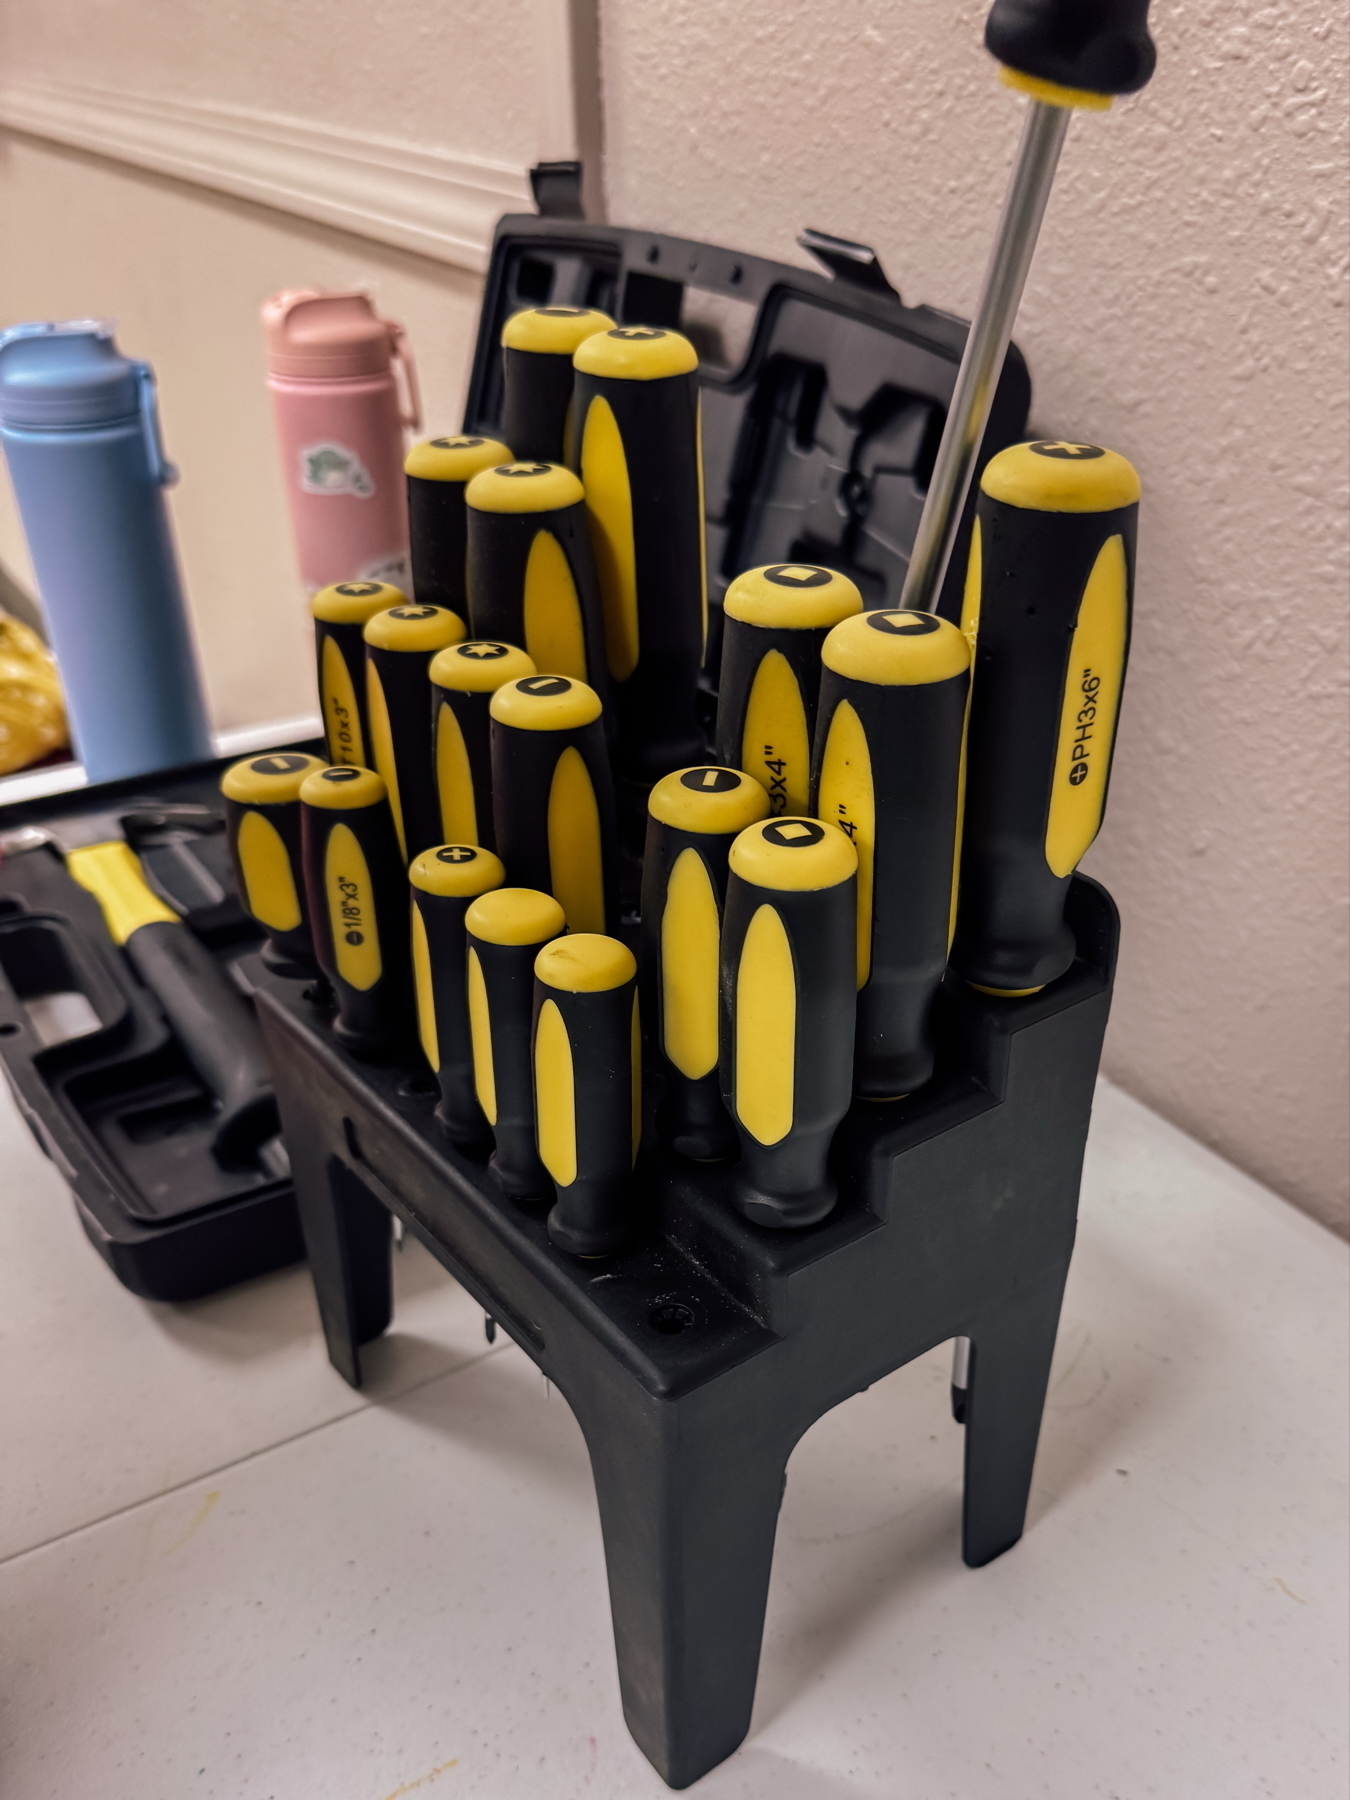
We have painting aprons in our co-op storage, so I knew we could use those. I brought a large set of different size and type of magnetic screwdrivers (similar set here), some pliers, and a hammer that my husband lent to us. I also brought some safety goggles. And I asked other members to bring a few pairs of safety glasses and some other tools if they had them in order to have enough for everyone.
Really, there wasn’t much direction to give. I went over where everything was, what it was for, and the general order of things that might be the easiest way to proceed. But other than that, they just dove in. The printers were the hardest to break into and take apart. The keyboards, calculator, and cash register all had lots of keys that were fun to pop off (pieces flew across the room, but all was well!). A couple of the kids decided to take apart as far as they could without destroying anything, then put the item back together, which was really cool. Some got to the point of absolute destruction, and that was cool too.
I wish I had taken before and after photos. But the few photos I have of the morning mostly speak for themselves. Fun was had. The great thing about this activity is that it can be done in a group or co-op setting, but can also be done at home with your kid(s). It’s also appealing to a wide age range. It’s a super versatile option.